|
Author
|
Message
|
|
Grace (RL)
|
Grace (RL)
Posted 9 Years Ago
|
|
Group: Administrators
Last Active: 3 Weeks Ago
Posts: 497,
Visits: 5.1K
|
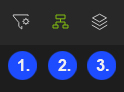
Curve Editor 04: Tool Bars
|
|
|
|
|
Grace (RL)
|
Grace (RL)
Posted 9 Years Ago
|
|
Group: Administrators
Last Active: 3 Weeks Ago
Posts: 497,
Visits: 5.1K
|
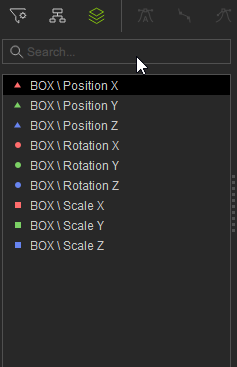
Outliner Display Options - The Outliner Display Options are mainly used to display the structure* of the selected asset in different ways to make the keying process more efficient.
- Outliner Display Options include:
- Filter
- Tree View
- List View
- For more information on the display differences, see here.
*"Structure" refers to RTS (Rotation, Translation, Scale) and each respective XYZ axis.
|
|
|
|
|
Grace (RL)
|
Grace (RL)
Posted 9 Years Ago
|
|
Group: Administrators
Last Active: 3 Weeks Ago
Posts: 497,
Visits: 5.1K
|
Current Frame
The Current Frame display is also an input field. Input for either the Curve Editor or Timeline will also change the Current Frame of the other.
|
|
|
|
|
Grace (RL)
|
Grace (RL)
Posted 9 Years Ago
|
|
Group: Administrators
Last Active: 3 Weeks Ago
Posts: 497,
Visits: 5.1K
|
Playheads- Drag on the Playhead to change the Current Frame.
- Double click on an area in the Curve Editor to move the Playhead to the position of the cursor.
- Press the left and right arrow keys to move the Playhead back and forward one frame at a time.
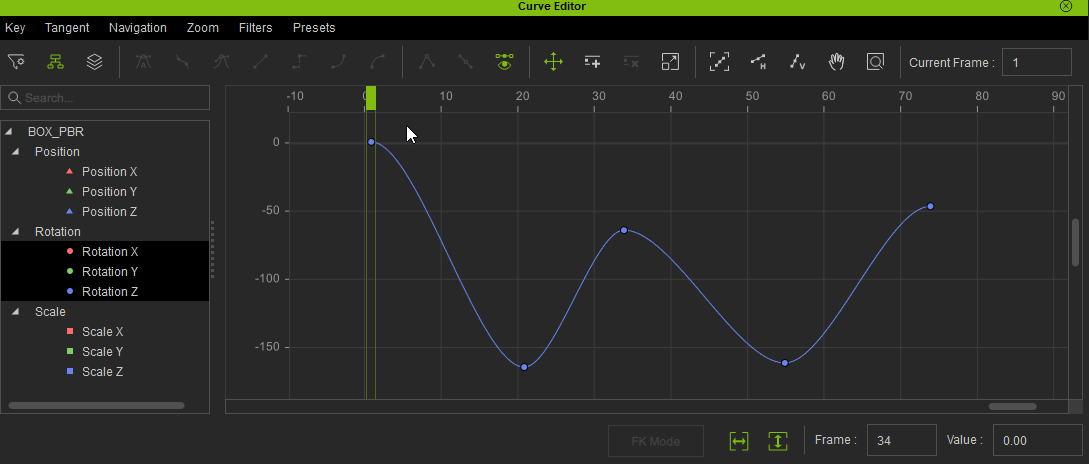
- The Playheads are synced for the Timeline and Curve Editor which means when one is dragged the other follows.
|
|
|
|
|
Grace (RL)
|
Grace (RL)
Posted 9 Years Ago
|
|
Group: Administrators
Last Active: 3 Weeks Ago
Posts: 497,
Visits: 5.1K
|
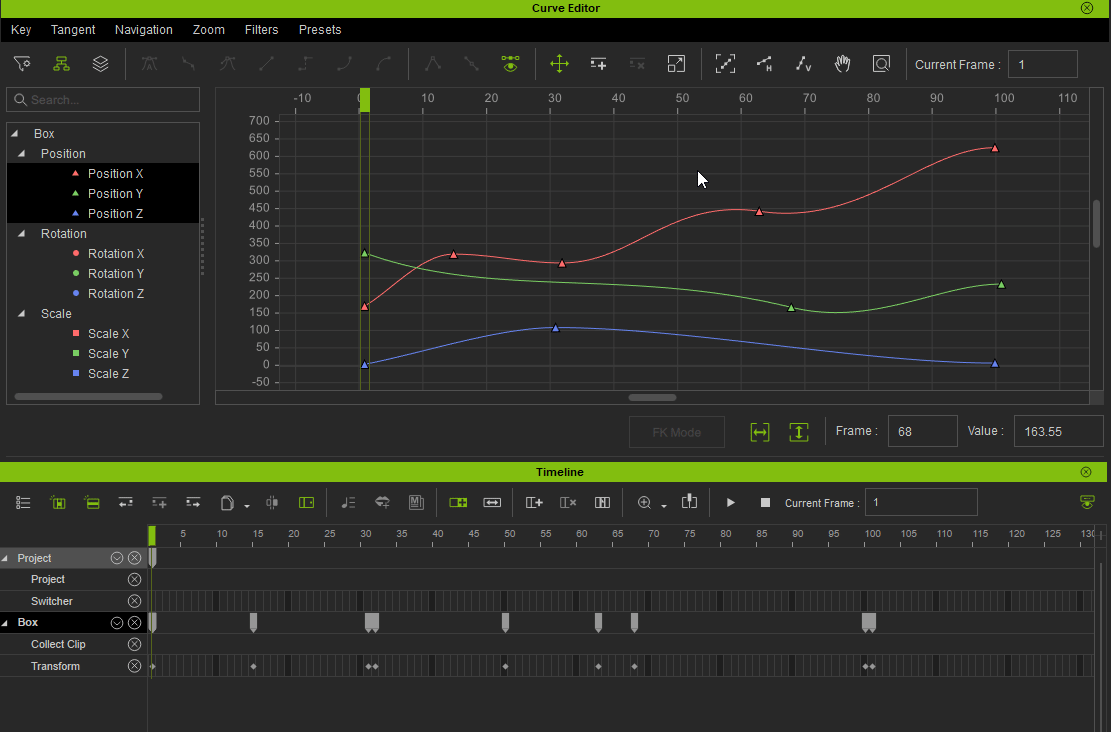
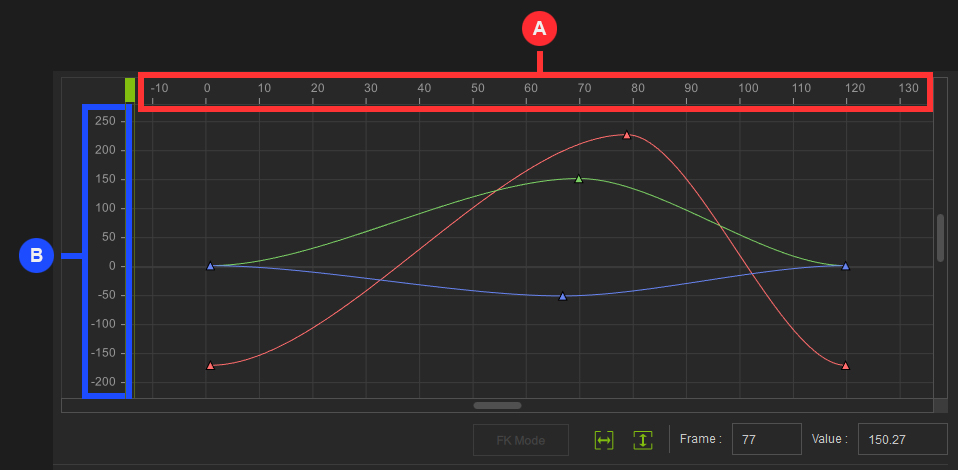
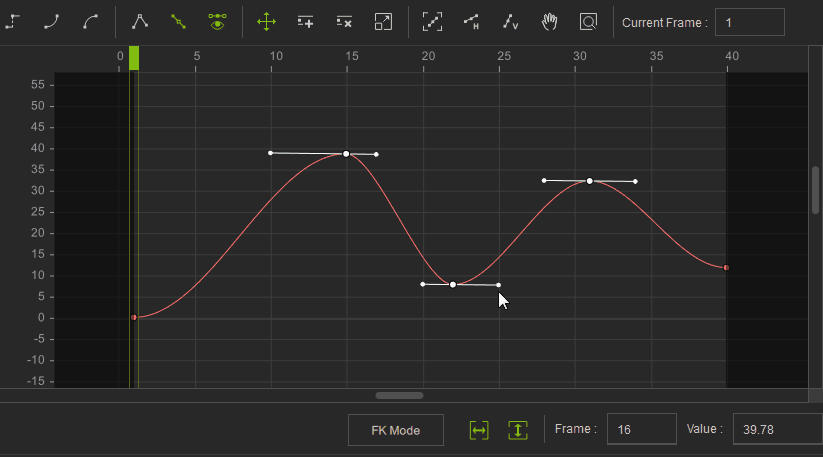
Navigation Tools  Horizontal and Vertical Line Horizontal and Vertical Line
- A: The Horizontal line displays the frames which stand for time.
- B: The Vertical line displays the RTS values:
- R: Rotation in angles
- T: Translation in centimeters
- S: Scale in percentages
The smallest unit of a frame is 1; There are no decimal numbers or negative values.
Pan- Use the Pan mode to drag around the viewing area for the Graph Editor.
- Or hold Alt while in the Select mode to temporarily Pan the viewing area and let go of Alt to return to Select mode.
 Ctrl + Scroll Ctrl + Scroll- The mouse wheel controls the vertical scrolling of the viewing area.
- While holding Ctrl, the mouse wheel starts to horizontally scroll the viewing area.
 Zoom Zoom- Hold Alt while using the mouse wheel to activate zoom in and zoom out.
- The cursor position dictates the center pivot for the zoom.
 Zoom Time Zoom Time
Under Zoom Time mode, the use of Alt+mousewheel will only contract and expand the horizontal time axis.
Zoom Value
Under Zoom Value mode, the use of Alt+mousewheel will only contract and expand the vertical value axis.
Frame
Clicking Frame will fit all of the visible graph according to the time range and value range.
Frame Horizontal
Clicking Frame Horizontal will fit all of the visible graph according to the time range.
Frame Vertical
Clicking Frame Vertical will fit all of the visible graph according to the value range.
|
|
|
|
|
Grace (RL)
|
Grace (RL)
Posted 9 Years Ago
|
|
Group: Administrators
Last Active: 3 Weeks Ago
Posts: 497,
Visits: 5.1K
|
|
|
|
|
|
Grace (RL)
|
Grace (RL)
Posted 9 Years Ago
|
|
Group: Administrators
Last Active: 3 Weeks Ago
Posts: 497,
Visits: 5.1K
|
Handle Tools
Handles allows for the adjustment of the tangents for the transition style to exaggerate or understate the animation.
1. Break
2. Unify
3. Show Handle
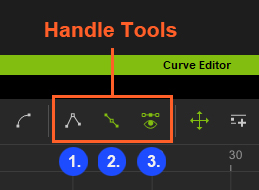
Break
Break lets one move both sides of the Handles independently of each other.
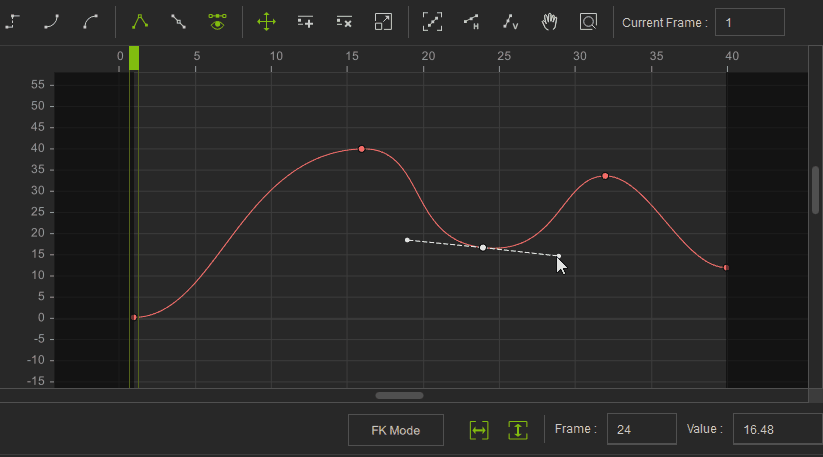
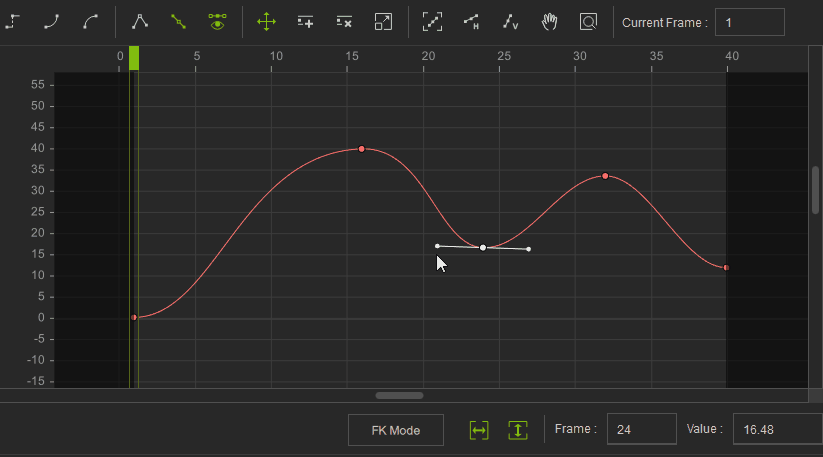
Unify
Unify forces both sides of the handle to reciprocate making it easier to preserve smooth transitions.
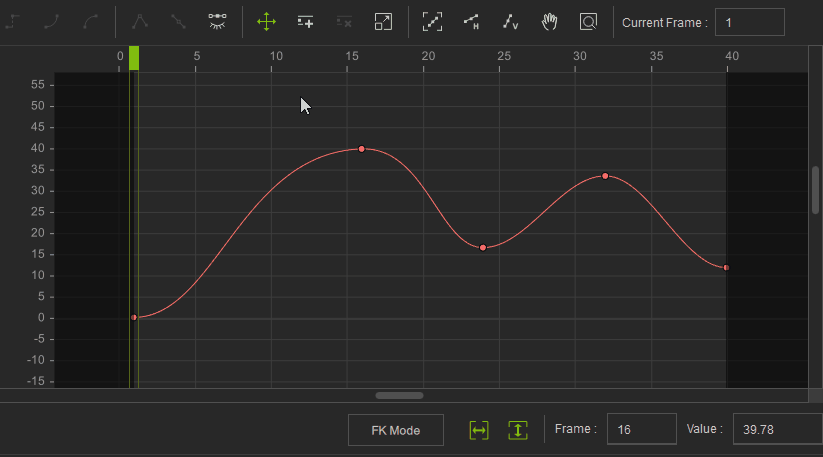
Show Handle
Toggle Show Handle to change the visibility of tangent handles.
 Multiple Editing Multiple Editing
Simultaneous manipulation of multiple selected handles are allowed.
|
|
|
|
|
Grace (RL)
|
Grace (RL)
Posted 9 Years Ago
|
|
Group: Administrators
Last Active: 3 Weeks Ago
Posts: 497,
Visits: 5.1K
|
Tangent Tools
1. Auto
2. Smooth
3. Spline
4. Linear
5. Step
6. Fast
7. Slow
Auto- Auto is a type of optimization where the selected lowest and highest value keys are slowed and everything in between become linear.
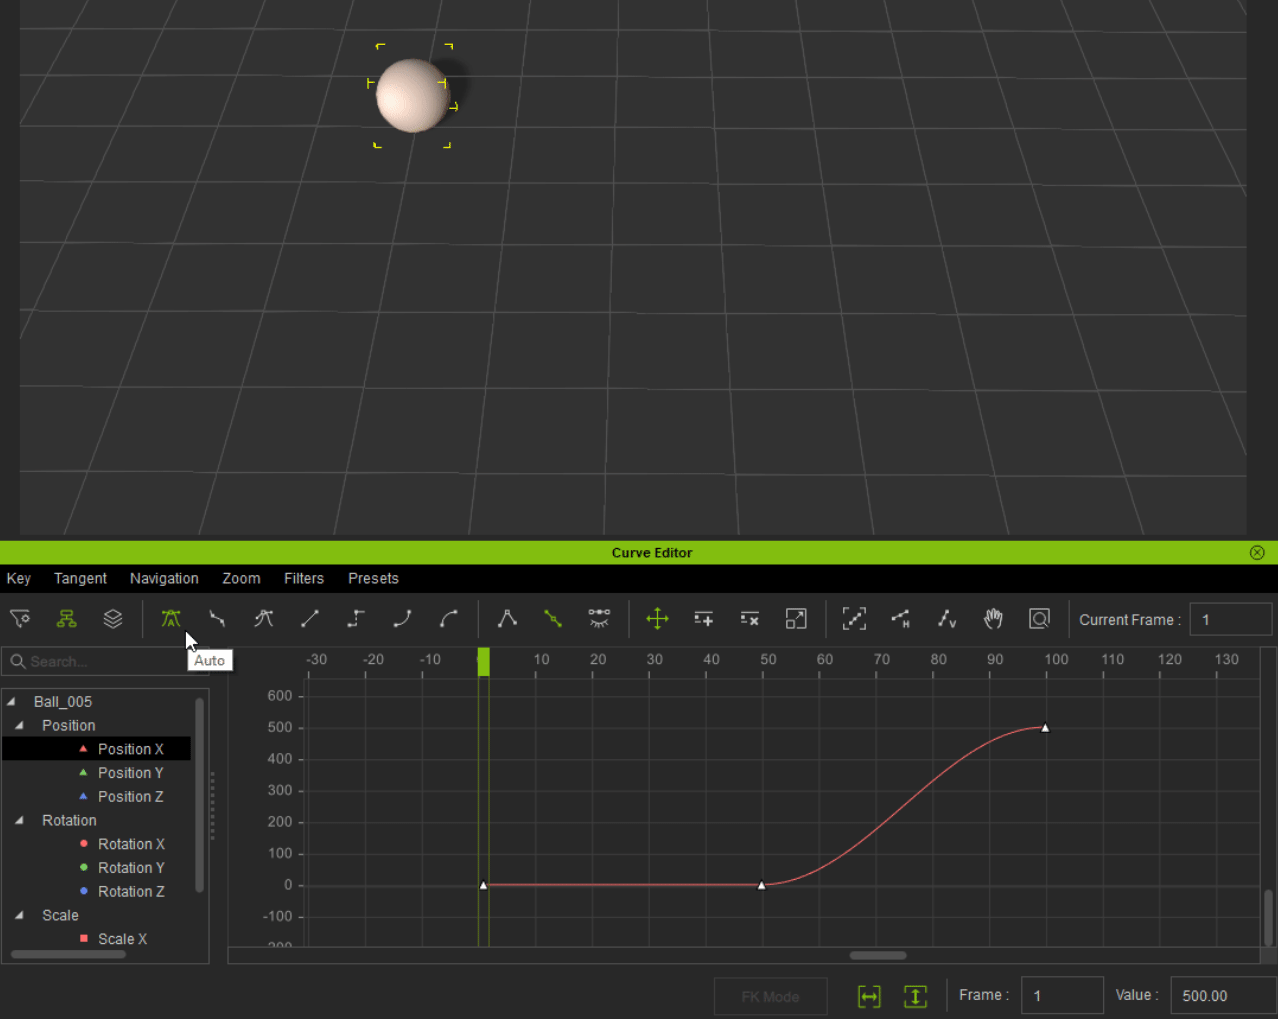
- Auto and Slow are the same under some circumstances, the main difference is that Slow will apply ease in and ease out on every selected key while Auto only applies slow on the lowest and highest value keys.
The difference between Smooth and Auto is that Smooth will produce an arc in motion that can deviate from the original motion path.
 Spline - Spline is different from other types of tangents in that it will preserve the same degree of curvature regardless of how the front and rear keys change.
- Other types will re-calculate with the changes in the before and after keys.
The following descriptions for the illustrations will describe the changes in the curve tangents. - Before and after keys set to Smooth experience drastic changes when the middle key is moved.
 - Before and after keys set to Auto experience only slight changes when the middle key is moved.
- Before and after keys set to Spline experience no changes when the middle key is moved.
 Linear: Constant speed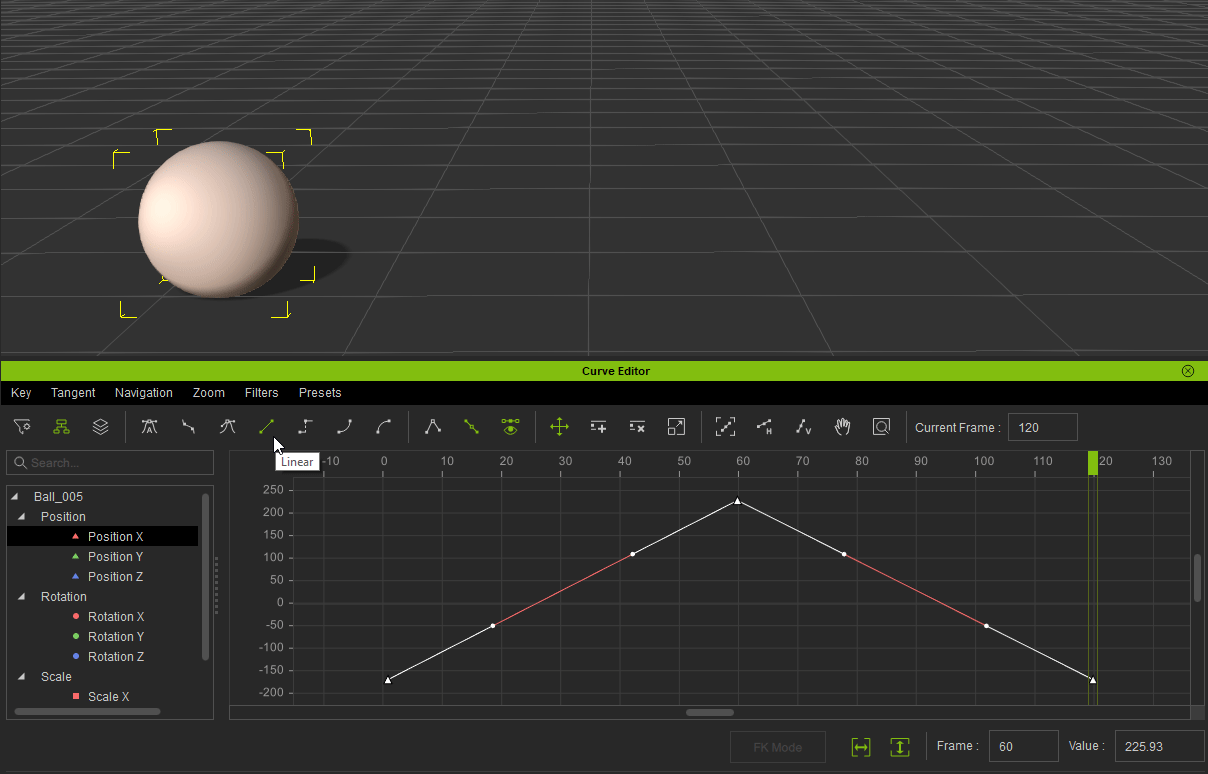
Step: Carry the current state until the next keyframe
Fast: pick up speed when nearing a keyframe
Slow: drop speed when nearing a keyframe
|
|
|
|