|
Author
|
Message
|
|
Grace (RL)
|
Grace (RL)
Posted 6 Years Ago
|
|
Group: Administrators
Last Active: Last Month
Posts: 497,
Visits: 5.1K
|
iClone v7.7 (7.7.3518.1) released on November 18th, 2019
Dear iCloners,
Version 7.7 is yet another great update as a fruition of months of hard work. Besides the bug fixes in response to the Feedback Tracker and the forum, there are lots of crucial enhancements including the brand new Digital Human Shader along with SSS (Sub-surface Scattering) and Micro Normal techniques for appealing real-time rendering. We also have new on additional functions for Timeline, Camera, Light, and UI usage.
*45 tickets in the previous v7.61 have been categorized and resolved by the Dev team: - 4 defects are Resolved in this v7.7 patch. check it out >
- 10 issues have been Assigned (to be released in the next version update). check it out >
- 28 issues are set Active for verification and plan of action. check it out >
Read the release notes here.
|
|
|
|
|
Grace (RL)
|
Grace (RL)
Posted 6 Years Ago
|
|
Group: Administrators
Last Active: Last Month
Posts: 497,
Visits: 5.1K
|
Digital Human Shader, SSS (Sub-surface Scattering), Micro Normal
In version 7.7, you can utilize Digital Human Shader for Skin, Eyes, Teeth, and Hair, along with SSS (Sub-surface Scattering) and Micro Normal technologies to create true-to-life high-end human characters. Real-time rendering can indeed be fast and high quality!
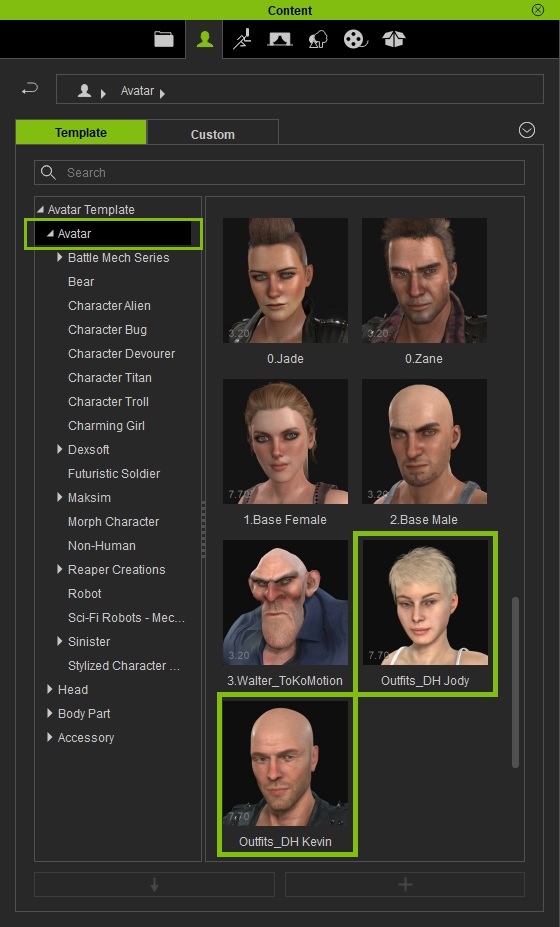
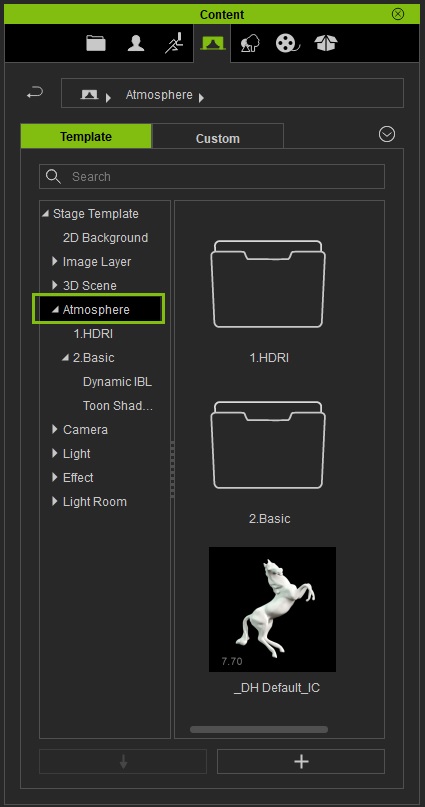
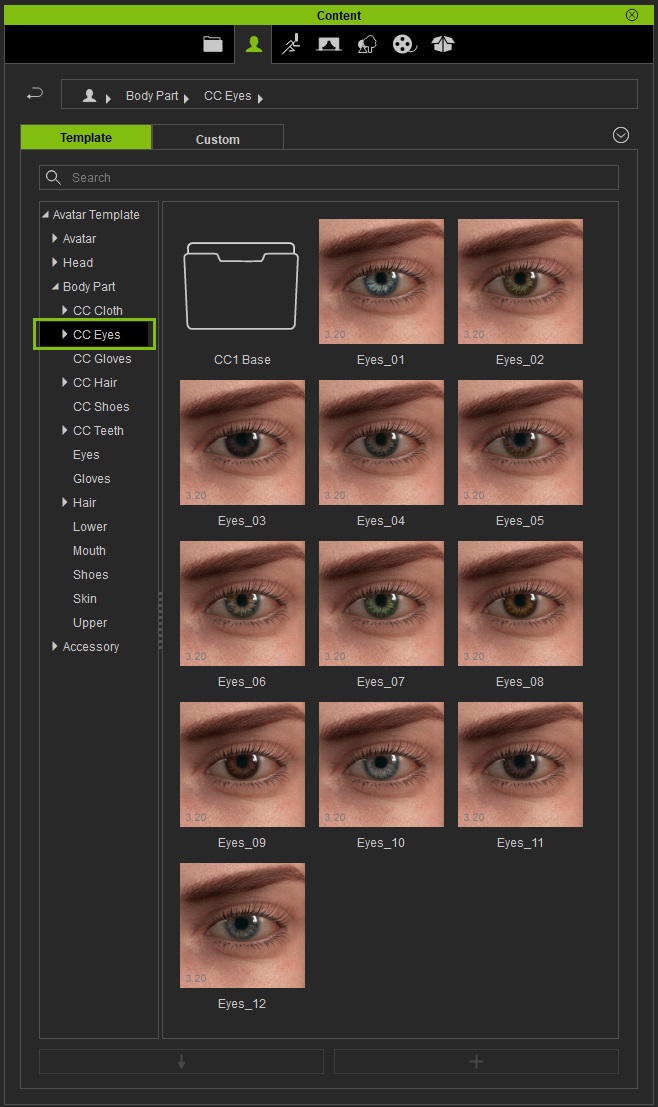
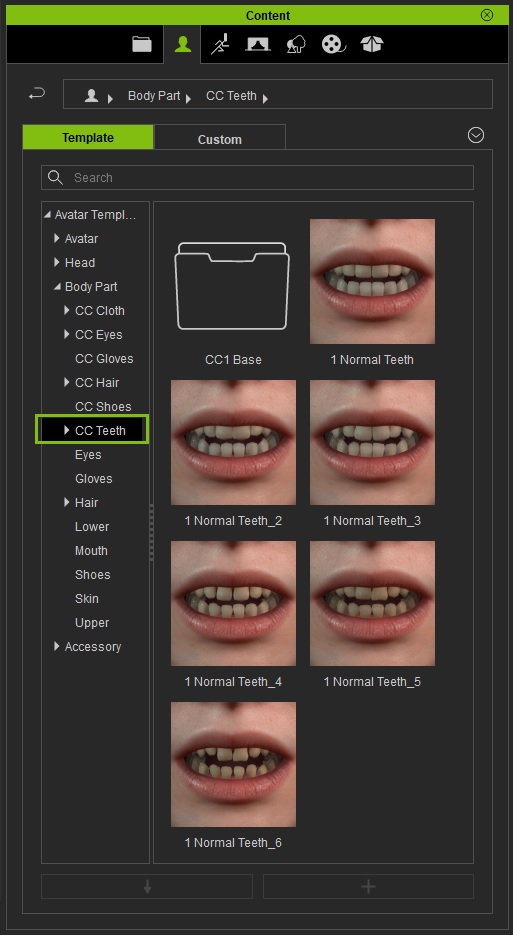
What's more, to best present the Digital Human Shader, we have embedded additional DH (Digital Human) content such as new male and female characters, stage, atmosphere, eyes, teeth, etc.
All of your existing content can be converted to the Digital Human Shader to look even better.
*Both iClone 7.7 and Character Creator 3.2 benefits from this release.
- New DH Character - Male x 1, Female x 1
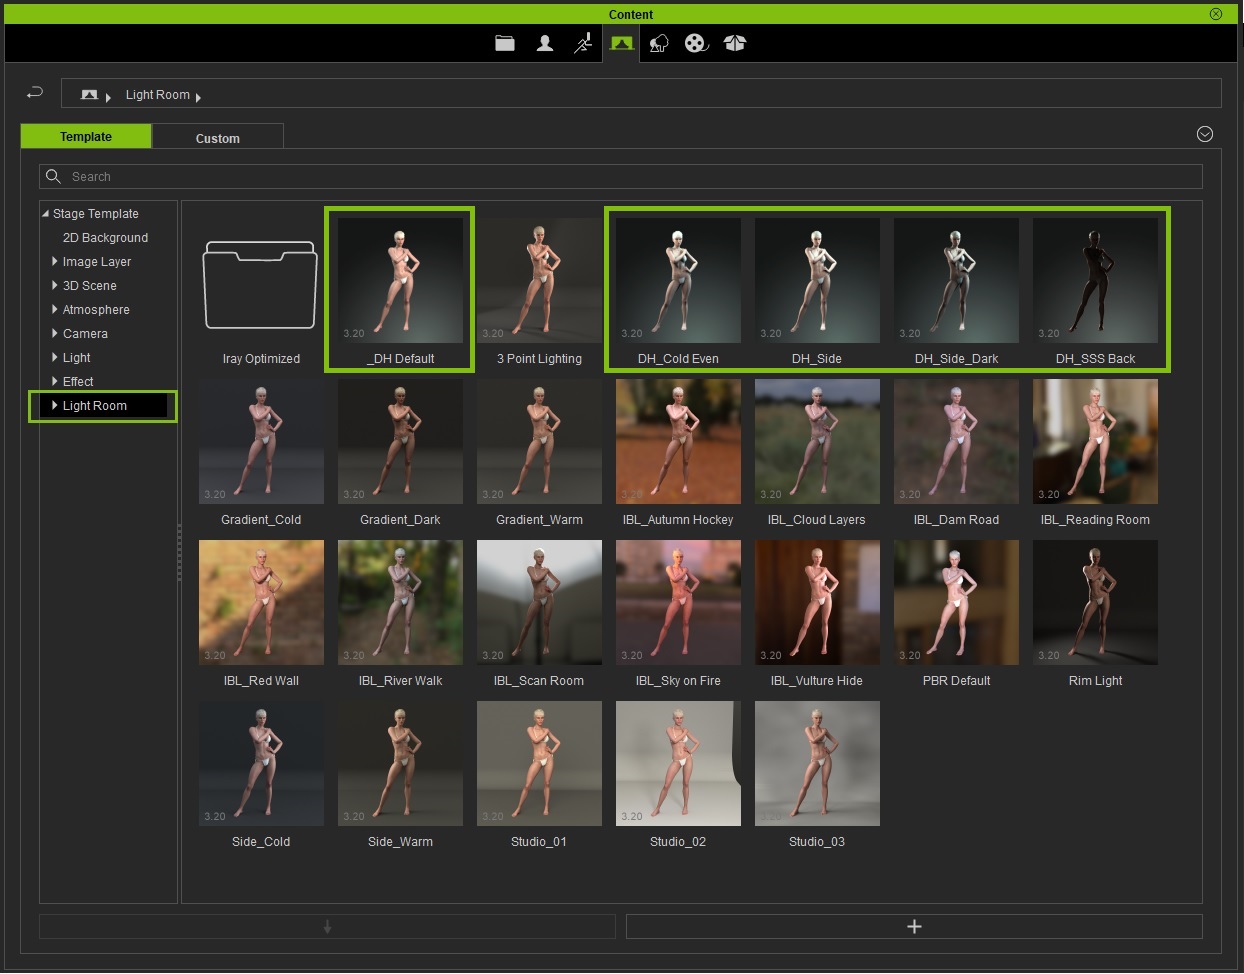
- Stage - New DH Lightroom x 5
- Eyes are converted from PBR to DH Shader
- Teeth are converted from PBR to DH Shader & various New Teeth Styles are added
|
|
|
|
|
Grace (RL)
|
Grace (RL)
Posted 6 Years Ago
|
|
Group: Administrators
Last Active: Last Month
Posts: 497,
Visits: 5.1K
|
Animation / Timeline Enhancements
1. UI with Search Field (Attach / Look at / Link / Motion Layer Key)
Attach, Look at, Link, and Motion Layer Keys all have their tree lists that were hard to navigate in the prior version of iClone. Therefore, we now have a Search function that can be used to easily locate a specific object.
[Demo]:- Archer holding a bow walks into the stage.
- The Motion Layer Editor is used to inspect the bow held in the character's left hand.
- The Link panel is opened and the new Search field is used (in this case, several times).
- The hierarchy and list structure is displayed.
- The Search field is used to quickly locate the bow and link it to the Spine.
2. Motion Layer Key Alignment
In prior version of iClone, the Motion Layer Key can only be adjusted on a per clip basis. Assuming that the timeline has two clips, then the first clip layer key can not reach the second clip. The new Motion Layer Offset function can be used to align the layer key for the current clip to the previous clip. View Manual >
[Demo]: - This scene contains a puppet walking forward. As it walks forward its head invariably bumps into the trees.
- The Motion Layer key is adjust so the puppet dodges the first few trees, however, it does not dodge the rest for the second and third consecutive motion clips.
- The second clip is selected and Align Previous Motion Layer is executed from the context menu.
- The second and third motion clips are selected with Align Previous Motion Layer executed to show that it works on multiple clips.
3. Clip Sample Optimize Options
Normally, iClone motion clips will undergo sampling optimization with the likelihood that some keys are removed in process. The new Sample Optimize option can be used to determine whether or not clip keys undergo optimization during the sampling process. View Manual >
[Demo]:
- The scene contains a character with motion.
- By right-clicking on a clip, one can view the following:
- Sample All Parts - Optimized: Keys will fill in parts where needed by the clip.
- Sample All Parts - Per Frame: Keys will fill the entire range of the clip.
4. Clip Resize
One can not extend a clip without changing its speed or modifying the original key data. This is so that users don't have to create a new key by using Edit Motion Layer to fit in Layer Keys that are moved or scaled.
[Demo]:- The scene contains a character with some simple Layer Keys.
- When one wishes to duplicate the arm swing motion but the clip is too short, one must first use the Clip Resize feature to extend the clip.
- The scene is played back but the clip speed is too fast, therefore the clip is extended yet again.
- The keys are scaled to the appropriate speed and the result is played back.
5. HIK Local Axis Gizmo Transform
The local and world RTS (Rotate, Transform, Scale) transformations will often be manipulated in the 3D space. IK in the prior versions of iClone only supports transformations in world-space. Now in version 7.7, one can manipulate IK elements in local-space. View Manual >
[Demo]:
- Within the scene, an archer is getting ready to fire an arrow from a bow.
- When the arrow hand is moved in world-space, alignment between the arrow and the bow becomes very difficult.
- Once the gizmo is switched to Local, the hand can now move in alignment with the bow.
6. Viseme Key Flexibility
Prior to version 7.7, Viseme animations had some serious limitations like the inability to create Lip keys without audio. Now, for version 7.7 and beyond, Lips Clip keys can be added by using the Lips Editor.
[Demo]:
- The current scene contains a character that has no lip motion.
- By clicking on a Viseme shape within the Lips Editor, Lip keys can be added to the timeline at any moment
7. Custom Preview Range
Originally, the playback region is determined by the Export Range. Now in version 7.7 and beyond, the Preview Range can differentiate from the Export Range in order to preview a different section of the motion. View Manual >
[Demo]:
- A DOF (Depth of Field) project is loaded and the export time-frame range from start to end frame.
- When Preview Range is changed (Camera01), the Export Range does not need to be adjusted.
- Or preview can be made for two time-frames. For example, Camera01 for the Preview Range and Camera03 for the Export Range.
- One can examine the seamless transition between the Preview and Export ranges during playback.
8. Timeline Snap (Indicator / Clips)
Clips now automatically snap to the one in front when dragged around.
Clips will also automatically snap to the indicator when dragged around.
[Demo]:- A character in the scene is purposely given disconnected motions.
- Under default conditions, clips can easily overlap without the user knowing it when attempting to align them.
- When the Auto Snap Timeline Clip is activated, the clips automatically attach to the end of the clip in front.
- It is usually really hard to align keys to the start time after adjusting it with changes to the Export Range.
- When the Auto Snap to Start, End, Current Time is enabled, the clip can snap to the said nearby Indicators when dragged about.
9. Keys & Clip Scale
New timeline key scaling makes it convenient to scale the keys proportionally. View Manual >
[Demo]- The scene contains a character with motion clips along with transform, layer, and lip keys.
- By selecting the keys (Hotkeys: Ctrl+LMB+Drag) and dragging the flags, one can scale and pan from the middle.
- This feature supports layer key scaling and clip scaling across multiple tracks and clips.
|
|
|
|
|
Grace (RL)
|
Grace (RL)
Posted 6 Years Ago
|
|
Group: Administrators
Last Active: Last Month
Posts: 497,
Visits: 5.1K
|
Camera
1. Orthogonal Camera
Prior to version 7.7, every camera in the scene has a perspective. Now in version 7.7 and beyond, orthogonal cameras are supported in preview camera, effectively flattening out the perspective which makes it ideal for laying out for the scene. (Hotkeys: Shift+H) View Manual >
[Demo]:- The material ball project is loaded and one will notice that the material balls do not line up.
- The view changes to the side view (Hotkey: S) and the Perspective / Orthogonal combo-box can be seen in the Modify panel.
- The camera is switched to orthogonal view (Hotkeys: Shift+H).
- Under the orthogonal perspective, the material ball positions are re-aligned.
2. Stereo Settings per CameraPrior version of the Camera Stereo Effect effects all cameras at once, making multiple settings only possible by saving different versions of the same project. Now in version 7.7, every individual camera has its own Stereo Effect that can be adjusted separately. View Manual >
[Demo]:
- This scene contains three previously configured cameras.
- Before activating unique Stereo settings, every camera adopts from the Global settings.
- The Unique Stereo attribute can be found under every camera. After activation, a before and after comparison image is rendered for every single camera.
- The final Stereo video is rendered with each camera adopting different settings.
|
|
|
|
|
Grace (RL)
|
Grace (RL)
Posted 6 Years Ago
|
|
Group: Administrators
Last Active: Last Month
Posts: 497,
Visits: 5.1K
|
Light
1. Shadow Map Resolution per Light
All lights in the scene can only use the global shadow map resolution settings in prior versions of iClone. This resulted in a lot of wasted resources because adjustments to the shadow settings effected every single light, no matter its significance. Now in version 7.7, every light has its own individual shadow map settings. View Manual >
[Demo]
- The scene contains a single character with three directional lights.
- The shadow map settings are adjusted in the Visual tab, to show that it has an effect on all of the lights across the board.
- A single light is selected and the Use Individual attribute is used to differentiate its shadow adjustments from the Global settings.
- The shadow map settings are adjusted on each light from left to right to create different shadow effects.
2. Light Shapes
Works with Spot and Point lights with the default light shapes including Tube and Rectangle or import custom patterns for the preferred shapes.
Improved the eye/iris reflections for more natural looking eyes. Softened the lights and shadows to achieve a more realistic scene.
View Manual: Default Shapes | Custom Shape- Improve eye reflections for natural human looks
- Soften the lights and shadows for realistic scenes
3. New Light Library for Digital Human
Five DH (Digital Human) lights were added to best present the digital human quality characters.
|
|
|
|
|
Grace (RL)
|
Grace (RL)
Posted 6 Years Ago
|
|
Group: Administrators
Last Active: Last Month
Posts: 497,
Visits: 5.1K
|
UI & General Usage
1. Custom Settings in Preference
Lets the user create custom render options. Prior custom setting could not be stored due to it being overwritten once the Preset is changed.
[Demo]- The basic four presets can be customized. Once changed, the display will show an "*" asterisk after the preset name, and there will be a Reset button next to it in order to revert to the initial settings.
- The Custom preset is reserved for user-defined settings.
- The above five presets will be stored with the application and can be re-used for all subsequent sessions.
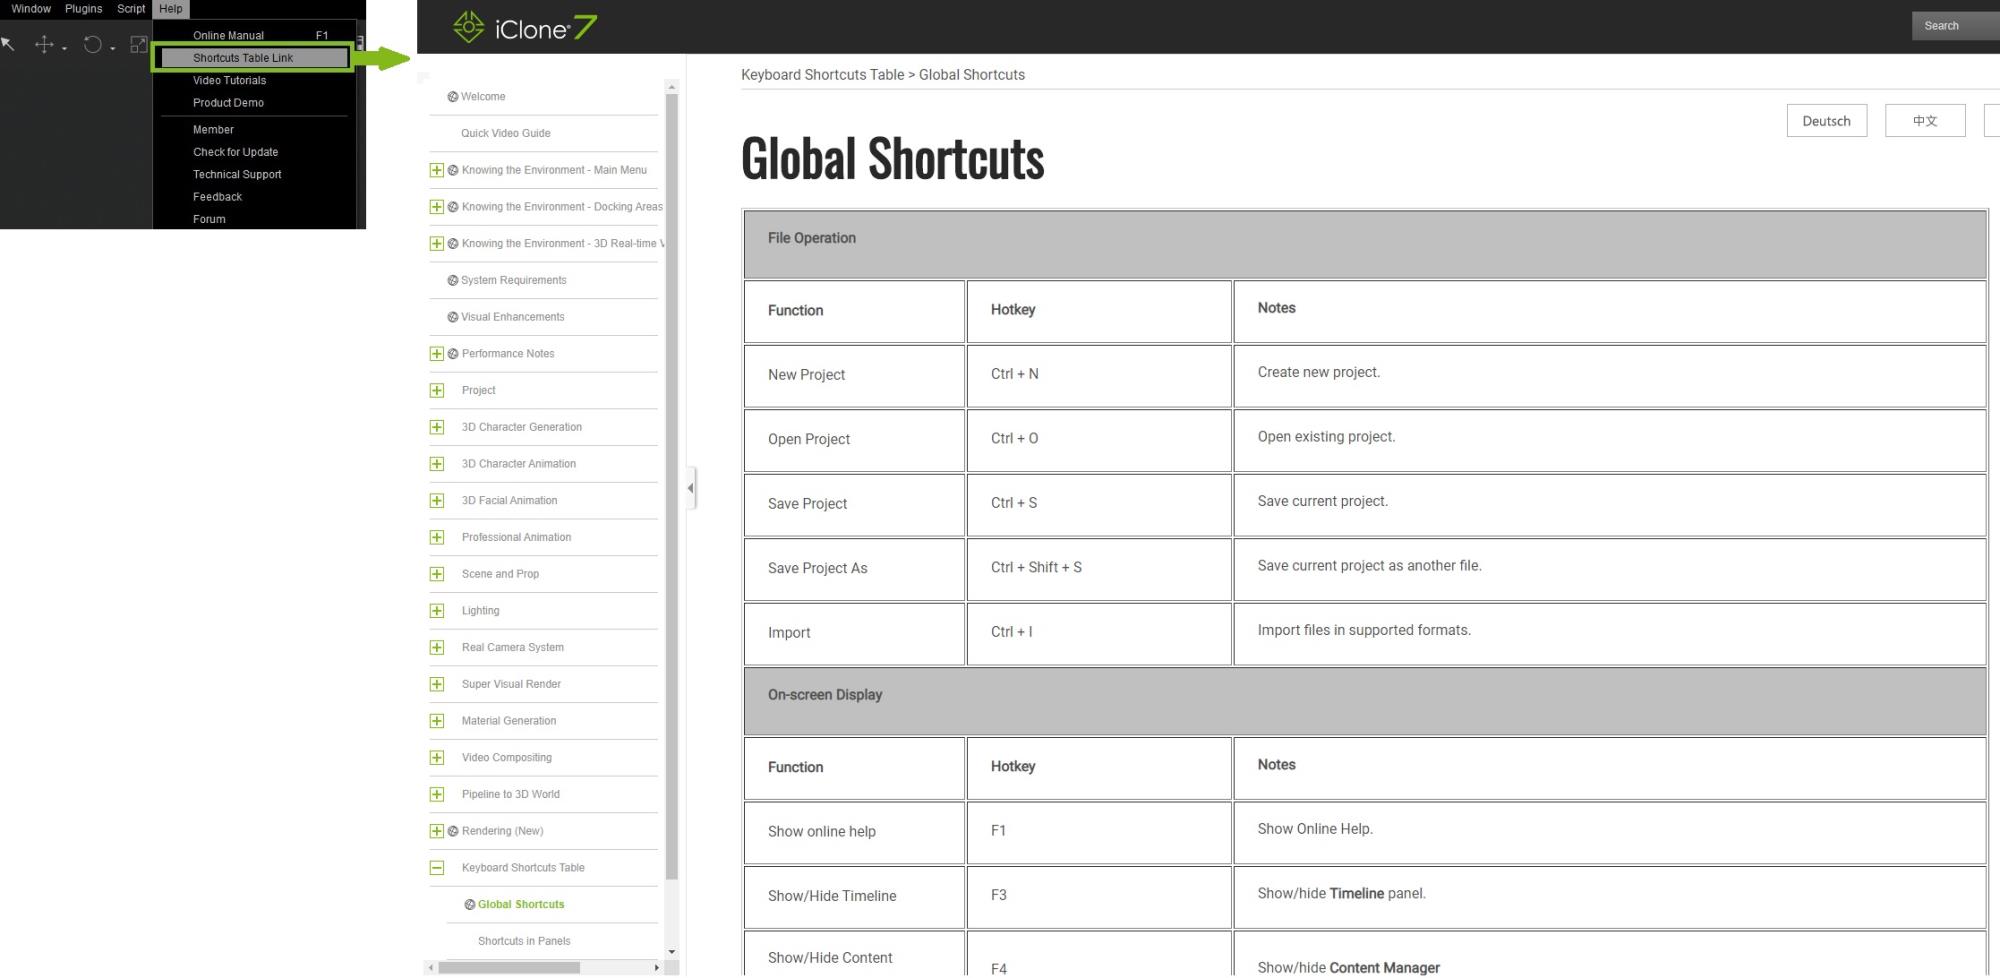
2. New-added Shortcuts Table Link in Help Menu
|
|
|
|
|
Grace (RL)
|
Grace (RL)
Posted 6 Years Ago
|
|
Group: Administrators
Last Active: Last Month
Posts: 497,
Visits: 5.1K
|
Ability to Save & Render Trial Content (with Watermark)
The DRM mechanism is enhanced in this version. Users are now able to save a trial content in the Content Manager, save a project file, render videos and images with watermark. - The rest of the trial content remains the same. Users are unable to export .obj or .fbx if your project consists of trial content unless you purchase it with export license.
- These changes start from iClone 7.7 and Character Creator 3.2. Cartoon Animator 4 will be updated in version 4.2.
|
|
|
|
|
Miranda (RL)
|
Miranda (RL)
Posted 6 Years Ago
|
|
Group: Administrators
Last Active: 3 Years Ago
Posts: 1.8K,
Visits: 11.2K
|
Hello everyone! iClone 7.7 is available for downloading now! Character Creator related updates can be found here:
Reallusion Team
|
|
|
|
|
wires
|
|
|
Group: Forum Members
Last Active: 4 Months Ago
Posts: 5.7K,
Visits: 26.5K
|
Excellent list of features, :cool::smooooth: really looking forward to see just what can be achieved. Thank you team. :)
Gerry
System: Win 10 Pro (21H2), Asus X99-E WS, CPU i7-5930K -3,5 GHz, 32 GB DDR4 2666-16 RAM, NVidia GTX 1080 Ti GPU - 11 GB VRAM(Driver Studio-536.99), Samsung 850 Pro 512 GB SSD, 6 TB HD storage.
|
|
|
|
|
pka4916
|
pka4916
Posted 6 Years Ago
|
|
Group: Forum Members
Last Active: 2 Years Ago
Posts: 366,
Visits: 1.4K
|
Iray Preview rendering is a lot slower now.
In the past when I do 20 frames, it takes 3-4 seconds. now it take 15-30 seconds.
Also, can a minimize button be added to the Iray Preview rendering screen?
|
|
|
|