|
Author
|
Message
|
|
martok2112
|
martok2112
Posted 14 Years Ago
|
|
Group: Forum Members
Last Active: Last Year
Posts: 1.6K,
Visits: 2.4K
|
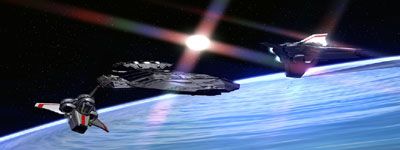
Hi, folks, Your friendly neigborhood Martok2112 with yet another sci-fi based tutorial....this time, I've taken up the role of terraforming....of a sort.....how to make at least cartoonish level habitable worlds for your starships to explore. Now, to get the best possible results, your little ball of paradise is going to consist of two spheres..... a water/ terrain sphere, and a cloud/atmosphere sphere. You will naturally need an external photo editor...preferably one that can work in layers....so, PhotoShop or GIMP ought to do nicely.....GIMP (for those who may not be aware, is a free photo-editor that is roughly on a scale with PhotoShop...so it oughtta serve your purposes just fine if you don't have a copy of PS lying around somewhere.) I've never worked with GIMP before, so everything I am teaching from is from the usage of PhotoShop. Hopefully, these will translate easily for GIMP users, as I do not know its user interface. So, onto the tutelage.....
"Incompetence will always prevail so long as evil men stand by and do nothing."
-Martok2112
|
|
|
|
|
martok2112
|
martok2112
Posted 14 Years Ago
|
|
Group: Forum Members
Last Active: Last Year
Posts: 1.6K,
Visits: 2.4K
|
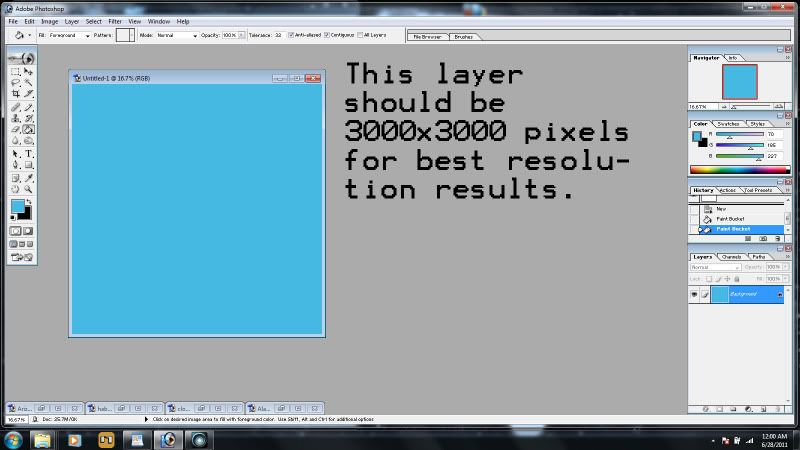 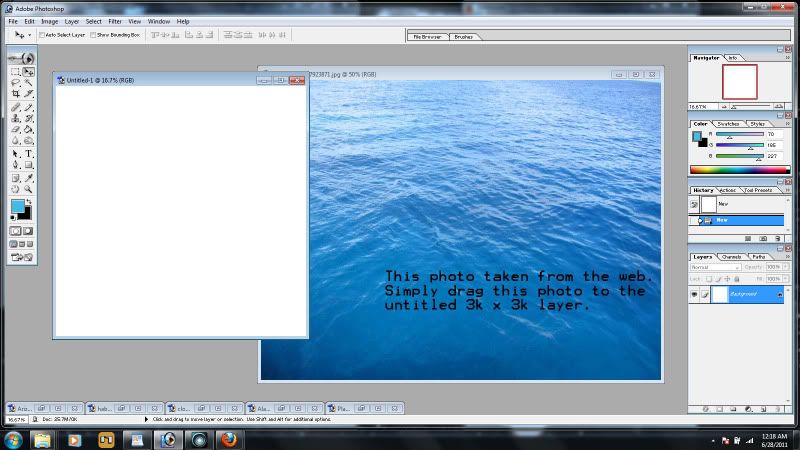 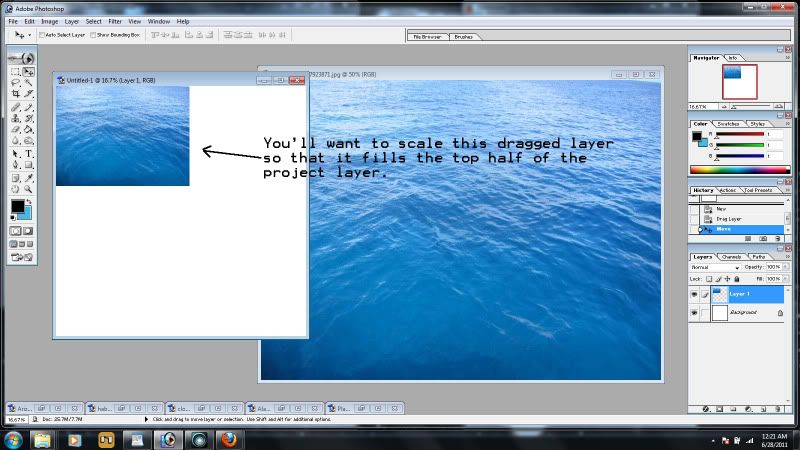 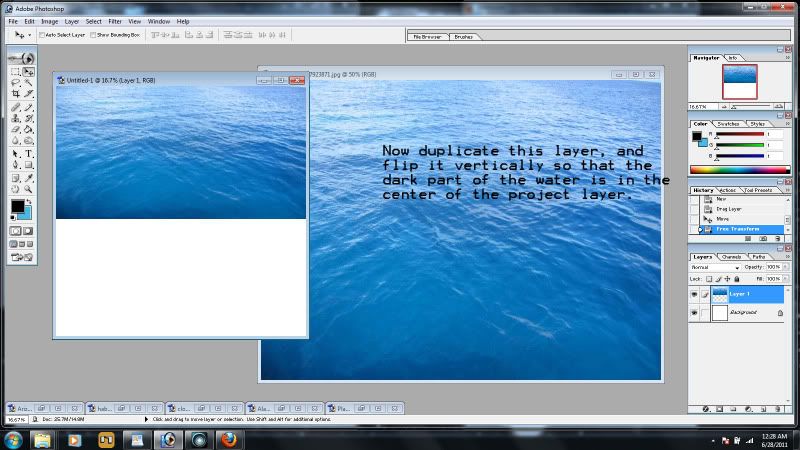 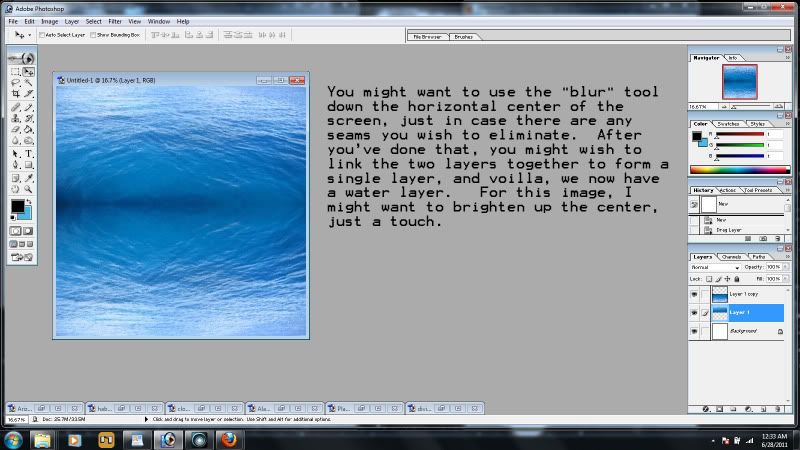 For each section of the planet, you're going to need to probably create a separate photo project, each around 3000x3000 pixels. Or maybe half that....but since you might want to use high-res photos for your planet's textures, 3k x 3k is a safe bet. Ok....first, the water layer....now you can do this one of two ways...you can either paint/fill a straight blue color....for more of the cartoony look which is the simplest approach....or you can go for the more photorealistic look by Googling (or whichever search engine you prefer) photos of the ocean....some top down views would be good. If you go for the photorealistic look, I would recommend that you take that photo, make it a layer on your water project, scale it down to half its vertical size, and move that piece to the top of your water layer photo-project. Then, duplicate that layer and flip it as a vertical mirror image of the previous layer, move it to the bottom half of the project. Most of the rescaling and mirroring/flipping functions are found under the Edit tool in the toolbar of PhotoShop. Once you've gotten both layers in place, link them, and then merge them so they form a single image. Then you might want to use the SMOOTH tool to work out any seams you might have along the horizontal center. When you're done tweaking your ocean image, save it as a jpg or bmp, name it and locate it appropriately, and voilla.
"Incompetence will always prevail so long as evil men stand by and do nothing."
-Martok2112
|
|
|
|
|
martok2112
|
martok2112
Posted 14 Years Ago
|
|
Group: Forum Members
Last Active: Last Year
Posts: 1.6K,
Visits: 2.4K
|
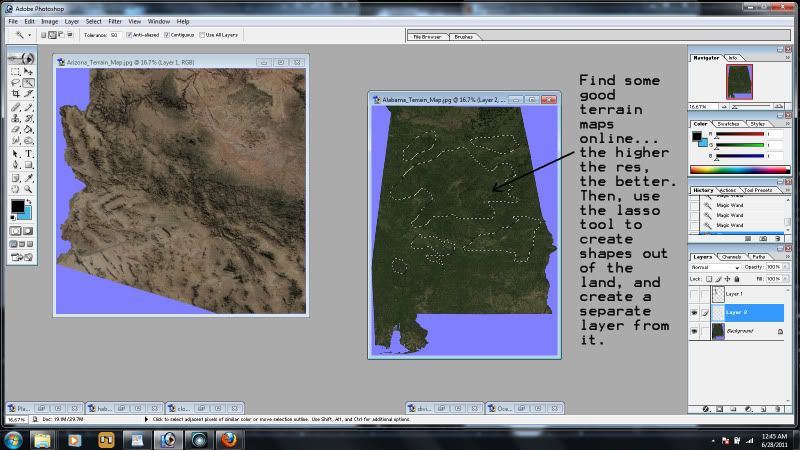 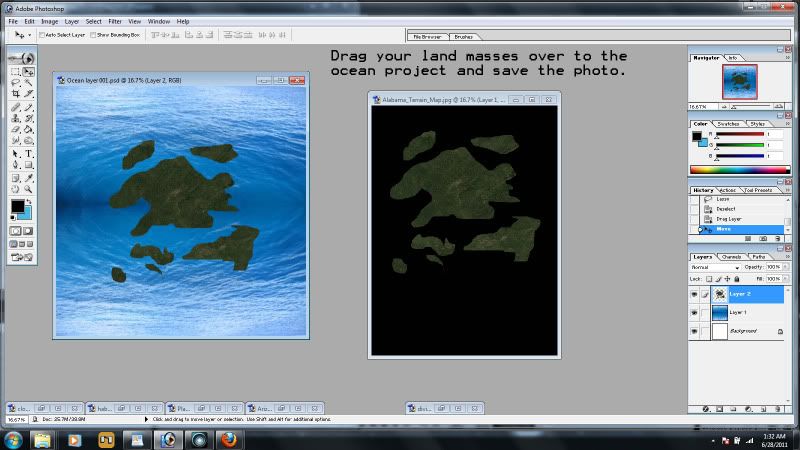 Now we move on to the land layers. As with the ocean layer, look up some top down views of land on the Internet. Get all the different types you can, forest, jungle, desert, arctic....and again, they're best if they are top-down views. Now, what you'll want to do with the land photos are go into either the lasso or polygonal tool, and start creating shapes within the land. Now, I'm not a topographer, or a geologist, so don't ask me about plate techtonic theory and stuff like that...and honestly, you shouldn't really have to worry about that either. LOL! Ok, you've made your land mass shapes? Good, now, make the polygonal or lassoed shapes into a new layer, and then turn off the back ground layer. Cool. Now, drag your land mass layer over to the ocean layer project, and scale accordingly, depending on how much you want your land masses to cover the ocean. When you're satisfied, save this as a jpg or bmp. Keep in mind that your landmass oceansphere is going to have a mean assed seam on the back of the sphere....that's an area we really DON'T want to photograph when rendering for our space scenes...but it's alright because most sci fi movies rarely, if ever, show a planet in its entirety. So in effect, every time you photograph/render this planet, you're gonna wanna give us its "best side". :)
"Incompetence will always prevail so long as evil men stand by and do nothing."
-Martok2112
|
|
|
|
|
martok2112
|
martok2112
Posted 14 Years Ago
|
|
Group: Forum Members
Last Active: Last Year
Posts: 1.6K,
Visits: 2.4K
|
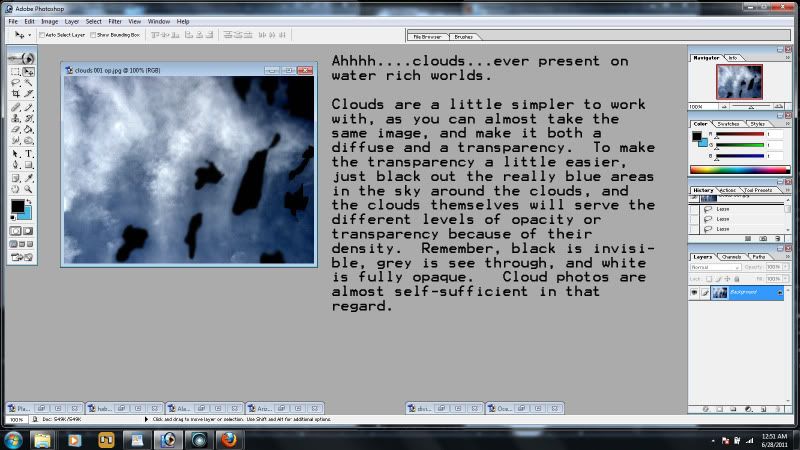 Next, the clouds. Clouds are almost self-sufficient in terms of creating an opacity layer for them, since there are different levels of density in the clouds. Remember, BLACK is invisible, GREY is see-through, and WHITE is fully opaque. All we want to worry about is blacking out the blue sky around the clouds....so use whatever method you're comfortable with, and make the blue sky areas black. By doing this, you can use the same jpg/bmp for both diffuse and opacity layers on your cloud/atmosphere.
"Incompetence will always prevail so long as evil men stand by and do nothing."
-Martok2112
|
|
|
|
|
martok2112
|
martok2112
Posted 14 Years Ago
|
|
Group: Forum Members
Last Active: Last Year
Posts: 1.6K,
Visits: 2.4K
|
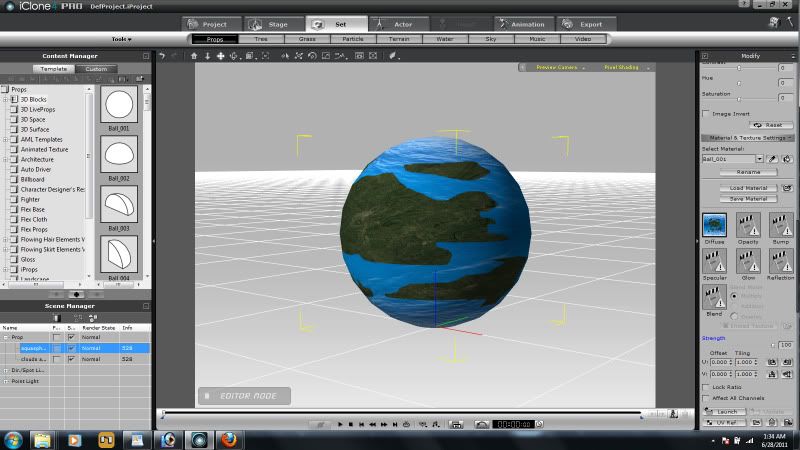 Alright, now we go to iClone... We're going to make two spheres, each one ever so slightly larger than the other. First the aqua and land mass sphere. Go into SET>PROPS>TEMPLATE>3D BLOCKS and select a "ball" primitive. Then simply click on the DIFFUSE box under Material and Texture settings, and place your water/land mass photo , or your flat shade of blue with land masses. Voilla, you've just created your water and land mass sphere.
"Incompetence will always prevail so long as evil men stand by and do nothing."
-Martok2112
|
|
|
|
|
martok2112
|
martok2112
Posted 14 Years Ago
|
|
Group: Forum Members
Last Active: Last Year
Posts: 1.6K,
Visits: 2.4K
|
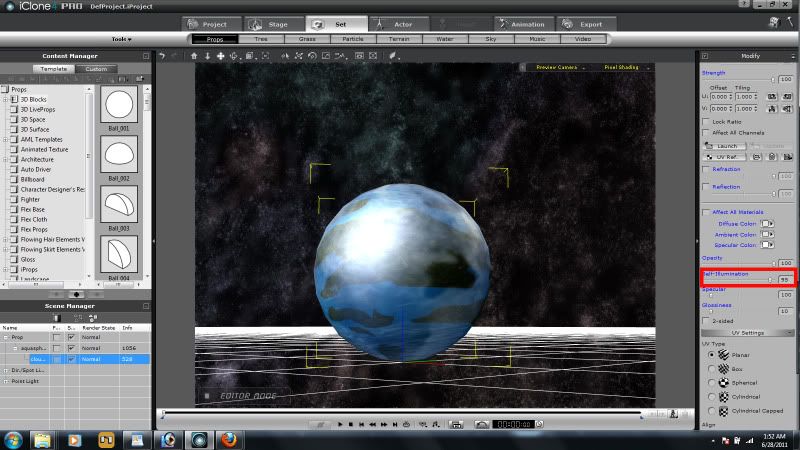 Now come the clouds, so, same procedure as before....create a new sphere, slightly larger than the land mass sphere. This might be a scale x,y,z 101.0. Now, add in the cloud image to both the diffuse and opacity boxes. As you can see, you can see through the clouds to the water and land masses below. You can add a little specular and self illumination effect to the cloud sphere to give your planet that reflective quality it might have from the local sun. Might want to child the cloud sphere to the land/water sphere....but don't merge them. Just parent/child 'em. That way you can monkey around with their individual brightness, contrast and other settings at a later time, to see what other effects you can come up with for your planet. And there you go....congratulations. You've just terraformed your first world. :)
"Incompetence will always prevail so long as evil men stand by and do nothing."
-Martok2112
|
|
|
|
|
Mel H
|
Mel H
Posted 14 Years Ago
|
|
Group: Forum Members
Last Active: 10 Months Ago
Posts: 399,
Visits: 8.2K
|
Thanks Martok
Carmello Holden
|
|
|
|
|
Christy0
|
Christy0
Posted 14 Years Ago
|
|
Group: Forum Members
Last Active: 10 Months Ago
Posts: 1.0K,
Visits: 2.7K
|
That's brill Martock, another great tutorial. You are saving us hours of trying to figure out how to do things like this ourselves. Keep em' coming, :)
|
|
|
|
|
martok2112
|
martok2112
Posted 14 Years Ago
|
|
Group: Forum Members
Last Active: Last Year
Posts: 1.6K,
Visits: 2.4K
|
Thank you both. :) Most kind. :)
"Incompetence will always prevail so long as evil men stand by and do nothing."
-Martok2112
|
|
|
|
|
The Mythical Dragon
|
The Mythical Dragon
Posted 14 Years Ago
|
|
Group: Forum Members
Last Active: 4 Years Ago
Posts: 1.1K,
Visits: 4.7K
|
|
|
|
|