Hi,
Nowadays, movies Directors of Photography use more and more what is called "False Colors" in order to control and set the camera exposure. They barely use light meters anymore for this, only for checking contrast on their subjects from different light sources.
With digital cameras you can directly see in realtime what the sensor is capturing so it is easy to make some adjustments directly by looking at that result, False Colors being a way to be more precise than doing it just by "eye". This is also a way to decouple exposure "values" from specifics from the camera (ISO or rather Gain, Aperture, Shutter, ND filters, ..) to a normalized 0% to 100% range (you will see sometime the term IRE but this is nothing more than percentage really). If you light an object to be in the 20% to 30% range, it will look the same, ultimately, whatever combinaison of Gain, Aperture, Shutter you set on different camera (in terms of exposure that is).
Using False Color is nothing more than applying a colored gradient to the luminosity of your image. So you can have red near black areas and yellow or white near the brightest areas. Here is one I made in Photoshop:
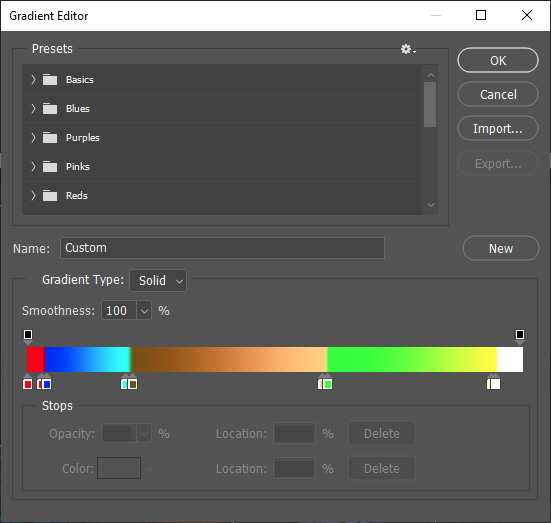
Colors from left to right will be applied on your image areas from full dark to full bright.This gradient one is a bit more complicated than a simple gradient.
Notice there is a middle range that has a kind of brownish gradient of color. This is what we call the Skintone range and it is supposed to show where should be exposed your subject (face) to be correctly exposed while maintaining sufficient space for informations above (lighter) and below (darker). This is obviously relatively subjective and each DP has his preferences (depending on the quality of the camera sensor, its "color science" and obviously its dynamic range). I chosen mine to be between 20% and 60% which is a bit wide (you will usually see 50% to 70% in movies) but this is due to the very limited dynamic range of what we get from the iClone renderer without proper Tone Mapping.
Notice there are also extreme areas, on the left (red) and right (white), kind of a safeguard zones. You don't want to have 0 information in some areas of your image nor clipped informations (except on purpose like lights and some reflection highlights).
So what do I do with that gradient ? I've created a special effect LUT for iClone so I can apply this gradient directly to the final image. Download the attached FalseColors_20-60.rar file that contains a
FalseColors_20-60.iEffect file and put it in your effect template.
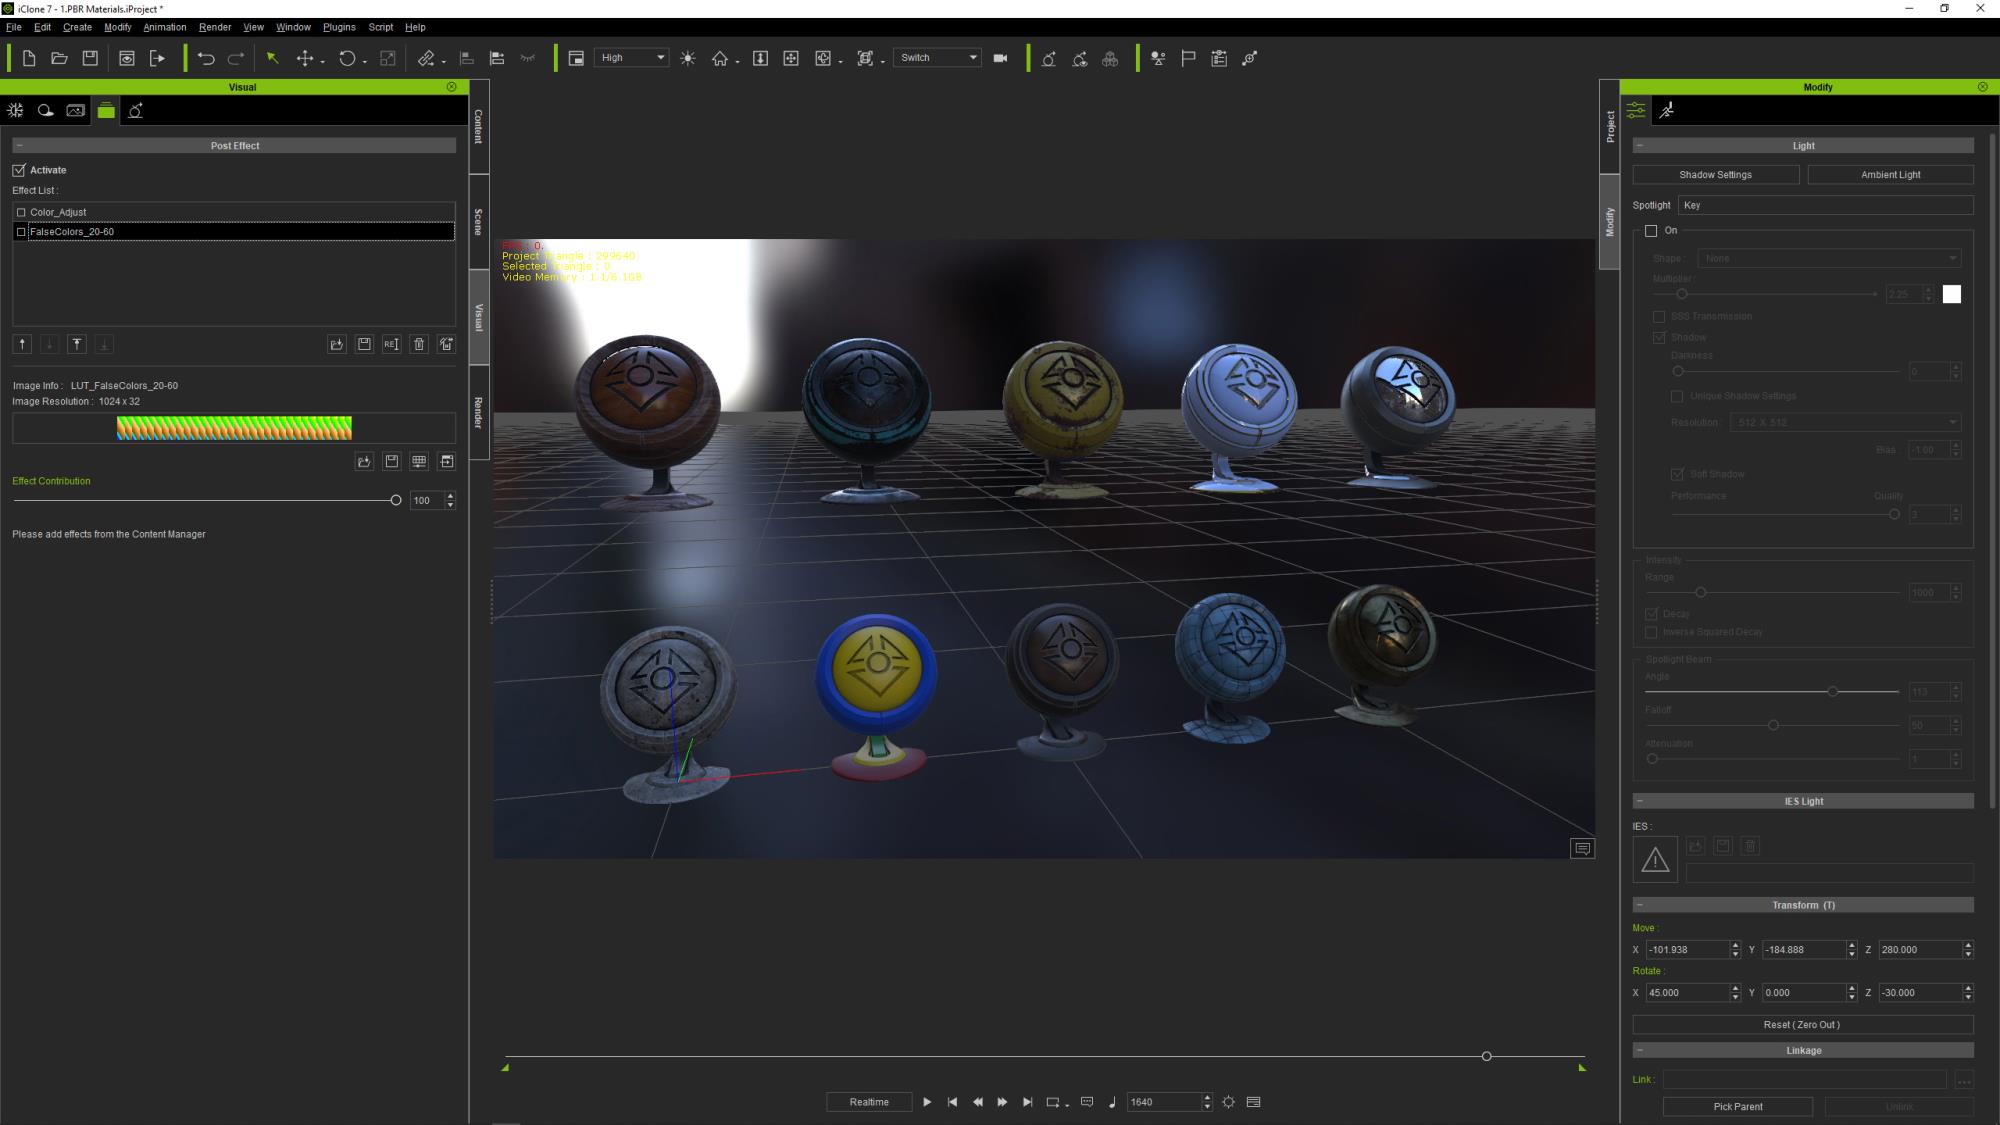
Now lets try it in iClone. Load the sample PRB Materials project and go to the frame 1640:
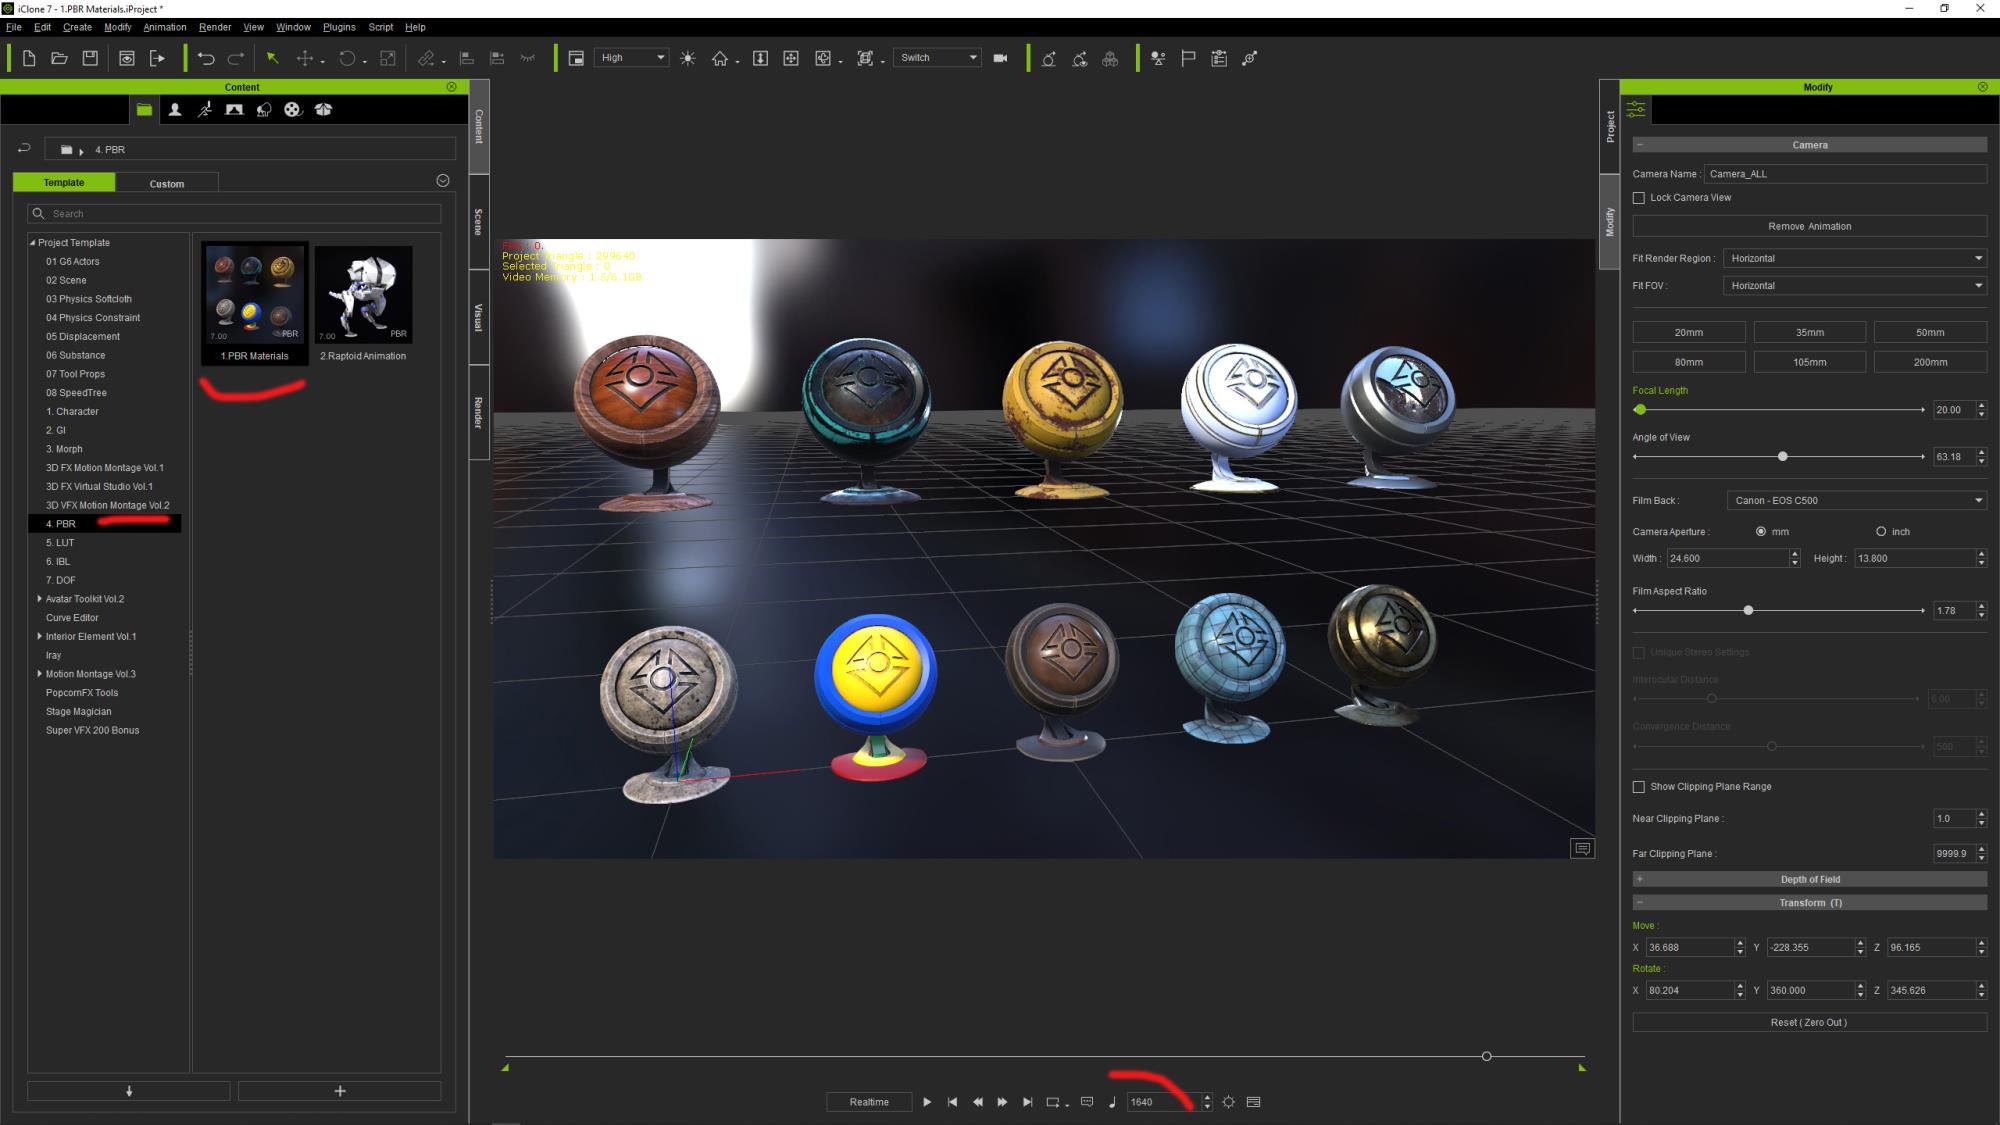
Go to the Visual -> Effect Tab and remove the 2 default ColorAdjust effects. Then load the iEffect you got from here. Activate only the "FalseColors_20-60 effect, you should now see something like that:
We can clearly see there are white and yellow on some critical areas on the dummy material objects that shows those are overexposed.
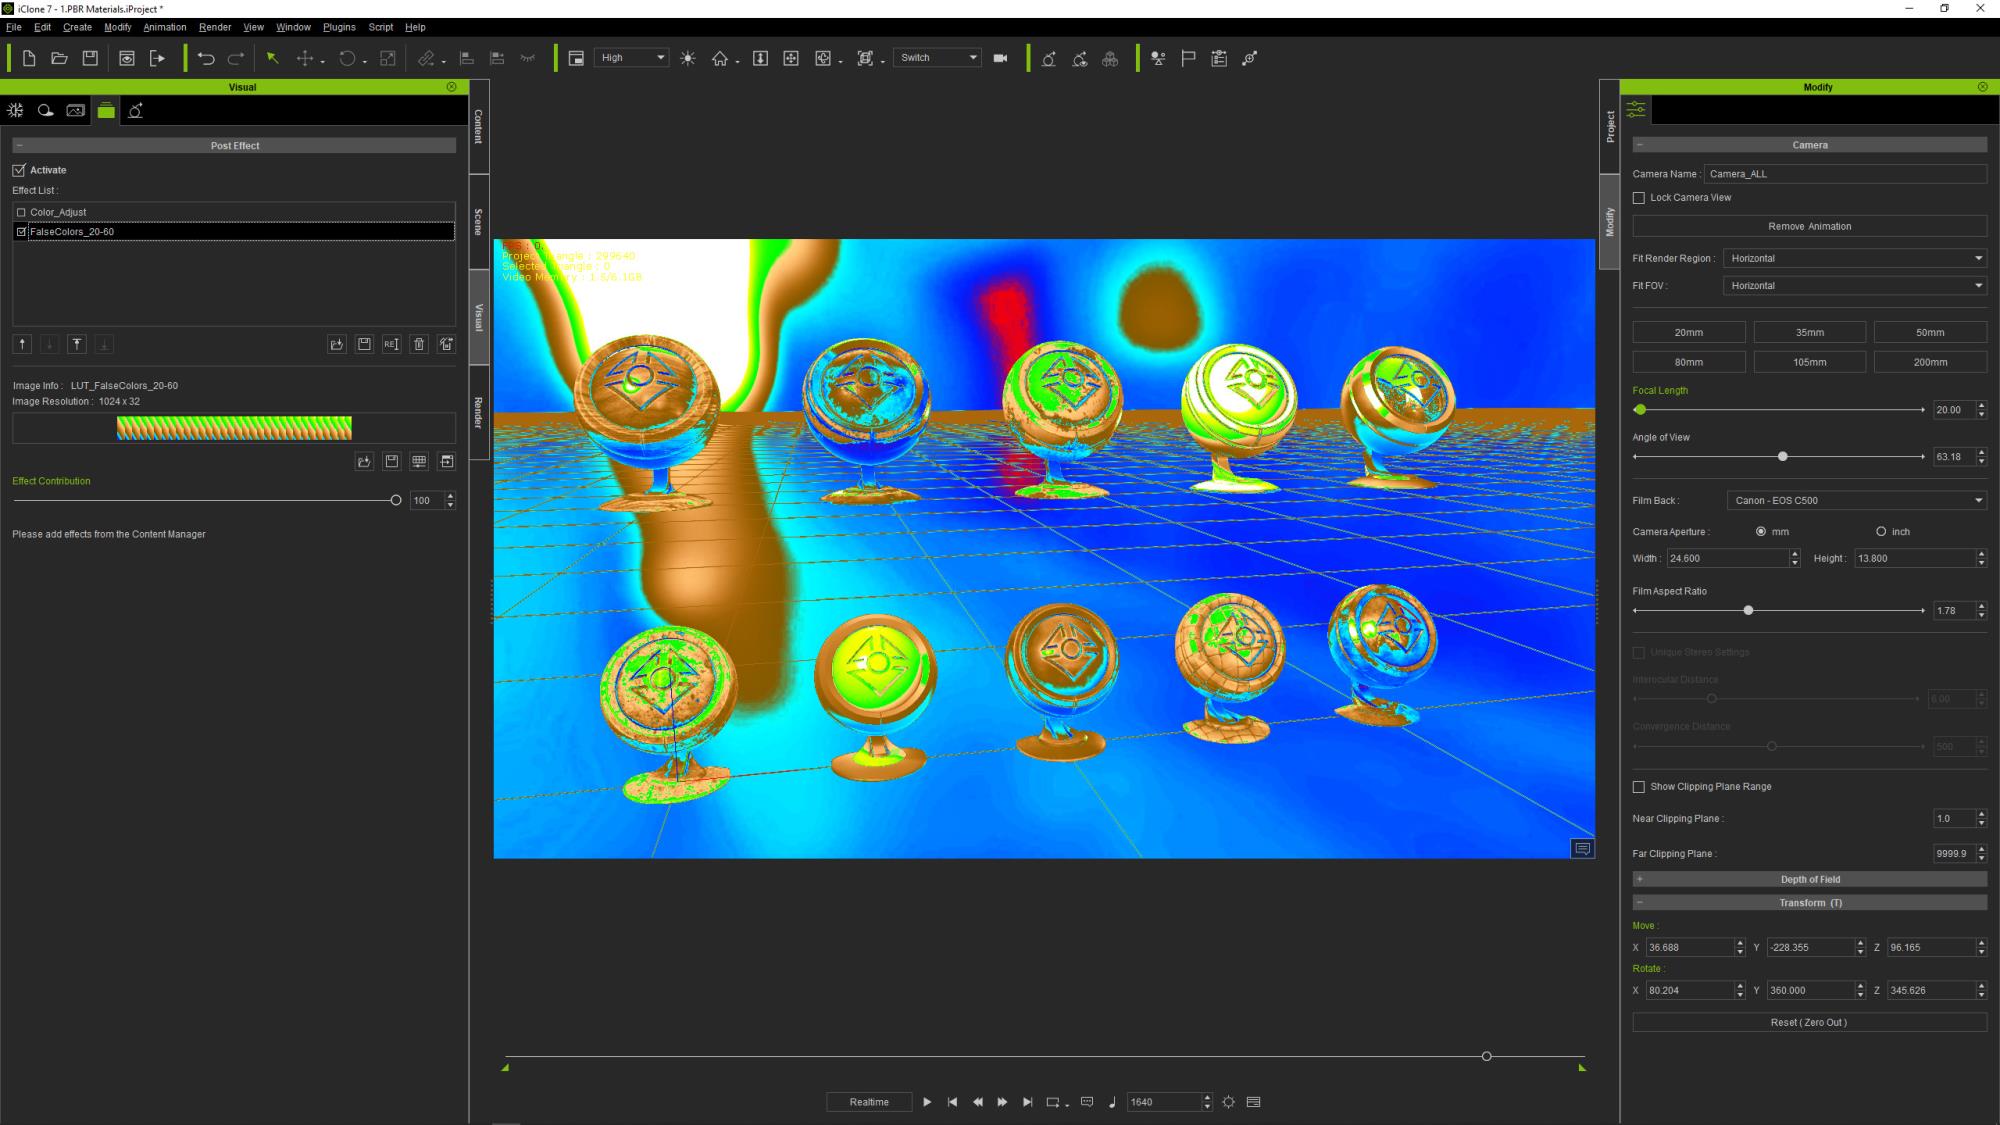
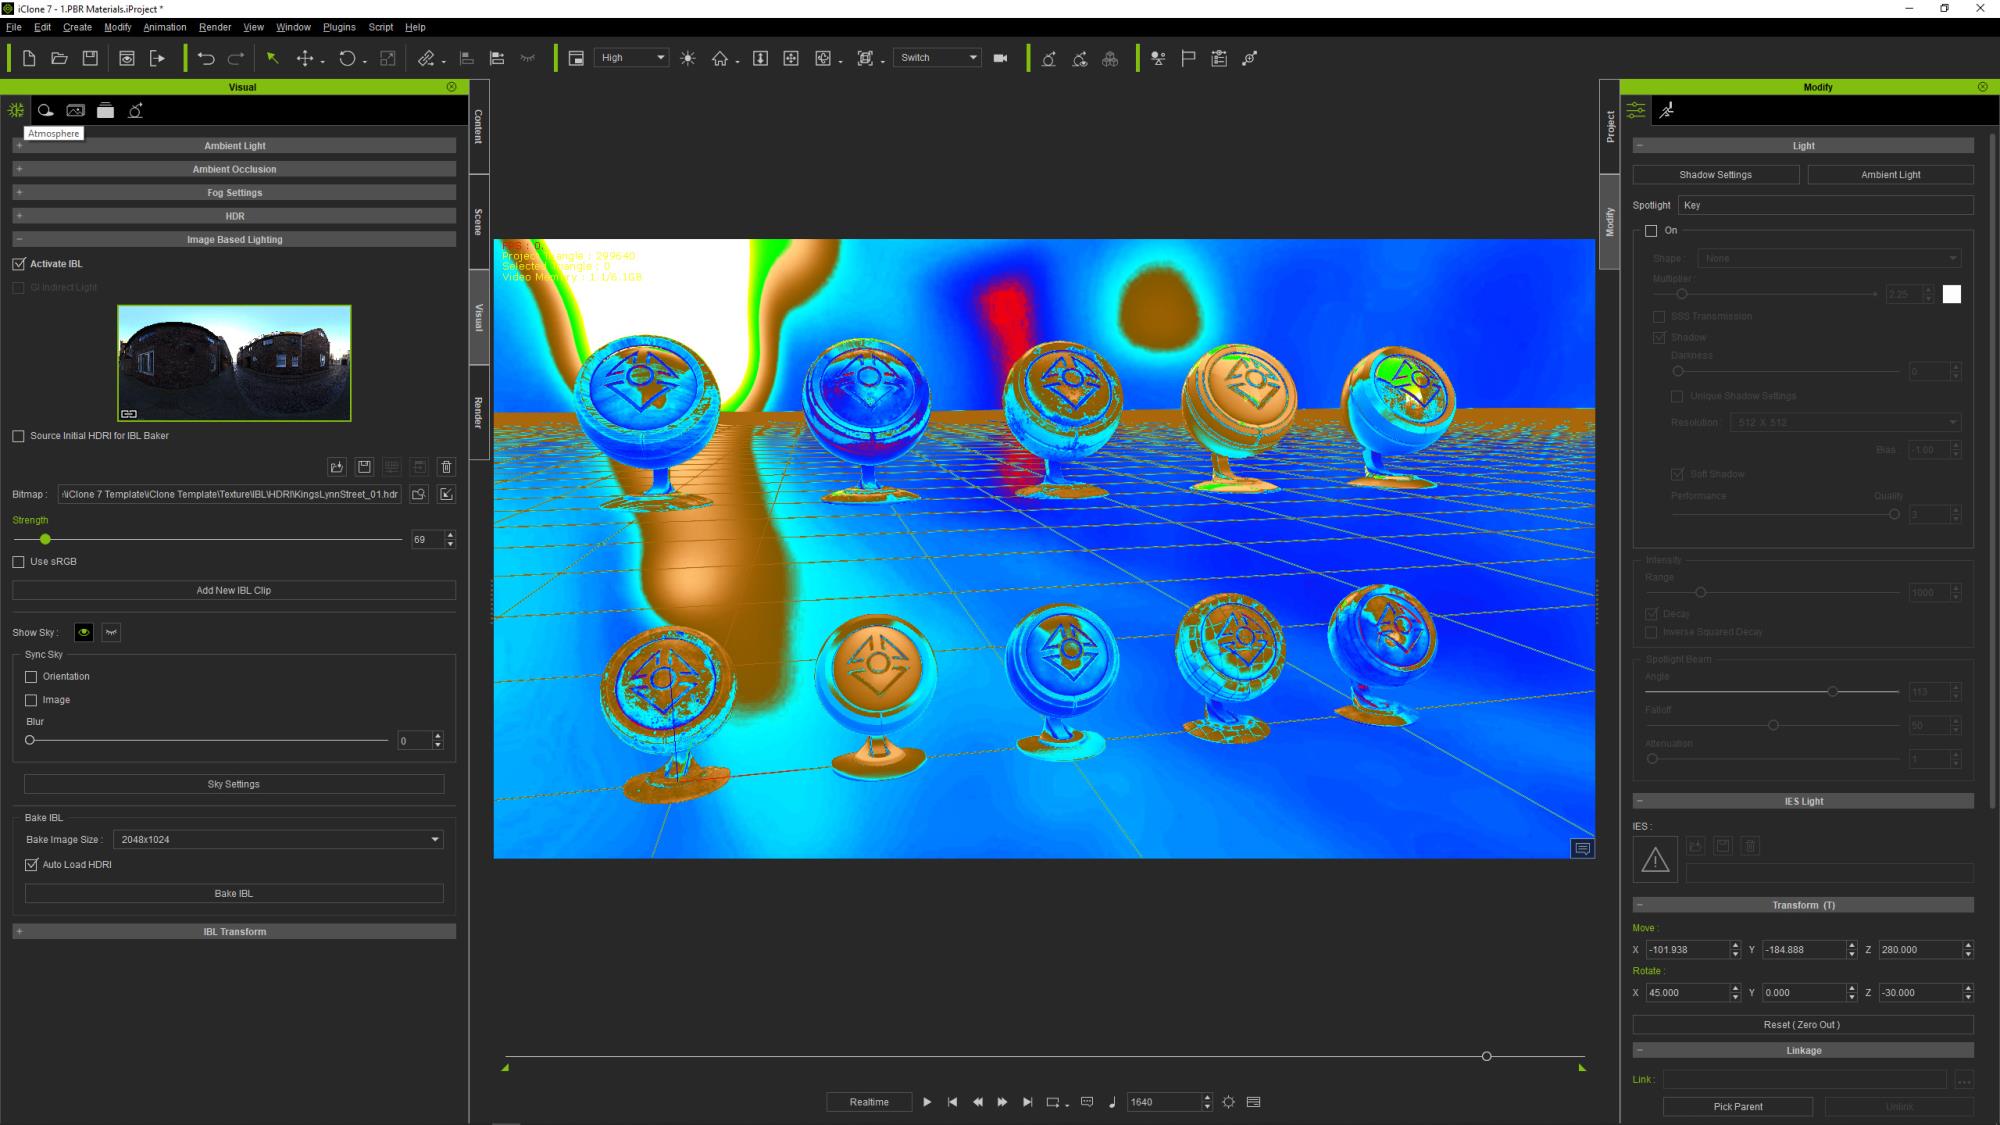
We will try to start from scratch, disable the IBL light and the 3 scene lights, then I like to start with the "ambient" lighting by playing with the IBL strength so that there are information in the dark areas, try to remove reds but not too much strength, just so we start to see the skintone in some places:
And if you deactivate the False Colors you should have something like that:
And this is exactly what we want, an ambient lit scene without 0/red area. Now we can play with the scene Key light, Rim and Fill lights until we get something we like while being careful to not introduce too much yellow and avoid white area except where it makes sense (direct light and reflection highlights):

And the resulting exposed image:
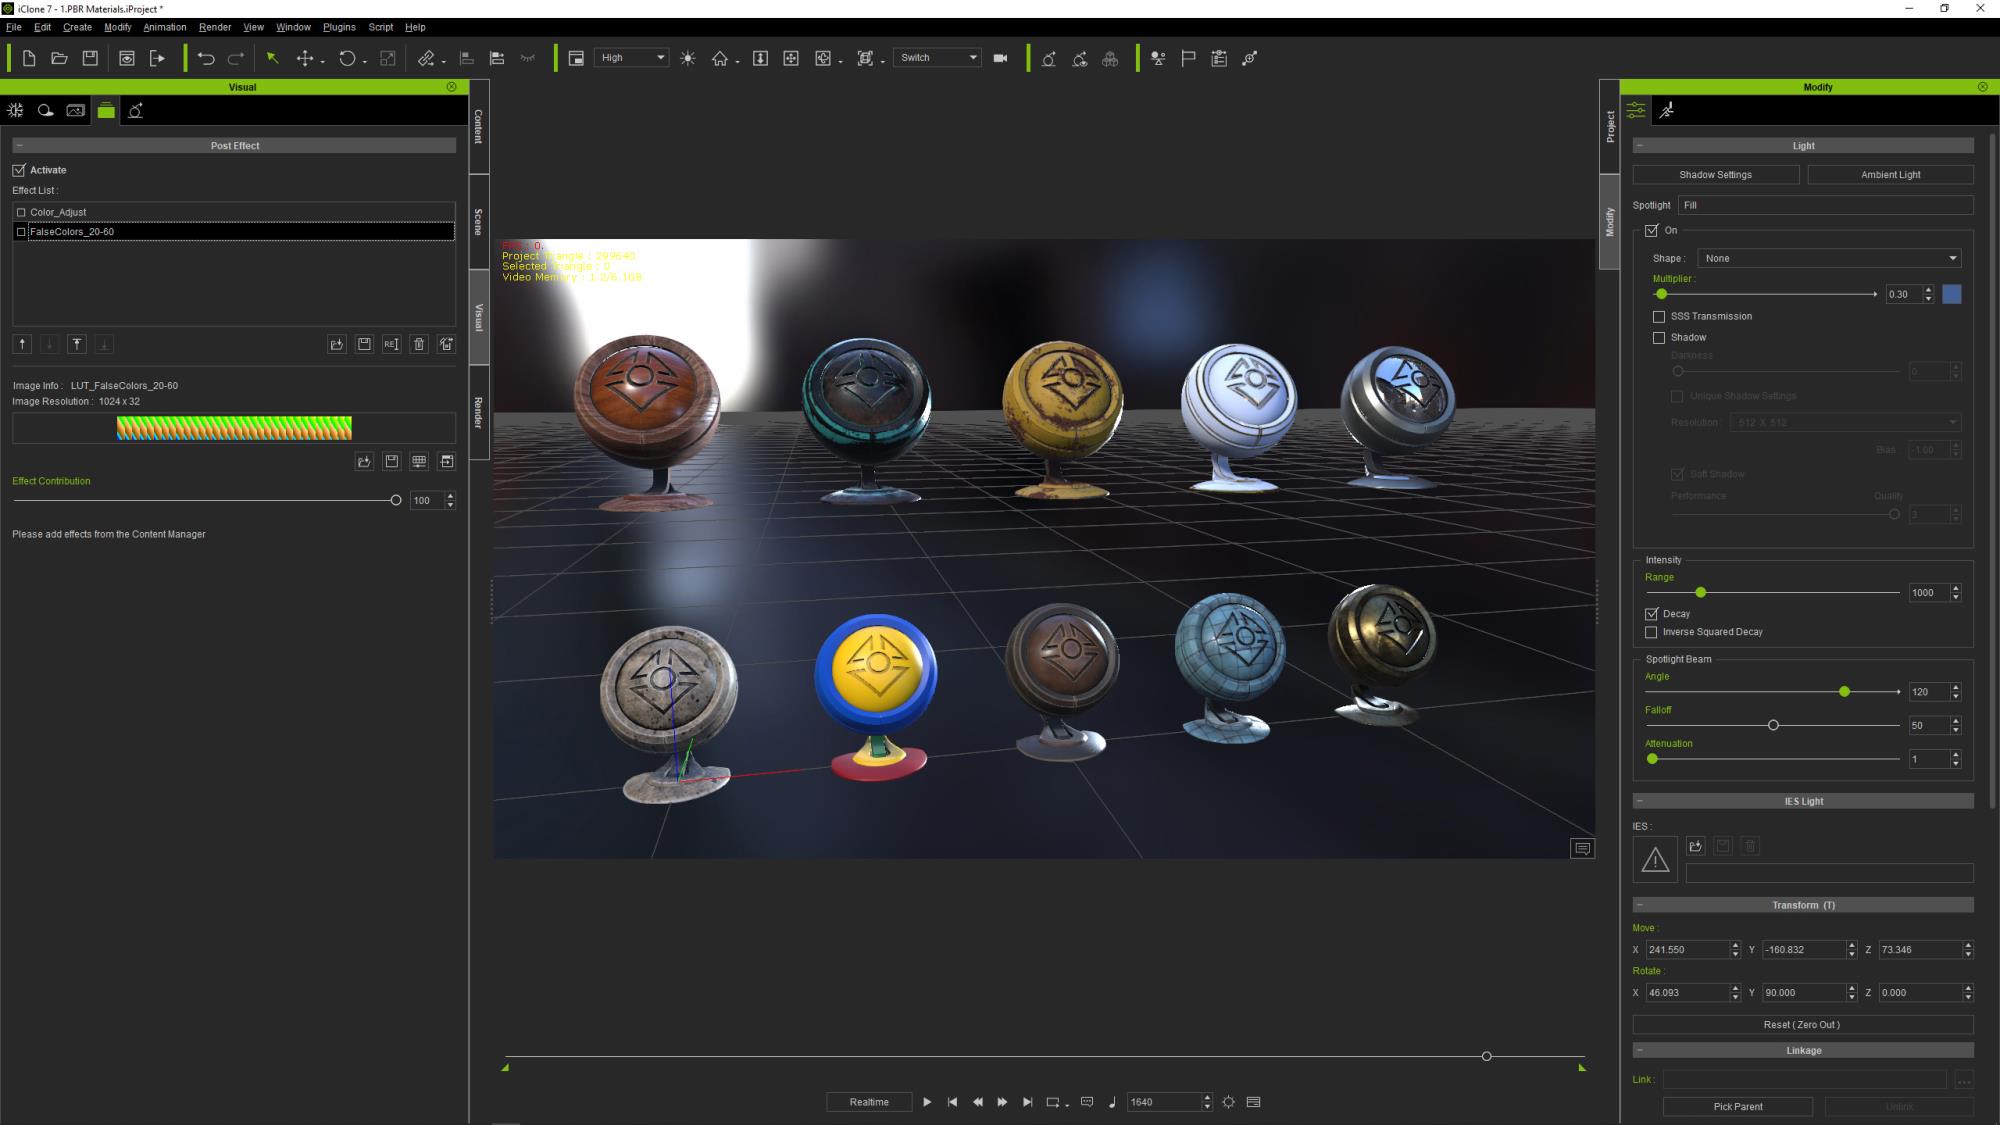
Now if you carefully compare this result with the first image after we opened the scene you will notice that we have been able to retrieve valid color information from the white dummy "iClone7_MaterialBall_04" that had large clipped areas in its high lit areas. Accordingly, we have retrieved valid color information from the yellow "iClone7_MaterialBall_07" that had large "burnt" areas in its high lit areas.
By using this False Color method to control the exposure of the rendering of our images we clearly see that we can precisely adjust any kind of combinaison and quantity of light sources (HDRI IBL Lights GI etc..) so the image will be perfectly exposed. No area with black value, no burnt nor clipped areas unless on purpose.
We really are "in control" and as such we can have consistent exposure from one shot to another one, from scene to scene.
Of course you are not obliged to use this particular LUT/Gradient, you can create your own that may better suit your style, as long as it protects you from absolute dark areas as well as burnt and clipped ones.
--
guy rabiller | GOETZIWOOD STUDIOS
"N.O.E." (Nations Of Earth) Sci-Fi TV Show, Showrunner.