|
justaviking
|
justaviking
Posted 7 Years Ago
|
|
Group: Forum Members
Last Active: Last Year
Posts: 8.2K,
Visits: 26.5K
|
@Animagic, Great step-by-step example. Very clear. Very well done. Two comments: A) In Step #10, you can also drag-and-drop the texture from Windows Explorer onto the texture slot in iClone. That can be a convenient shortcut. B) The "rectangular" textures should not have been rotated 90-degrees, it just needed to be stretched to fit. But that does not undo your great example. In fact, it provides additional insight into the process. So I choose to belive you did that on purpose. Bonus comment: C) Actually, the "rectangular" image probably needs to be scaled a lot, and then tiled 6 times so that you have 6 blue segments going around the chip. Then probably rotate the "top" image so the blue segments of the top chip line up with the blue sides of the top chip, if needed. 
iClone 7... Character Creator... Substance Designer/Painter... Blender... Audacity...
Desktop (homebuilt) - Windows 10, Ryzen 9 3900x CPU, GTX 1080 GPU (8GB), 32GB RAM, Asus X570 Pro motherboard, 2TB SSD, terabytes of disk space, dual monitors.
Laptop - Windows 10, MSI GS63VR STEALTH-252, 16GB RAM, GTX 1060 (6GB), 256GB SSD and 1TB HDD
|
|
Data Juggler
|
Data Juggler
Posted 7 Years Ago
|
|
Group: Forum Members
Last Active: 9 Months Ago
Posts: 1.8K,
Visits: 5.6K
|
I am trying to create a poker chip from a cylinder that is collapsed down very small as shown below. Is this a good use case for 3D Coat? Thanks, I tried applying an image as a material texture and that didn't work, or I didn't know how to do it. 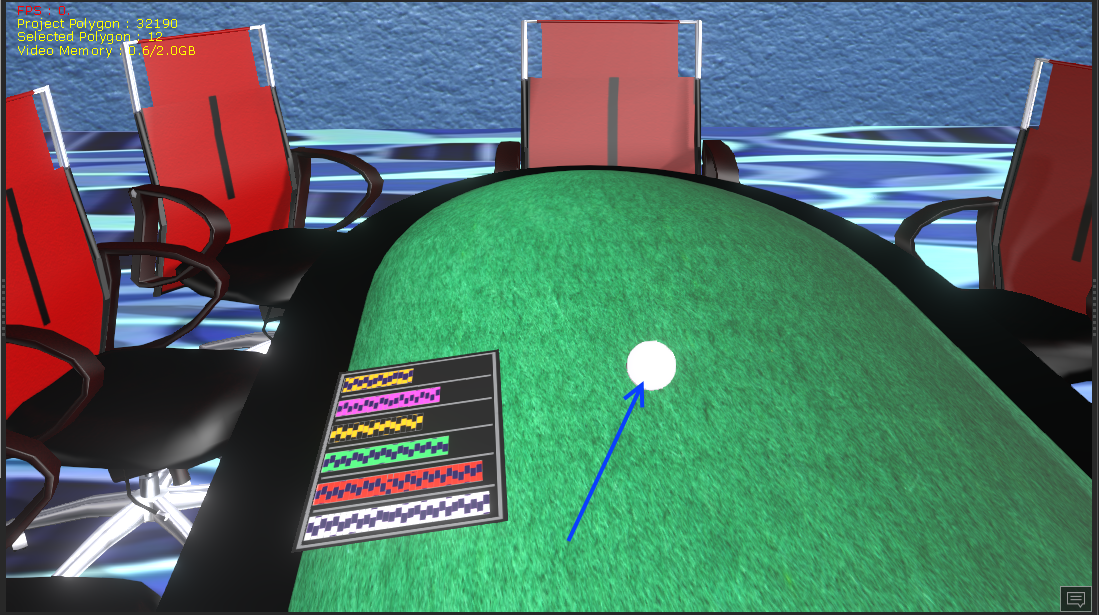 And I would like to apply this image to both sides:  And for double jeopardy bonus point question, a way to paint the side of the chip similar to one of these chips:  Creator of the free website:
PixelDatabase.Net
A Free Online Text Based Image Editor

|