|
Author
|
Message
|
|
CCoward
|
|
|
Group: Forum Members
Last Active: Last Year
Posts: 27,
Visits: 148
|
Hello everyone, So this will be the second of Two Characters I wanted to make for this contest. Simply known as "The Barbarian" this is a character I designed him while trying to learn a LOL style of concept art. and now I wanna make him in 3D. It's gonna be tough to do 2 Characters, but I think Im Up for the Challenge. 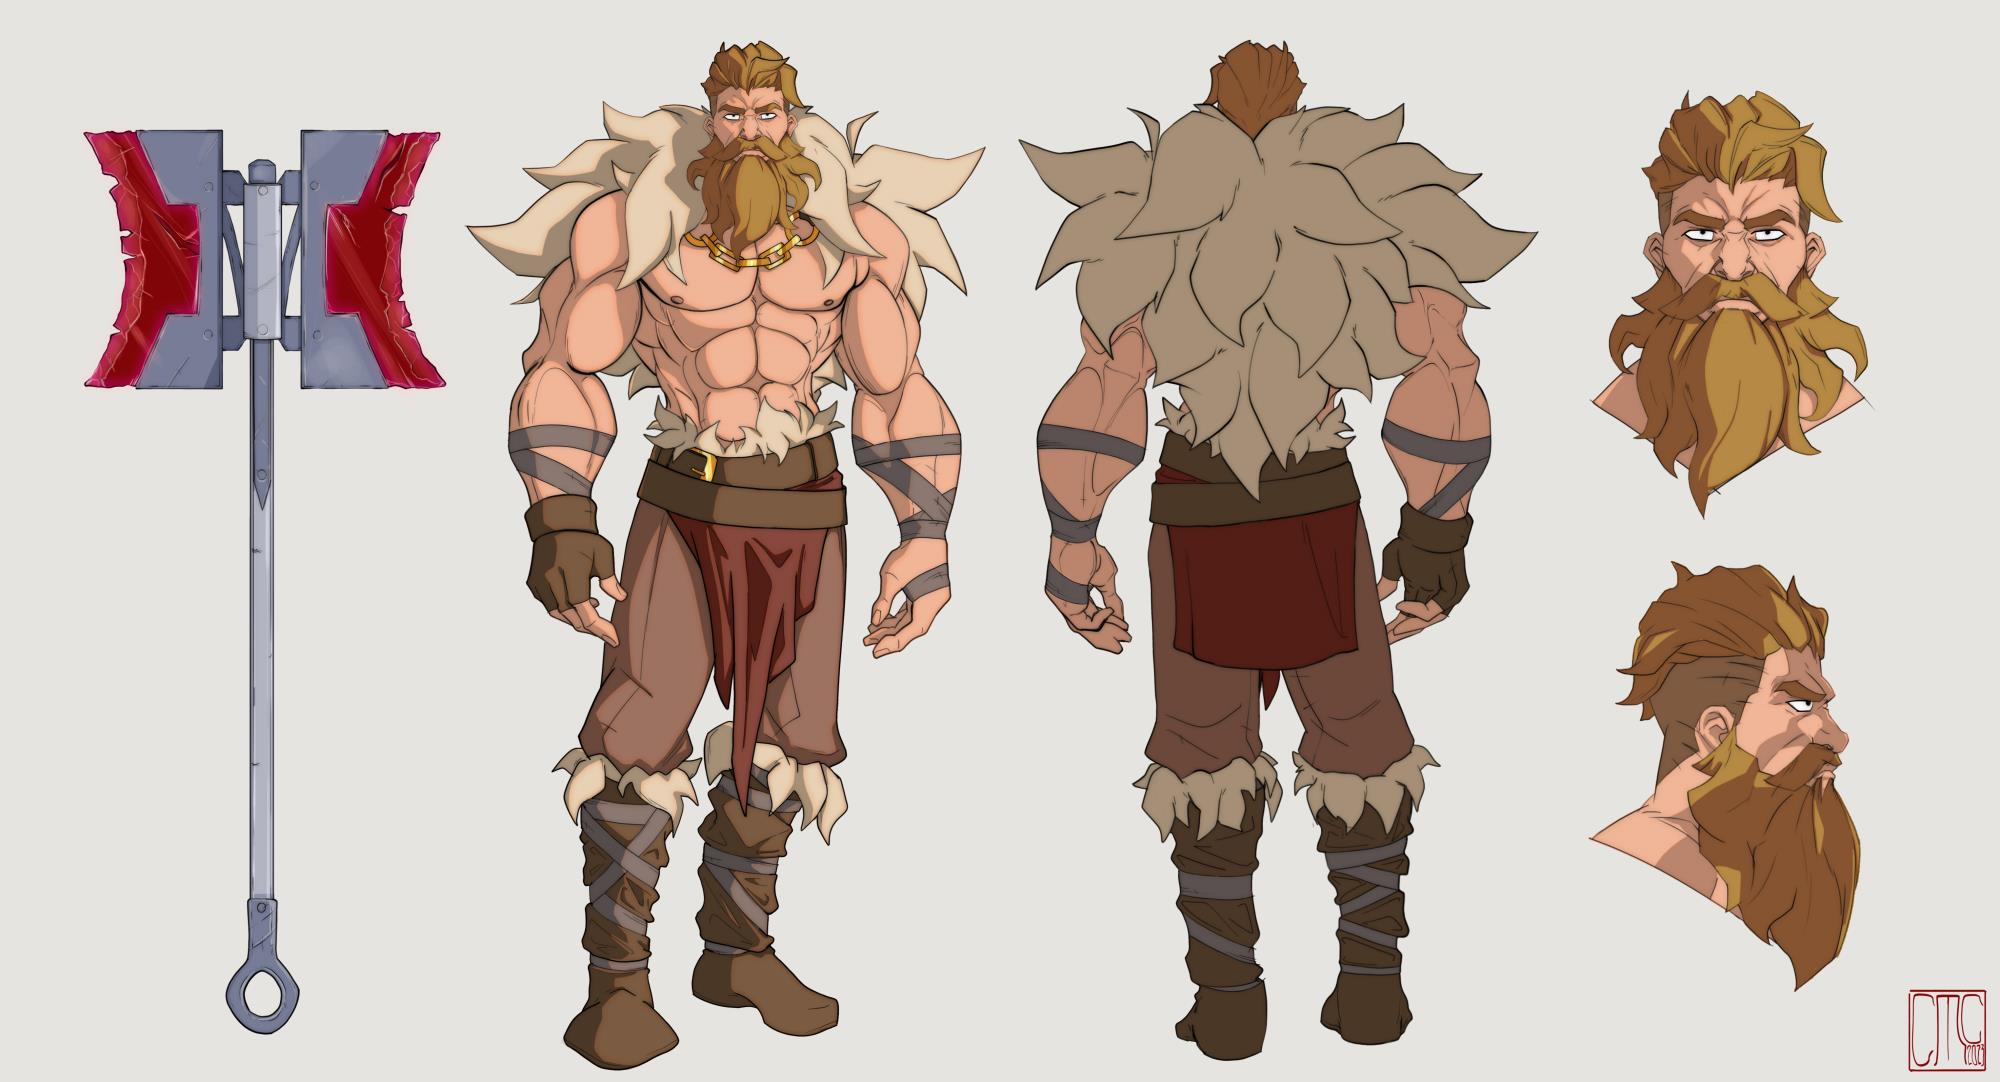
|
|
|
|
|
CCoward
|
|
|
Group: Forum Members
Last Active: Last Year
Posts: 27,
Visits: 148
|
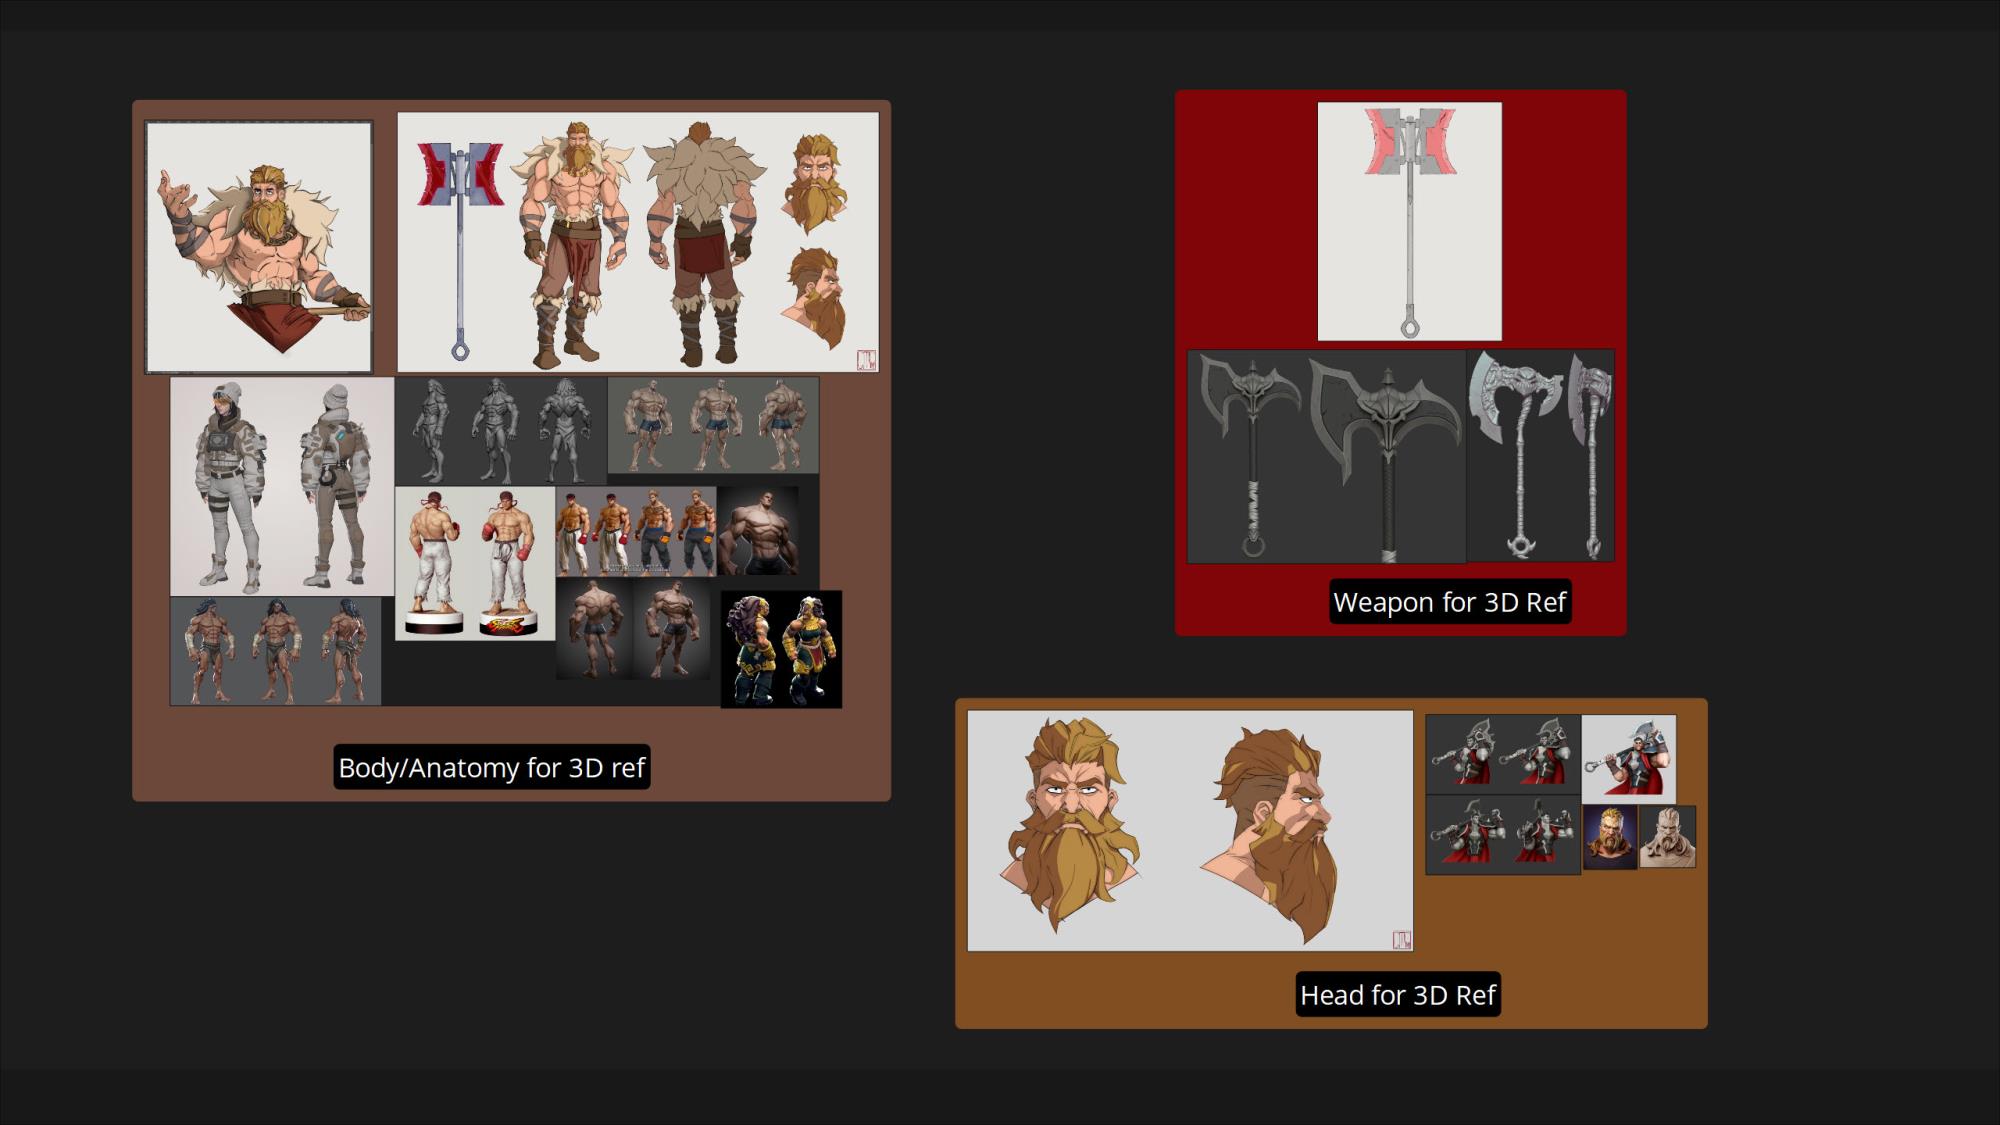 The best part about having designed the character in 2D already is that it makes reference significantly easier. I only had to find reference of the 3D look I wanted to go for. I specifically found reference for the head, body, and weapon. The best part about having designed the character in 2D already is that it makes reference significantly easier. I only had to find reference of the 3D look I wanted to go for. I specifically found reference for the head, body, and weapon.
|
|
|
|
|
CCoward
|
|
|
Group: Forum Members
Last Active: Last Year
Posts: 27,
Visits: 148
|
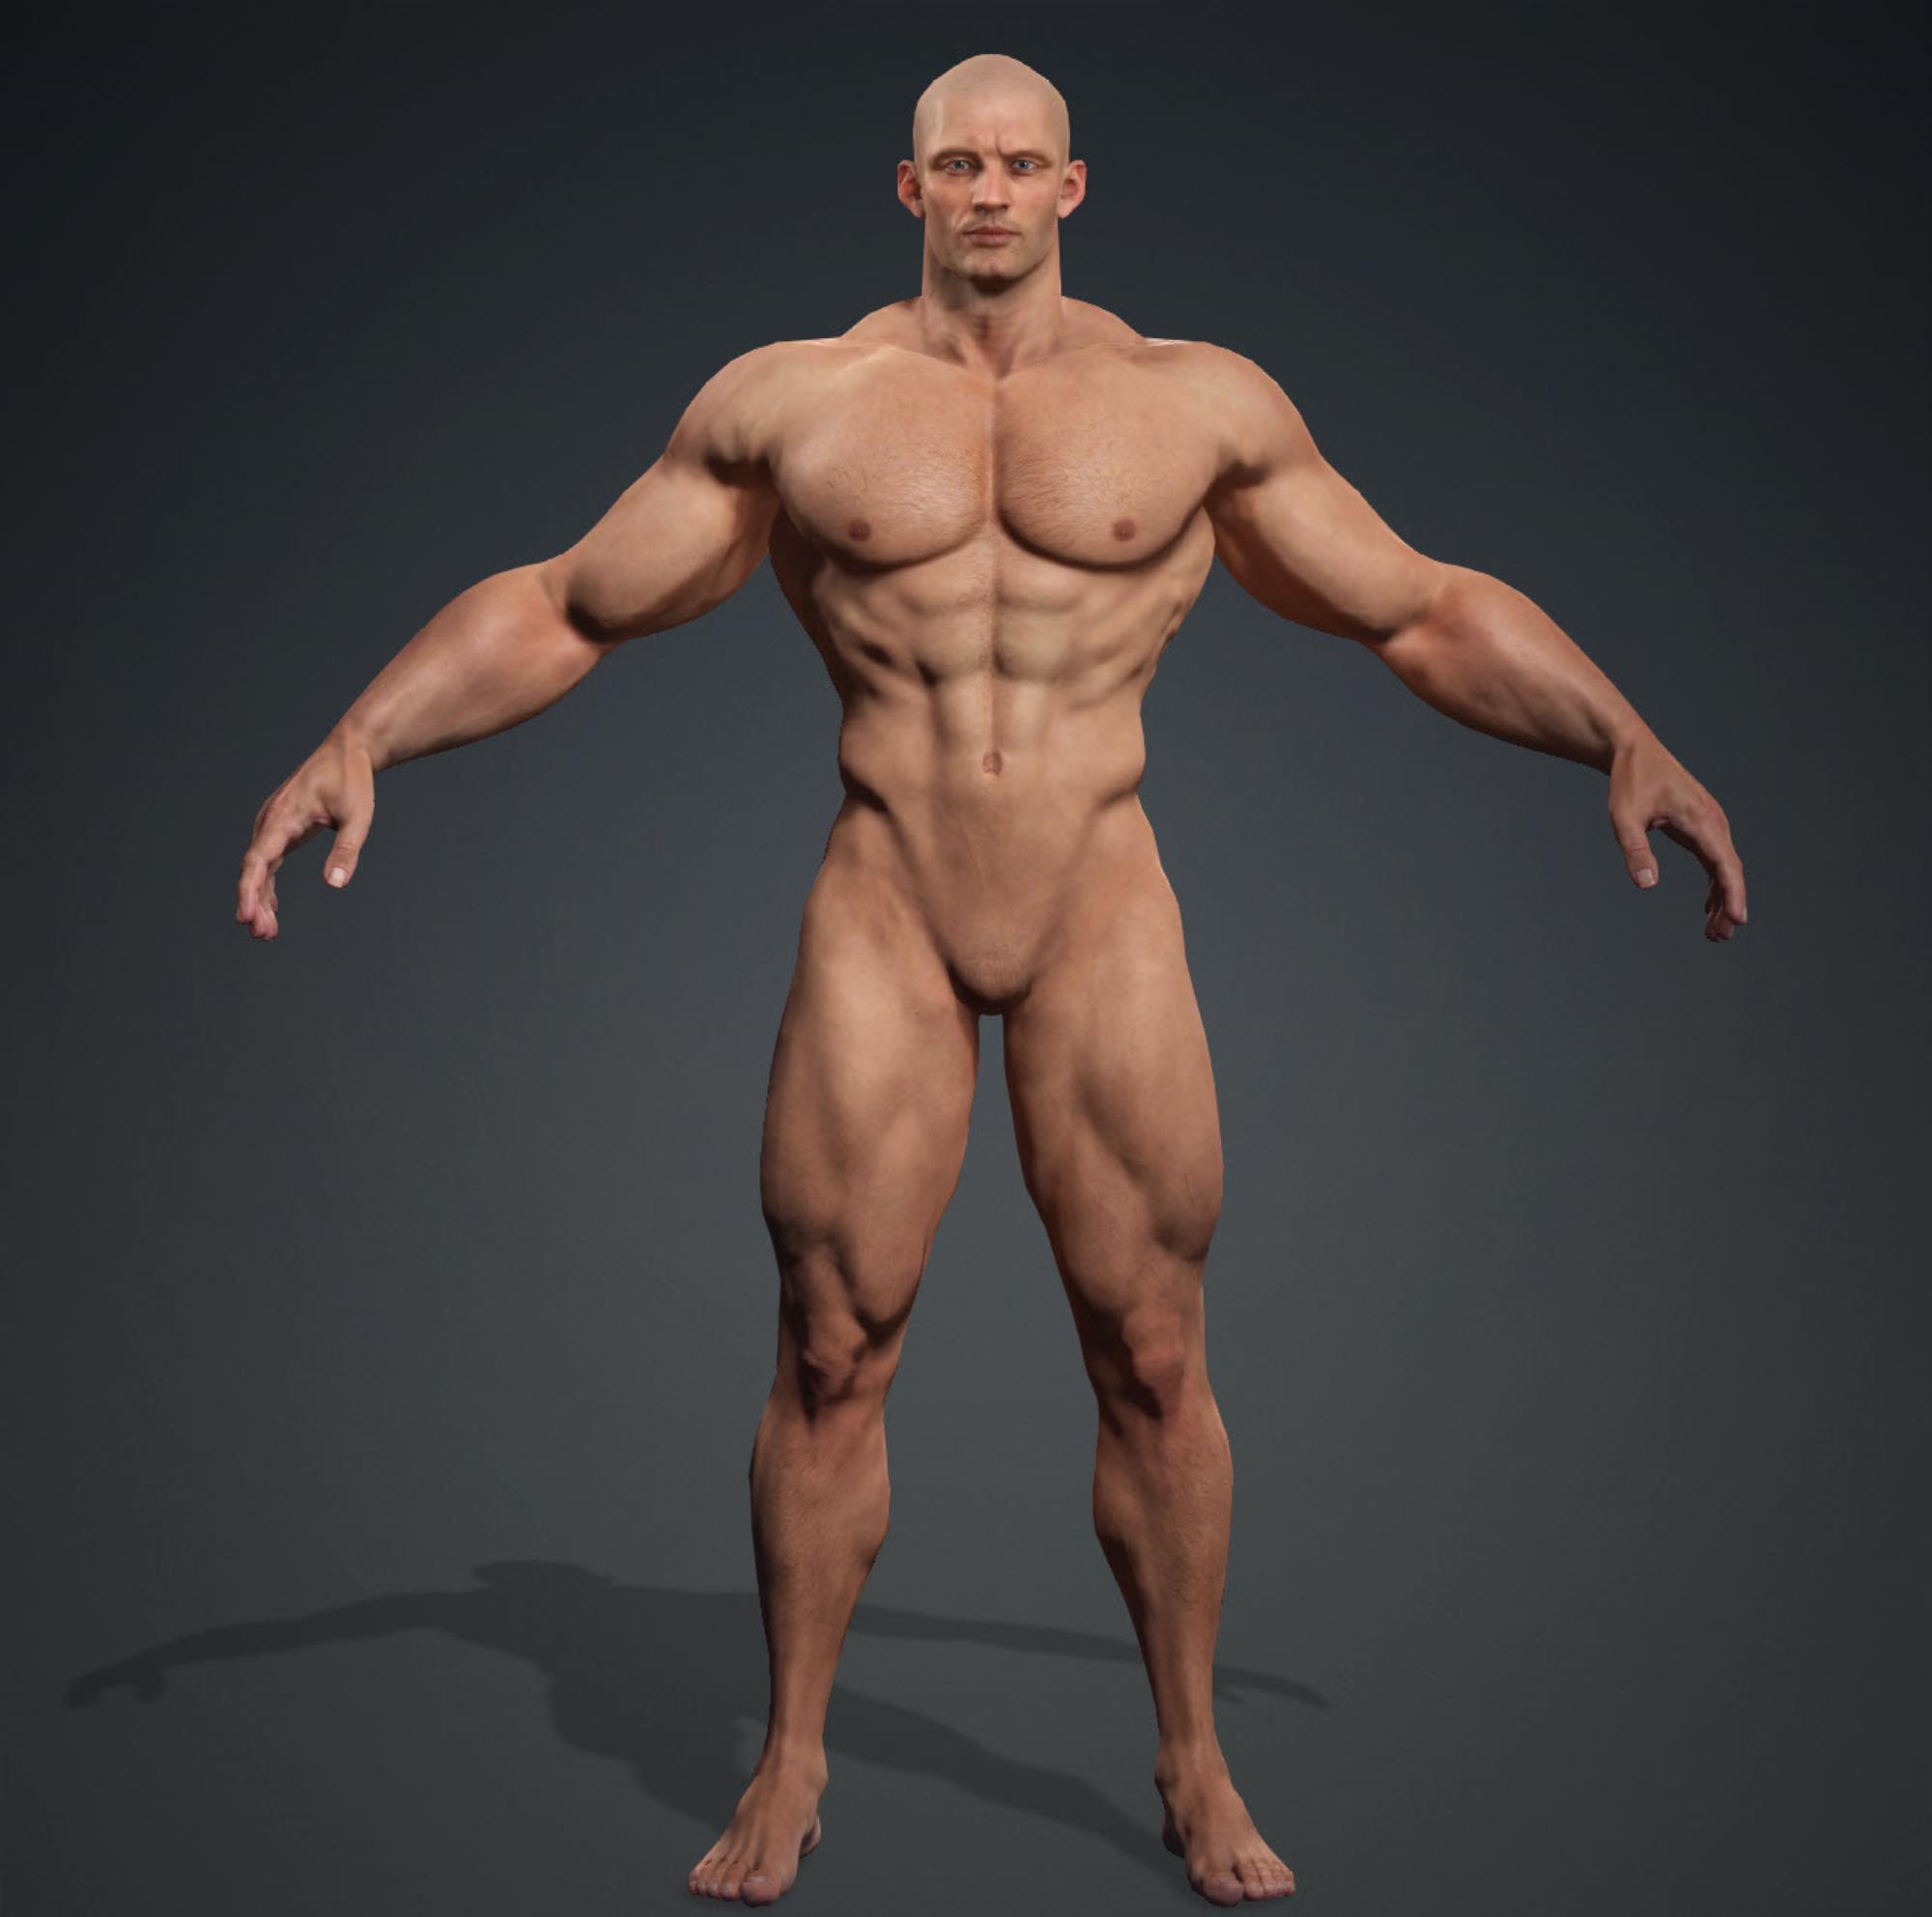 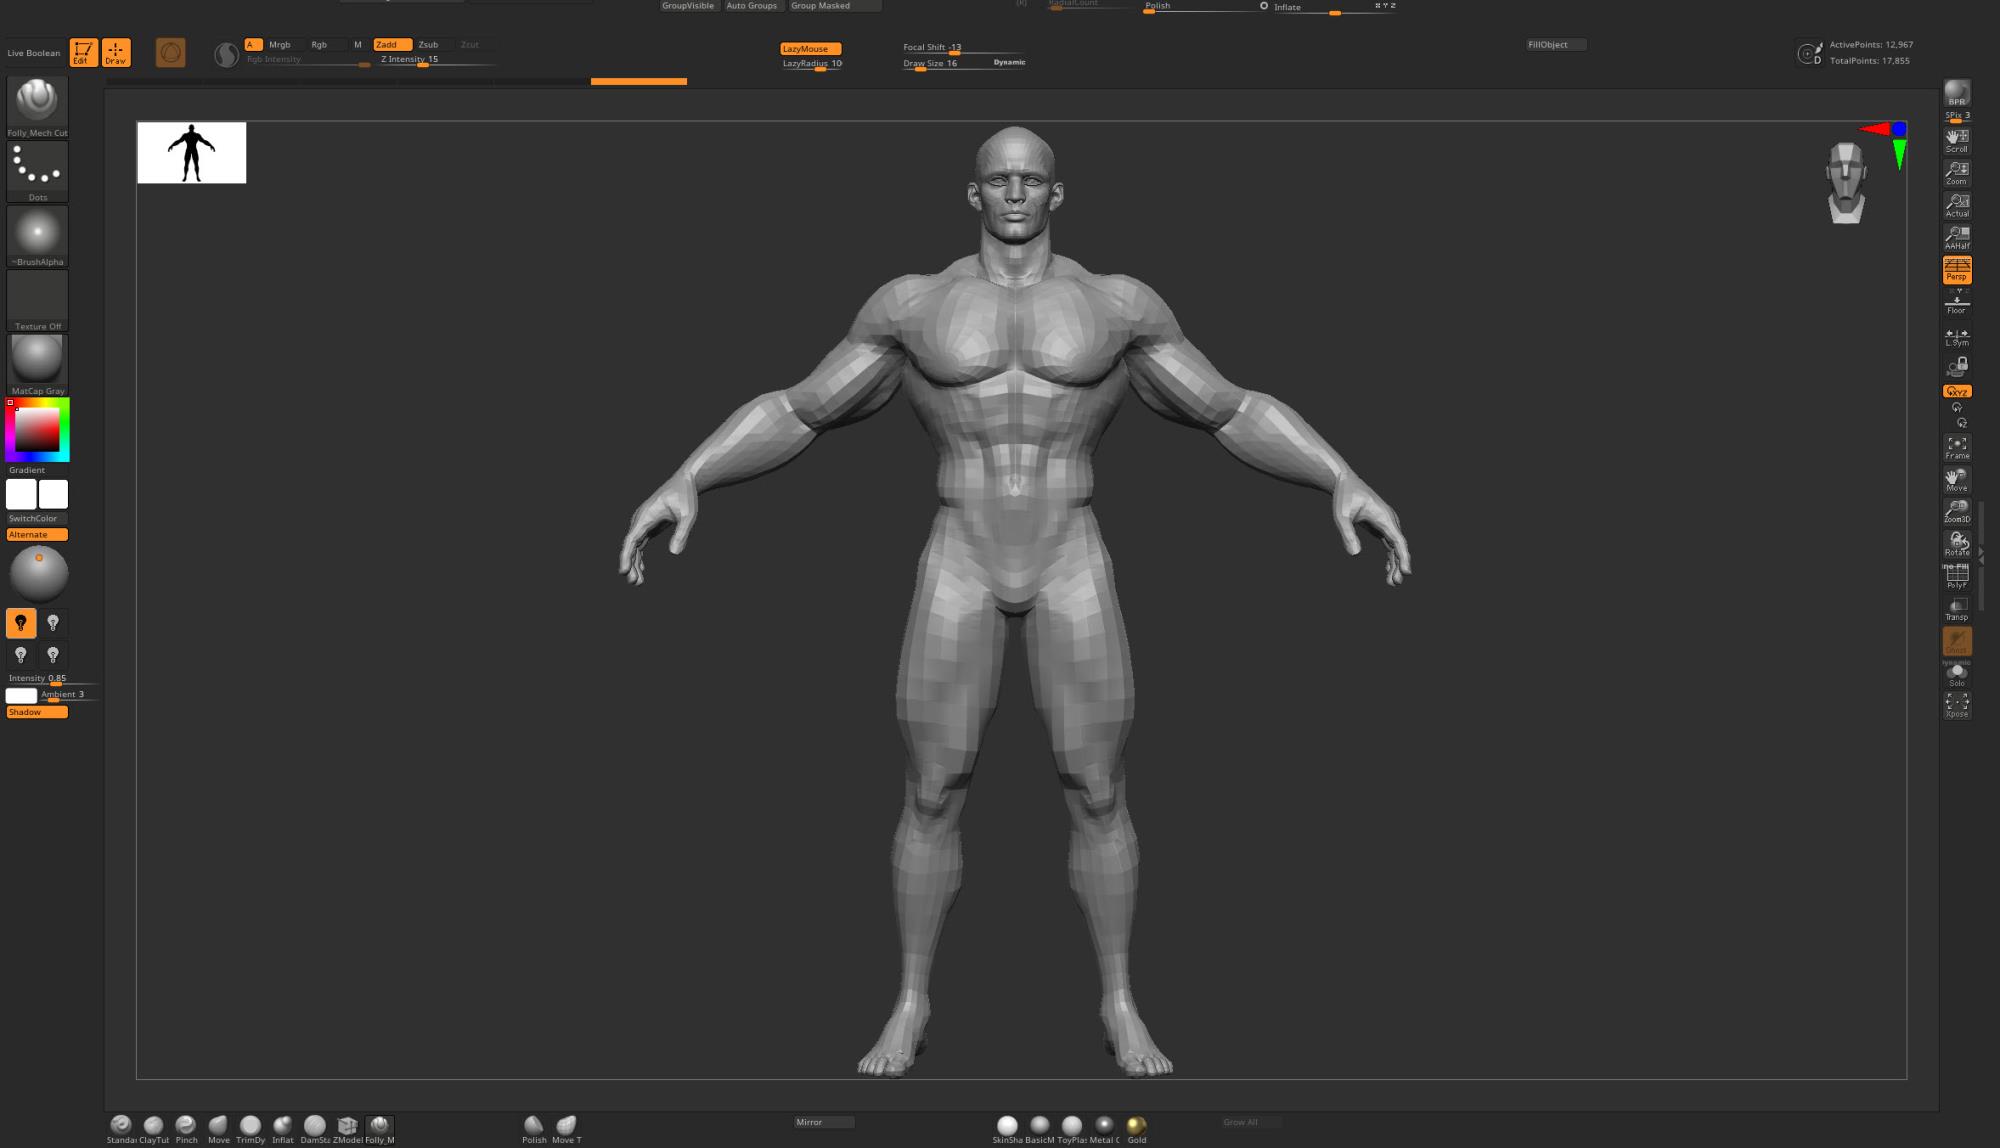 So after crafting the ideal starting point for my characters build, i decide to use go z for quick transfer to ZBrush So after crafting the ideal starting point for my characters build, i decide to use go z for quick transfer to ZBrush
|
|
|
|
|
CCoward
|
|
|
Group: Forum Members
Last Active: Last Year
Posts: 27,
Visits: 148
|
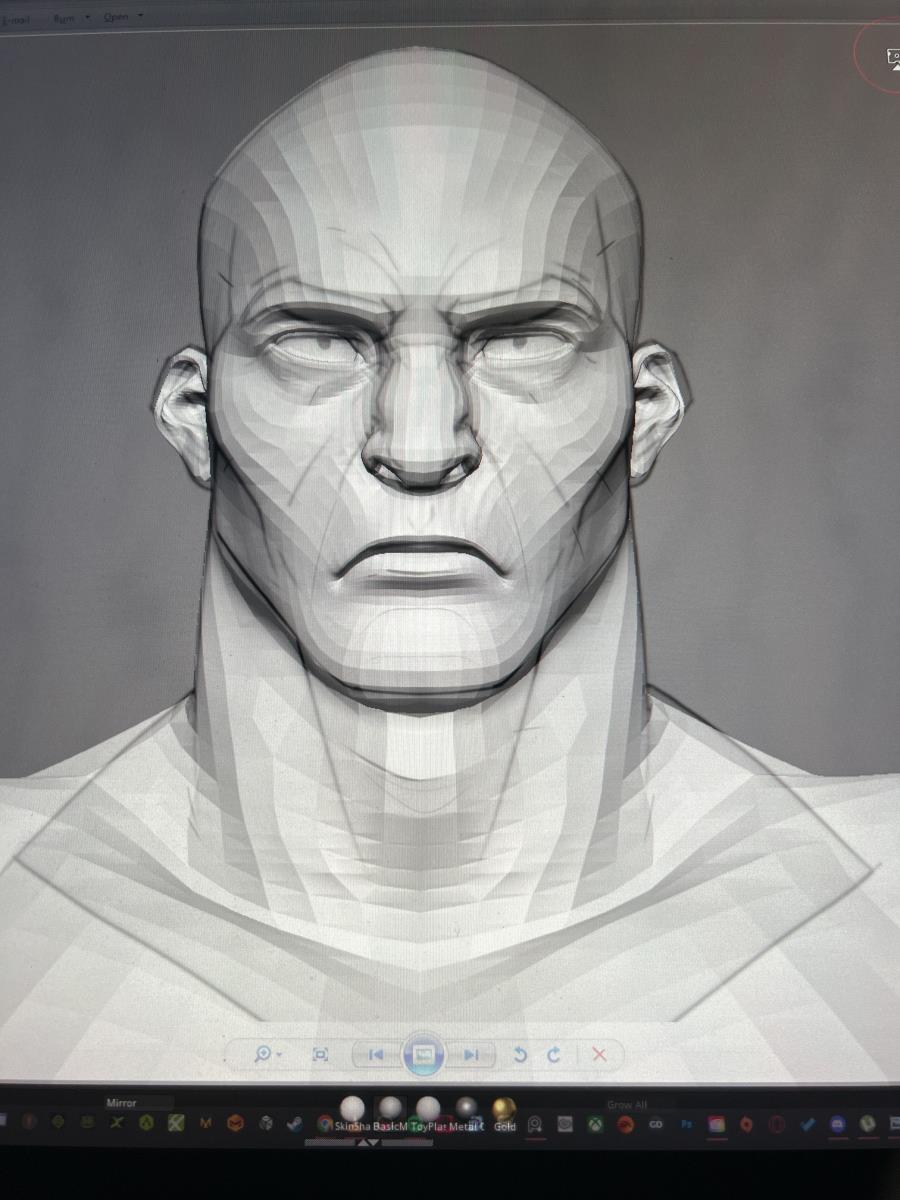 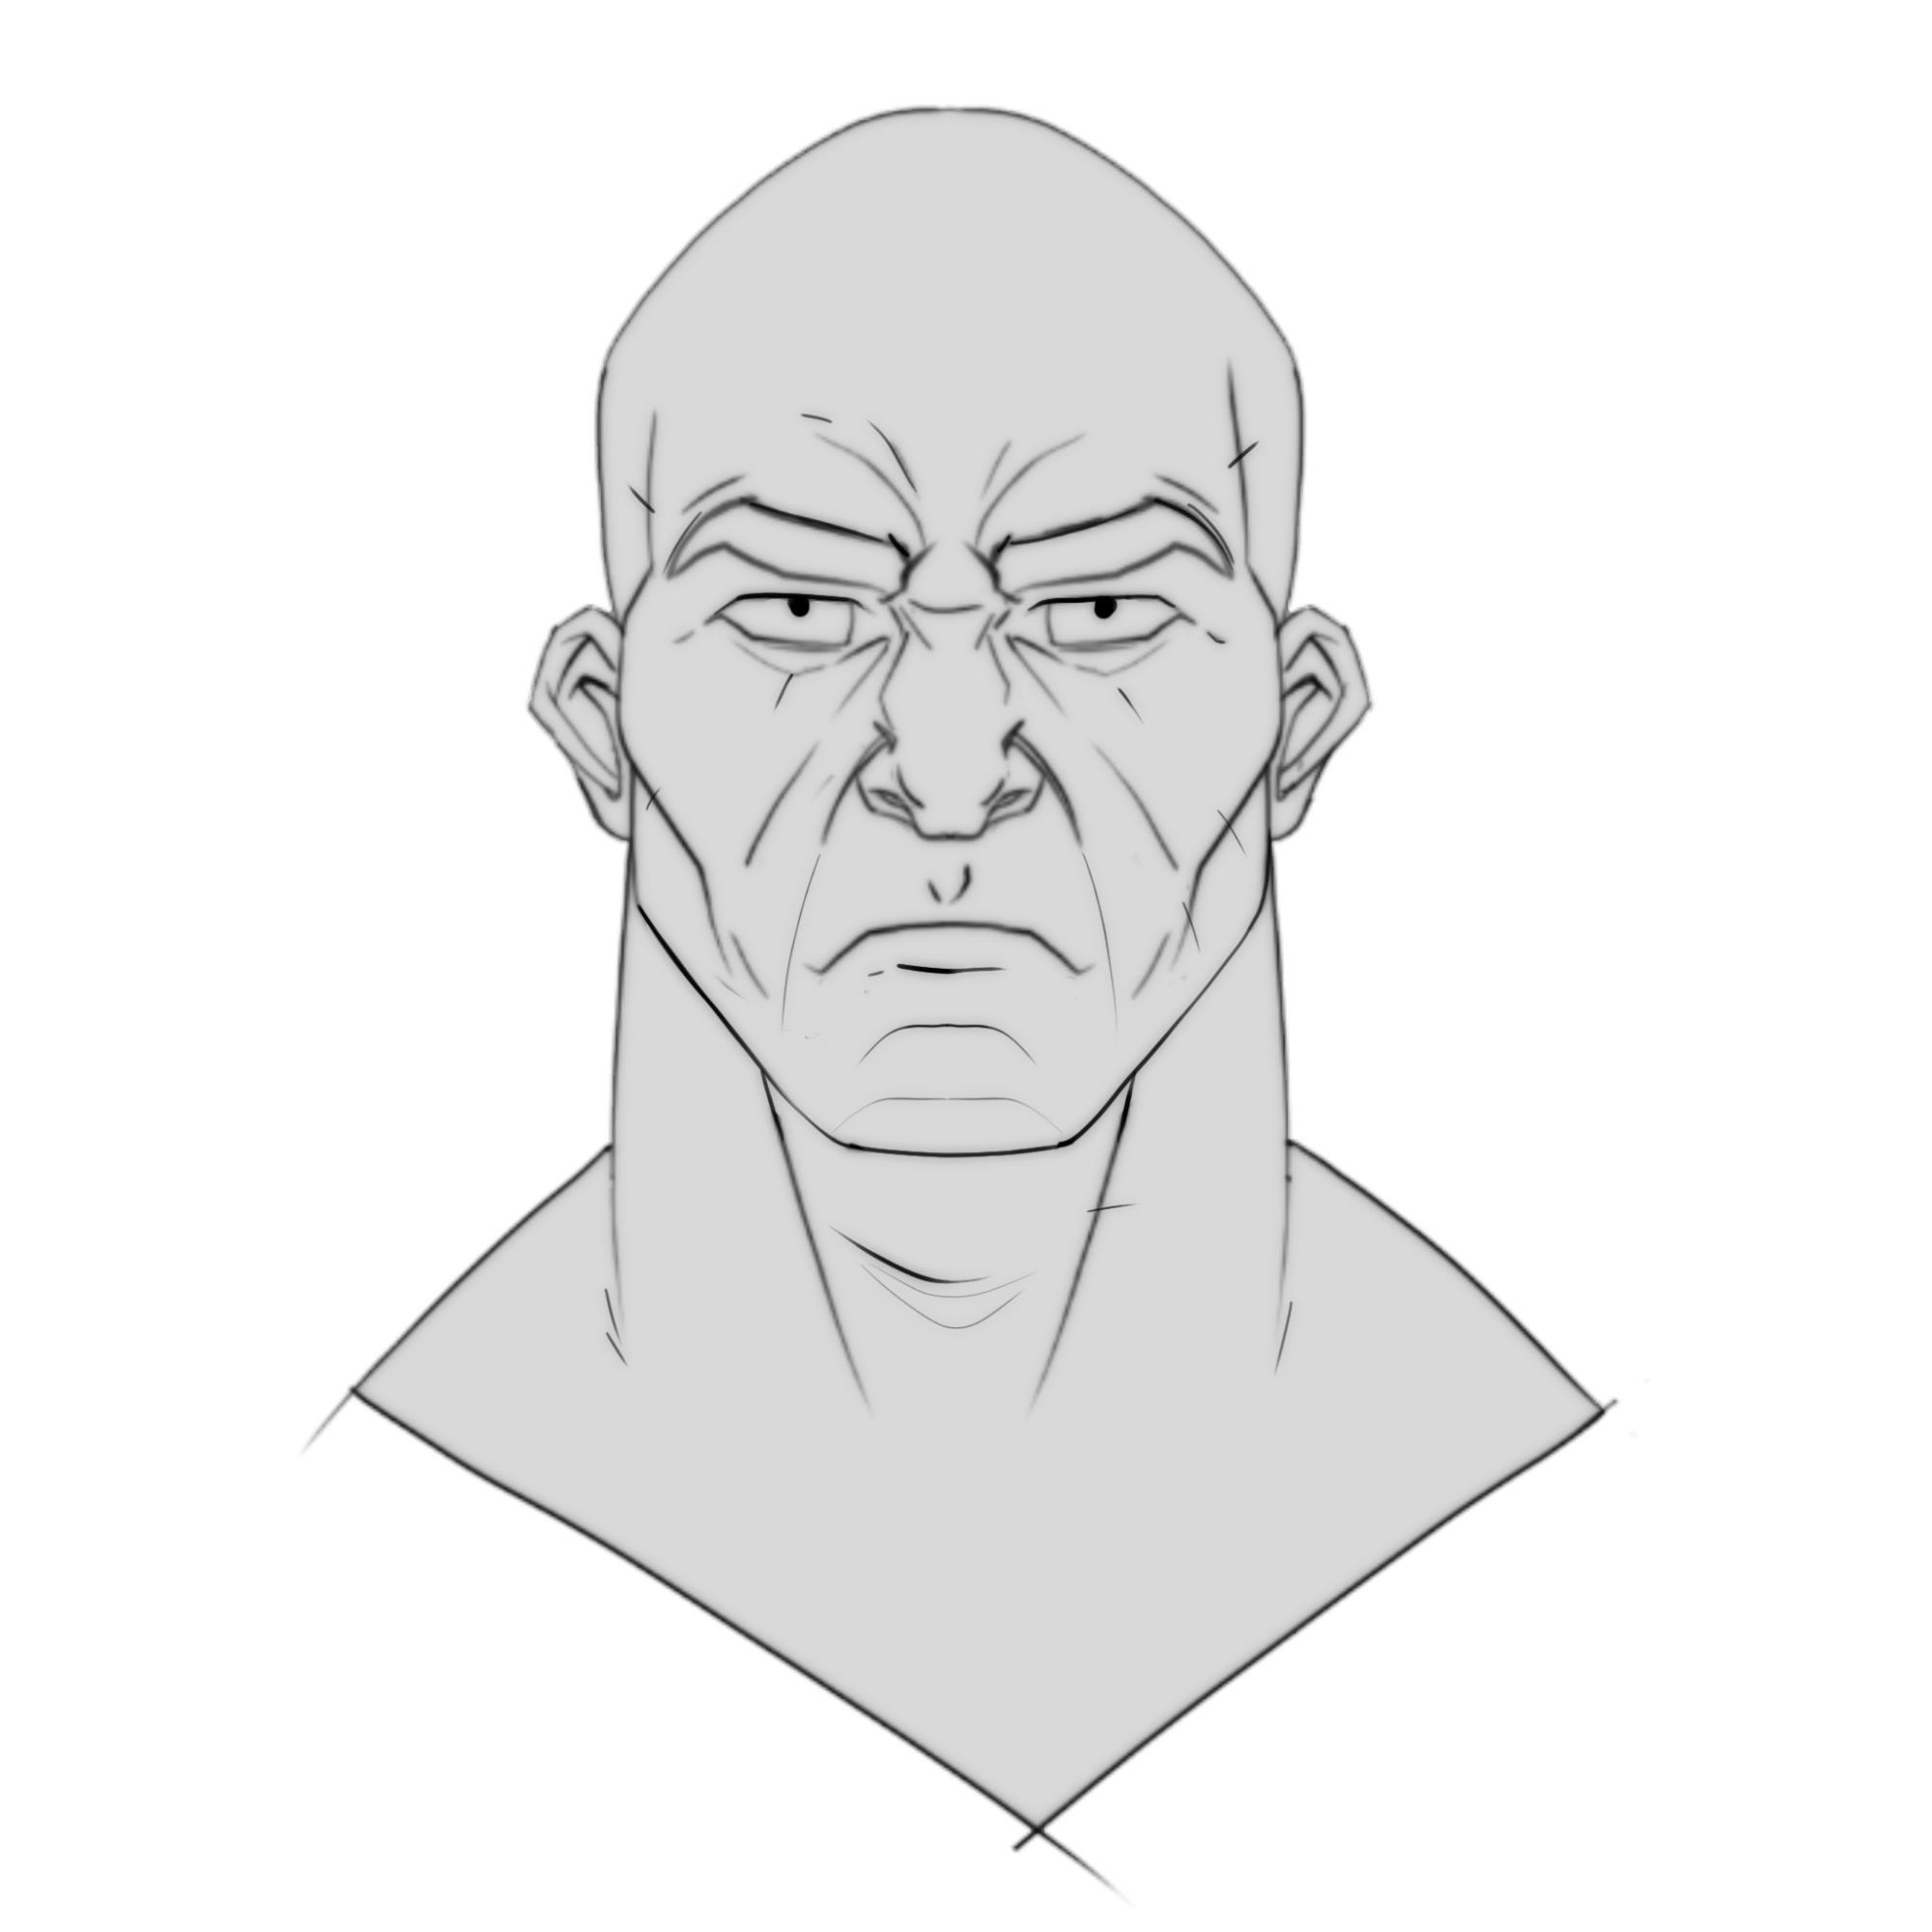 I opened some of my reference of my character without facial hair to get the head shape right while using the opacity feature in ZBrush so I could get it as accurate as possible I opened some of my reference of my character without facial hair to get the head shape right while using the opacity feature in ZBrush so I could get it as accurate as possible
|
|
|
|
|
CCoward
|
|
|
Group: Forum Members
Last Active: Last Year
Posts: 27,
Visits: 148
|
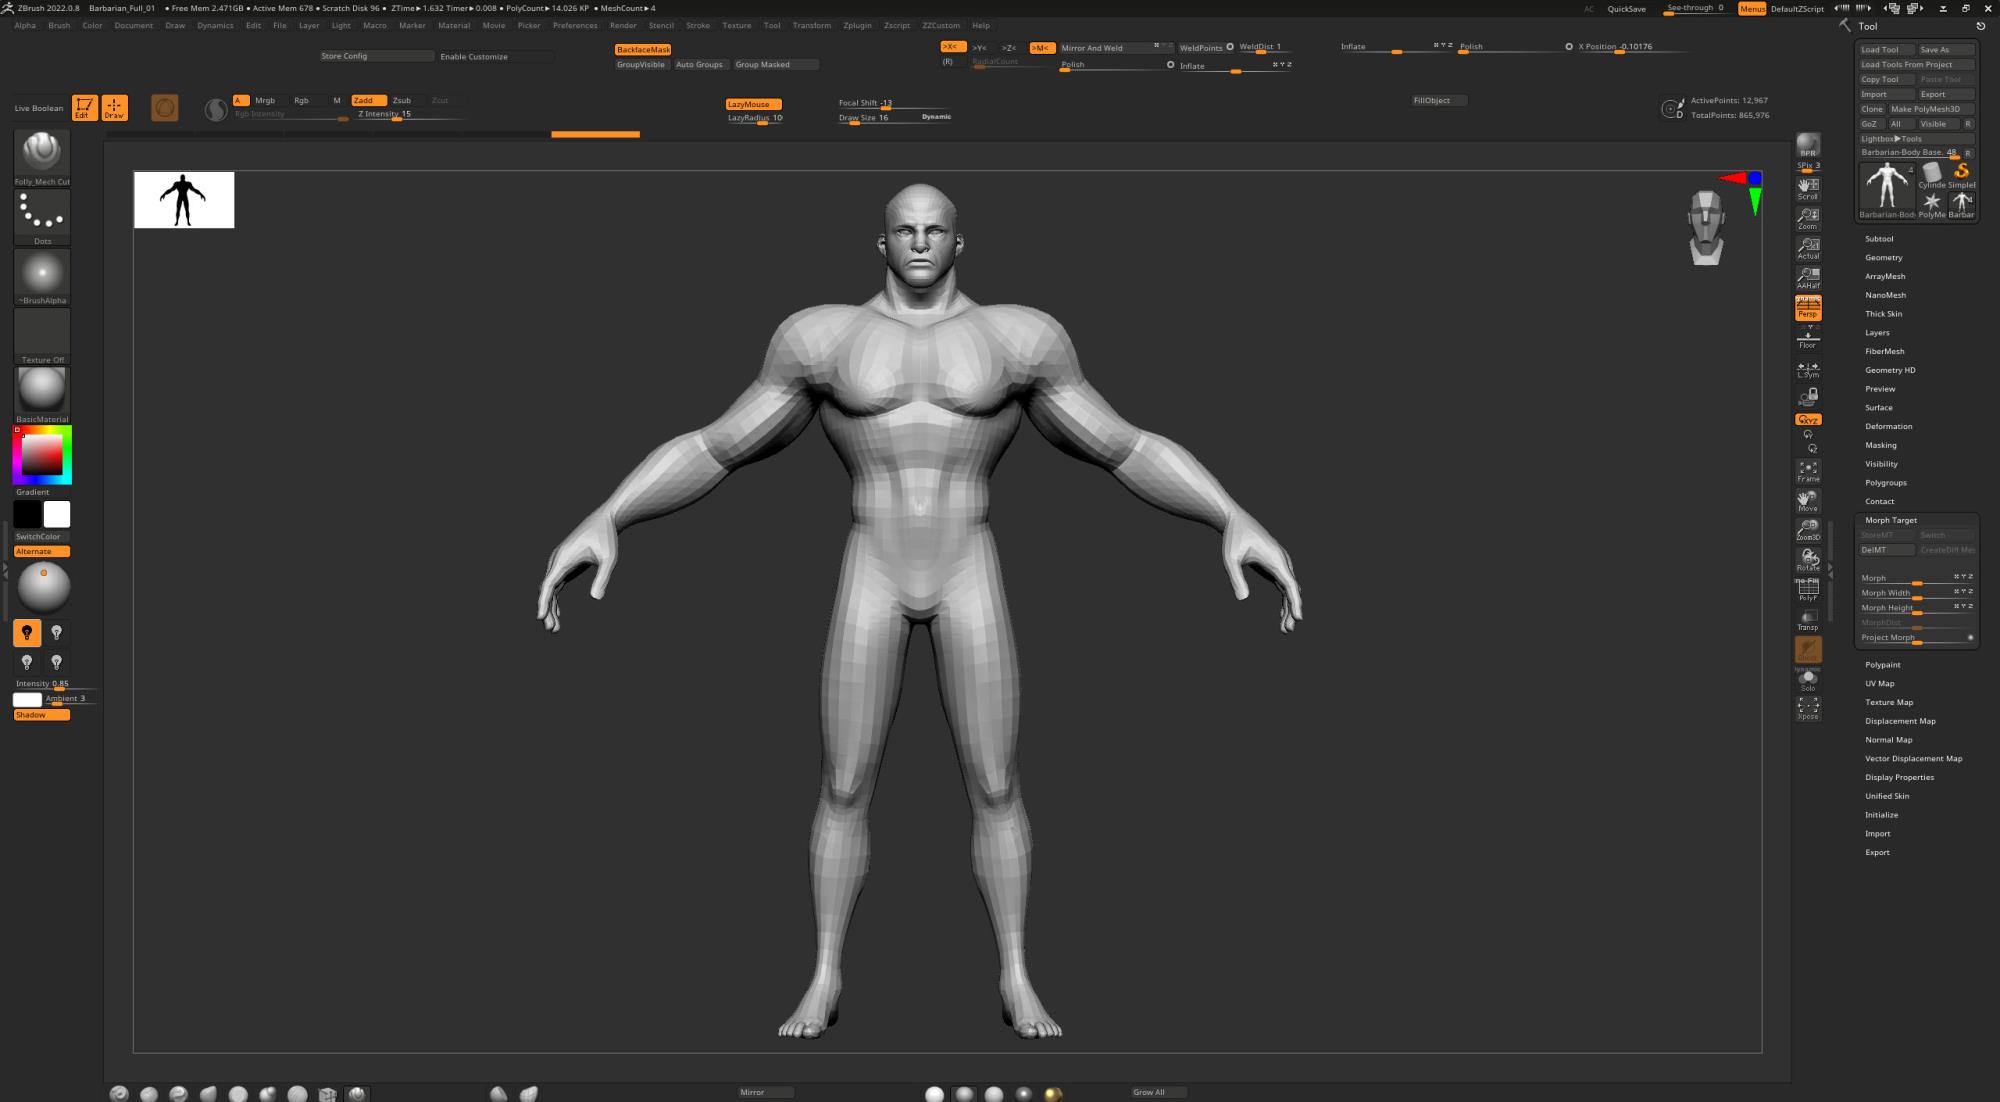  So this is the adjusted basemesh. I'm happy with the outcome. ALSO! One thing I do that tends to help me with control is I separate parts by groups, and then adjust everything with the Morph target feature, before starting to reform my mesh. So this is the adjusted basemesh. I'm happy with the outcome. ALSO! One thing I do that tends to help me with control is I separate parts by groups, and then adjust everything with the Morph target feature, before starting to reform my mesh.
|
|
|
|
|
CCoward
|
|
|
Group: Forum Members
Last Active: Last Year
Posts: 27,
Visits: 148
|
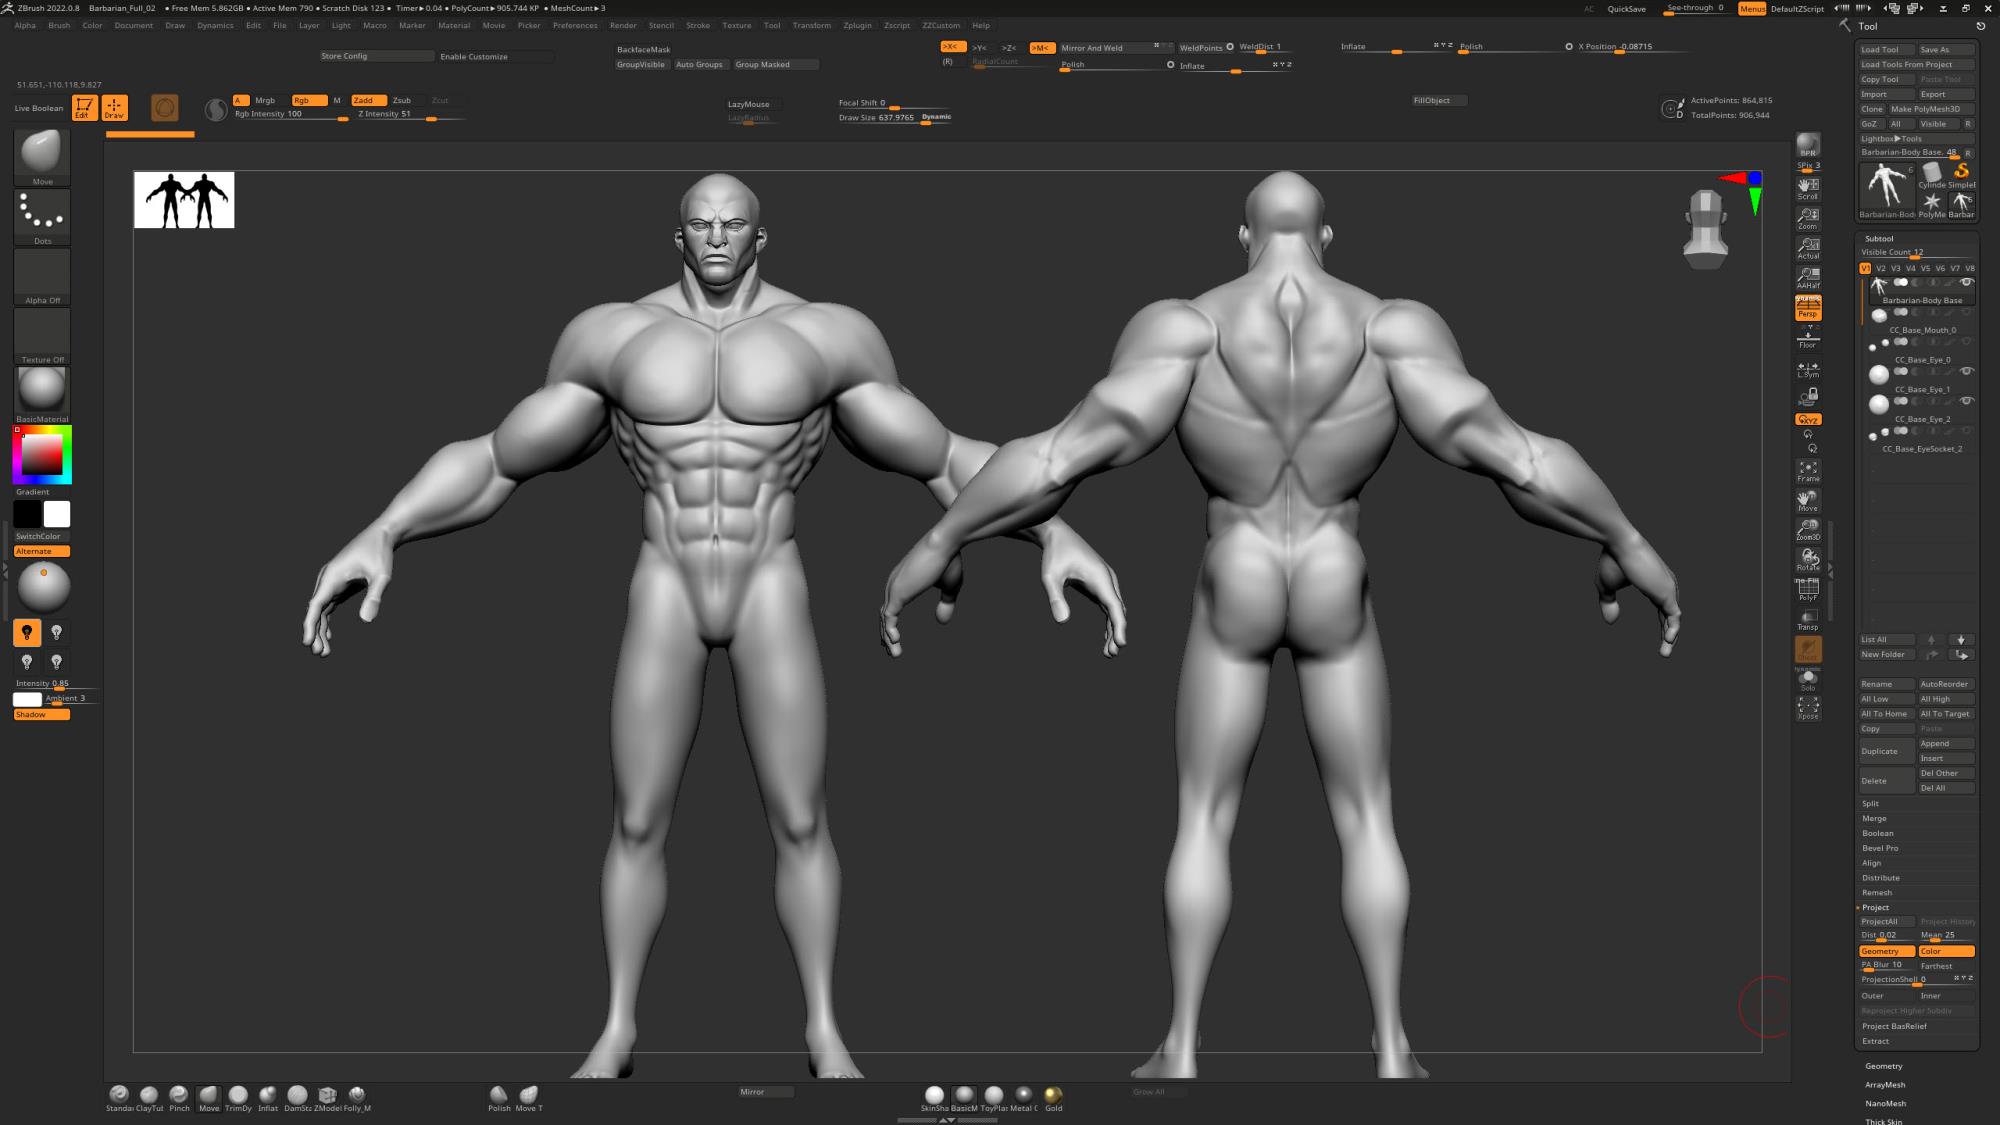 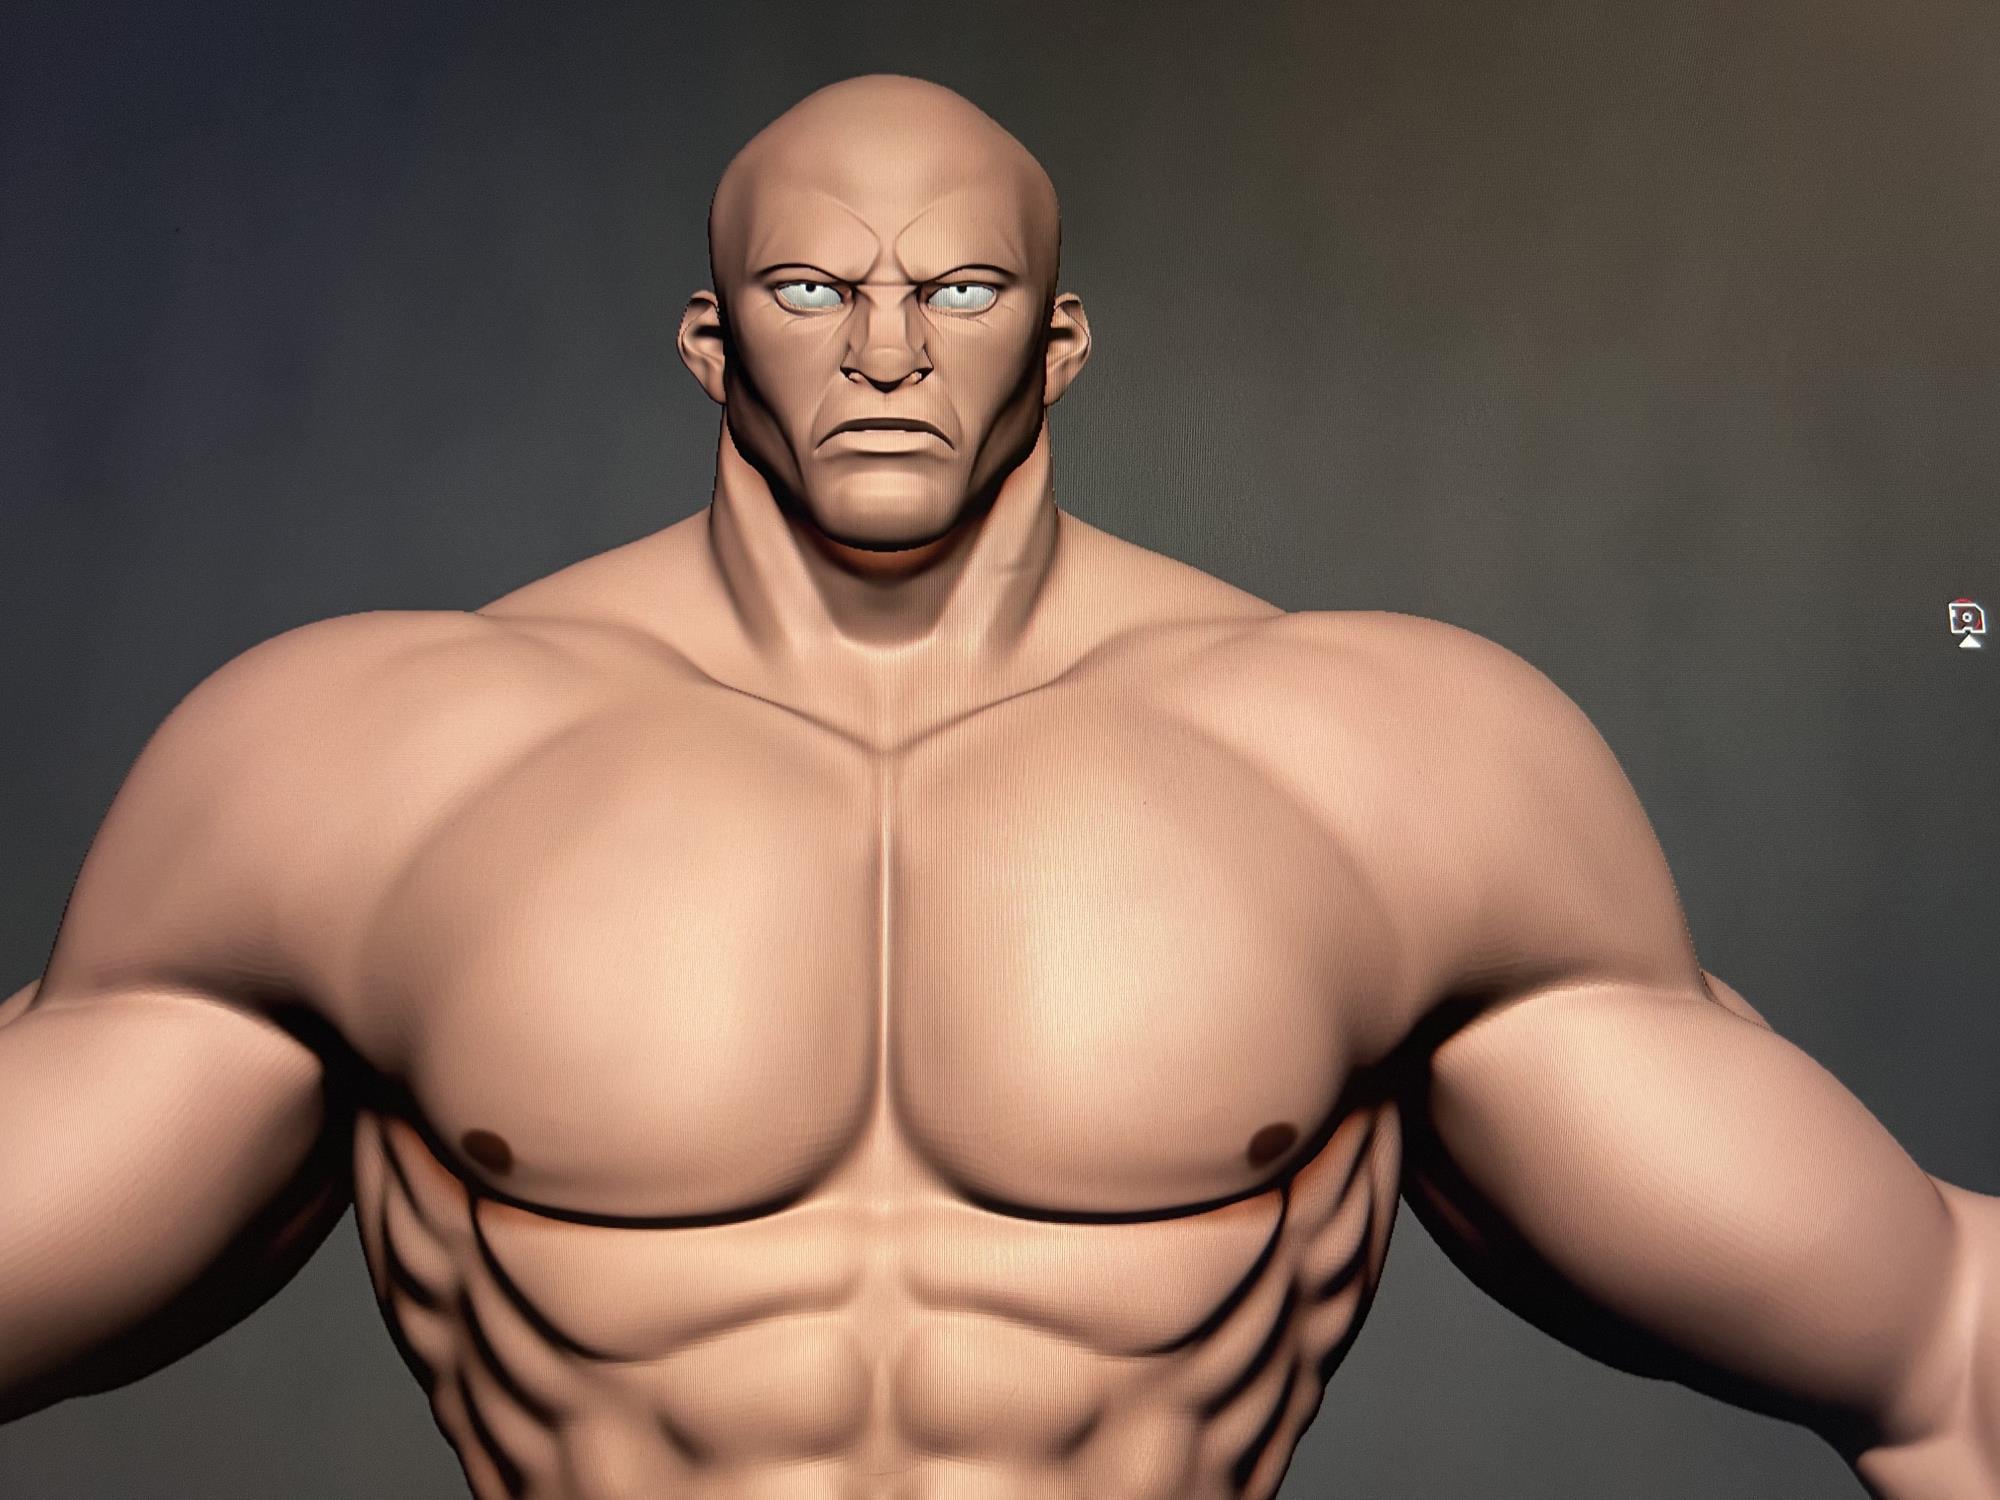 So I began sculpting very stylized muscle details, I went for more rounded muscles since the hair and clothing were more jagged, just for balance appeal. part way through, I decided to start coloring the mesh roughly, just to help me with visualization of my image. So I began sculpting very stylized muscle details, I went for more rounded muscles since the hair and clothing were more jagged, just for balance appeal. part way through, I decided to start coloring the mesh roughly, just to help me with visualization of my image.
|
|
|
|
|
CCoward
|
|
|
Group: Forum Members
Last Active: Last Year
Posts: 27,
Visits: 148
|
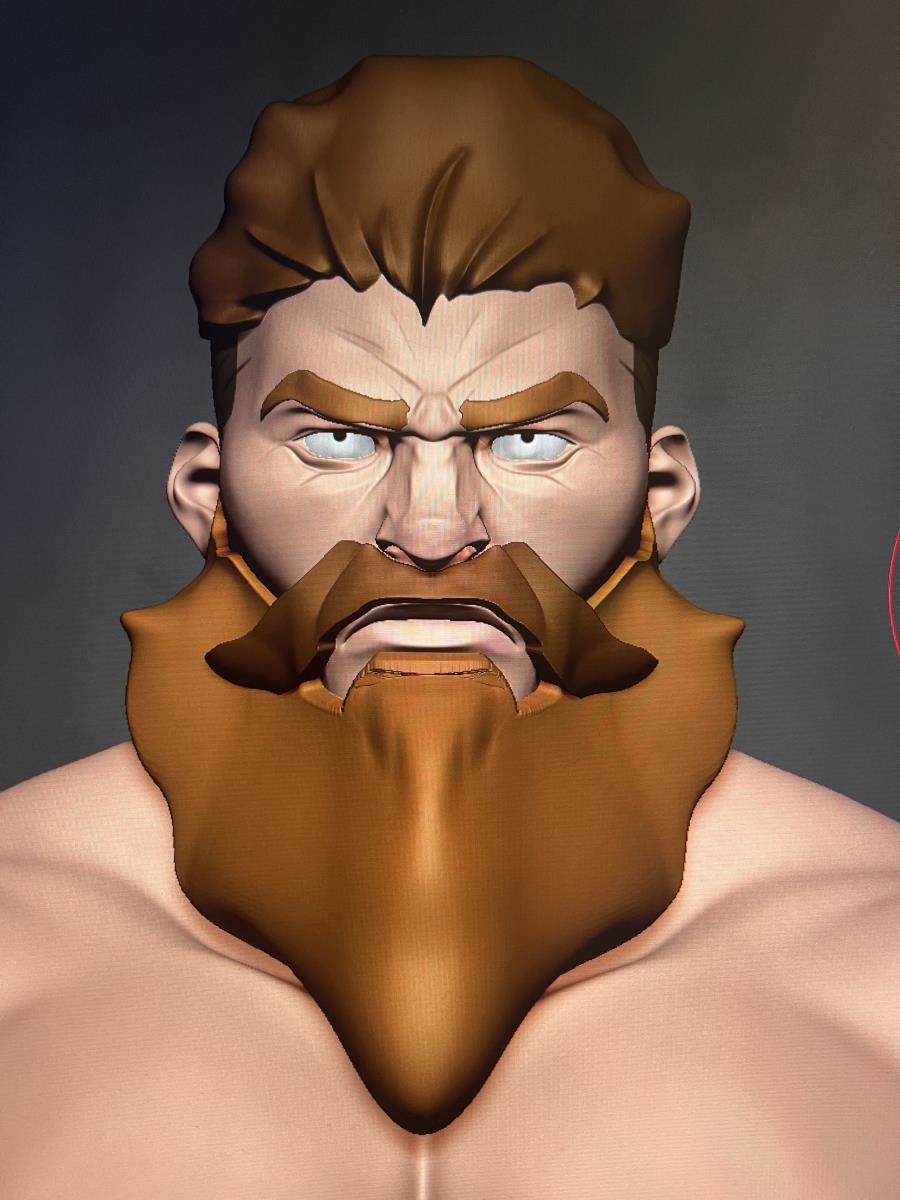 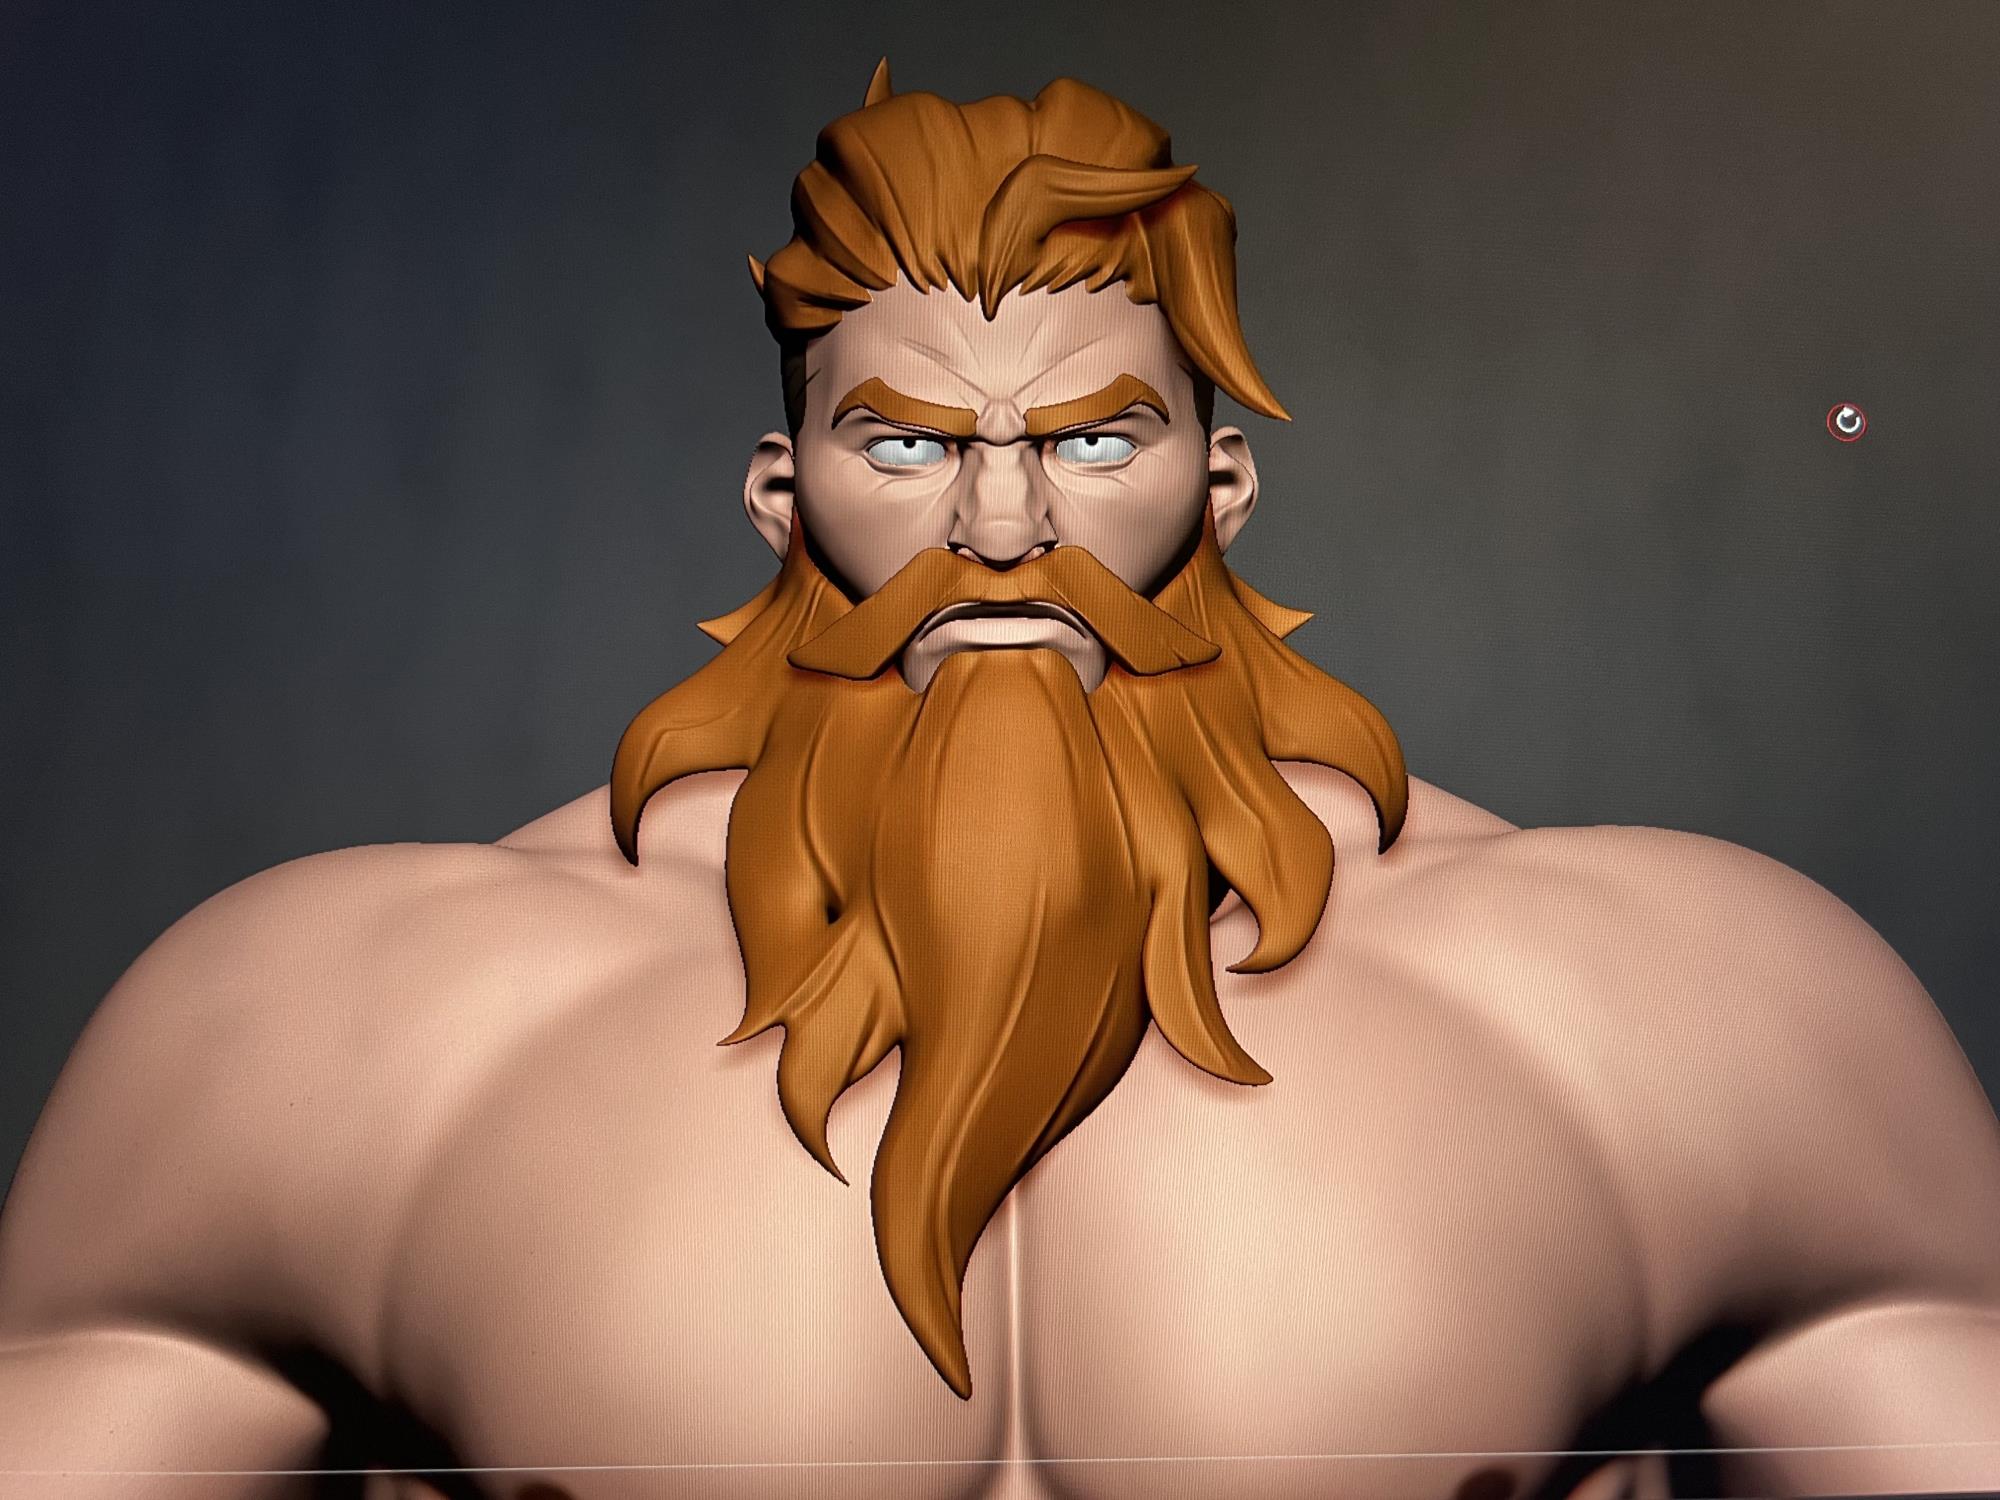 I wanted to start with the more complicated things first, so I started by blocking out the shaping the hair, and facial hair. I knew those would king of set the tone or energy for the rest of the sculpt, so I wanted to focus hard on that. I wanted to start with the more complicated things first, so I started by blocking out the shaping the hair, and facial hair. I knew those would king of set the tone or energy for the rest of the sculpt, so I wanted to focus hard on that.
|
|
|
|
|
CCoward
|
|
|
Group: Forum Members
Last Active: Last Year
Posts: 27,
Visits: 148
|
P.S. I know some of these images are taken on my phone, but sometimes, that's just quicker.
|
|
|
|
|
CCoward
|
|
|
Group: Forum Members
Last Active: Last Year
Posts: 27,
Visits: 148
|
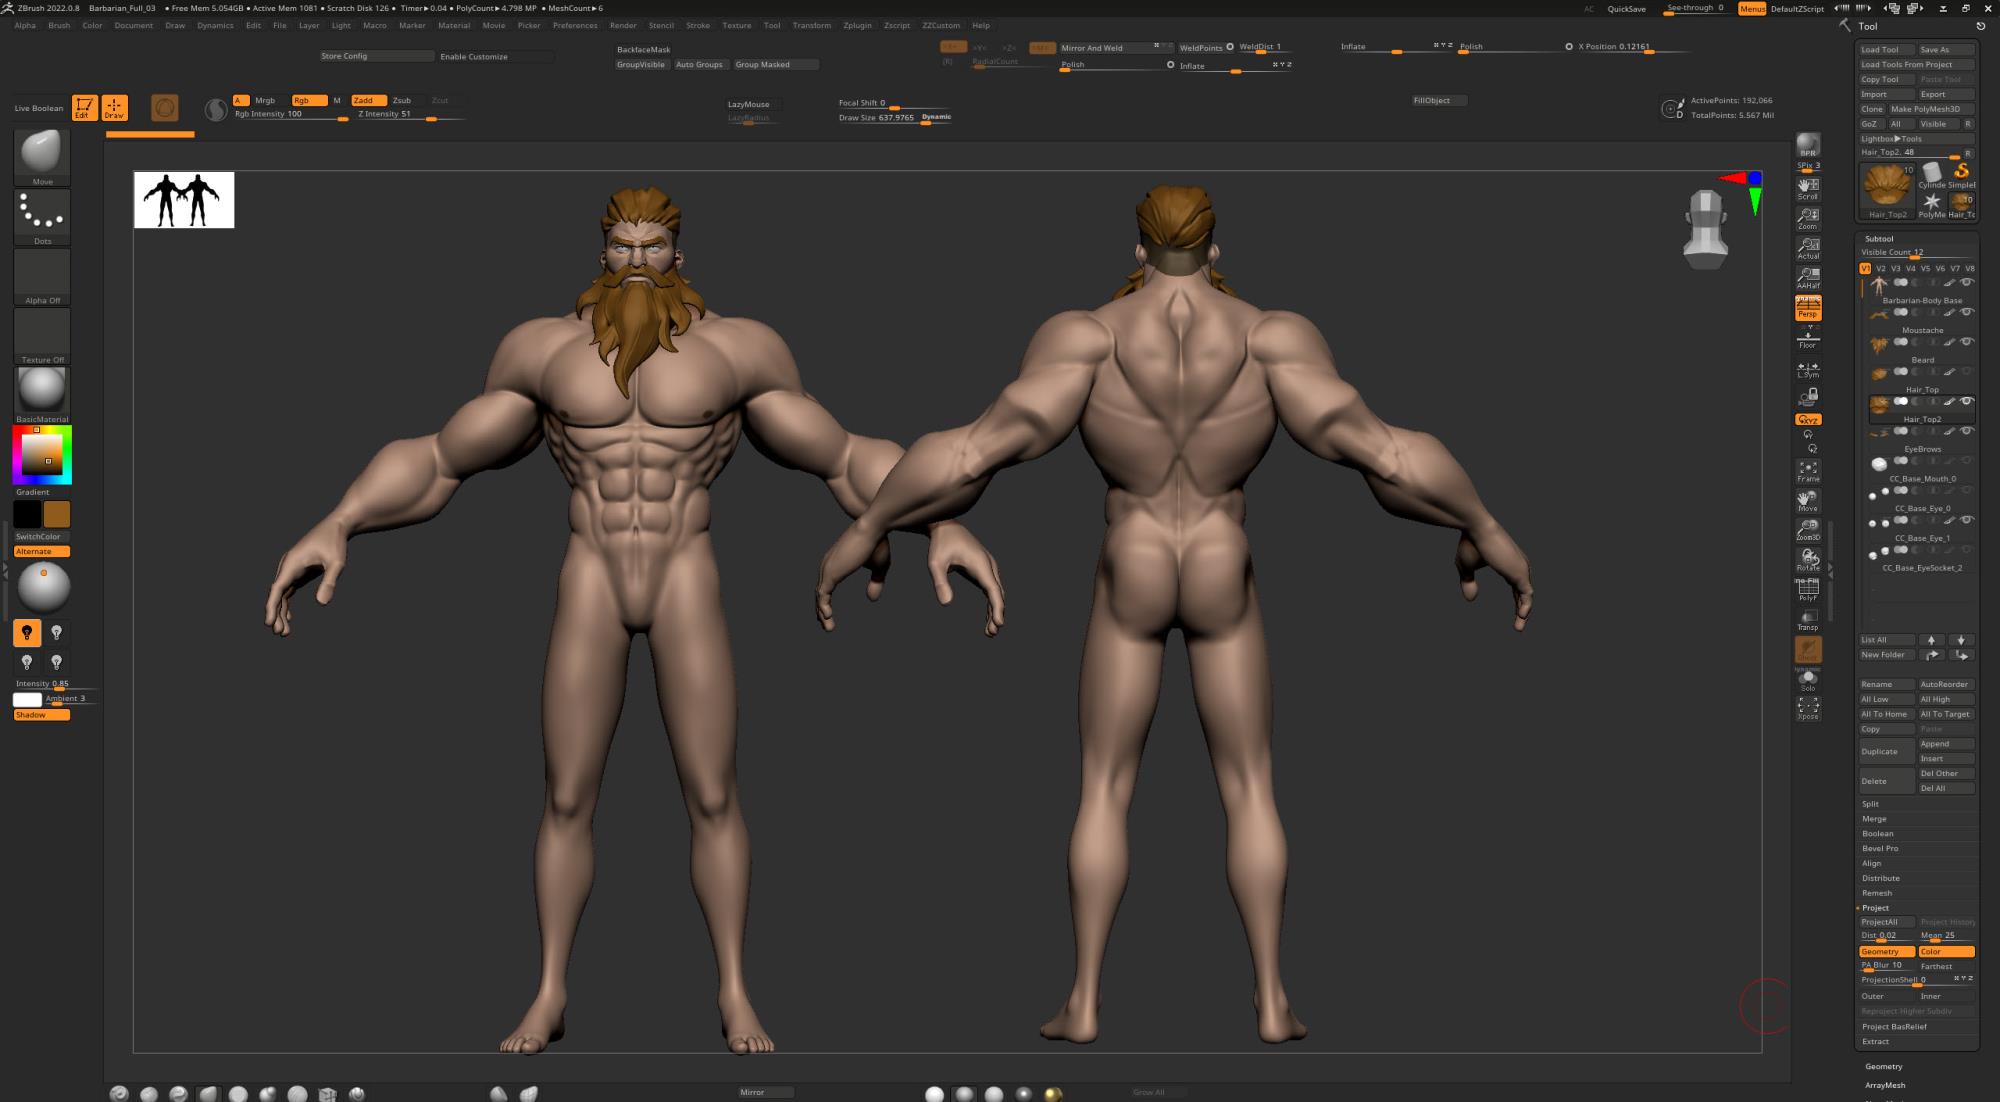  So Now that I'm satisfied with the base block-out of it all, I began blocking out the clothing, I found a really awesome tutorial online that helped me do the hand wraps. Speaking of which, you'll notice they are different than they were in the concept art, after doing them both ways, the fuller wraps seemed to work much better for the model once it was in 3D. So Now that I'm satisfied with the base block-out of it all, I began blocking out the clothing, I found a really awesome tutorial online that helped me do the hand wraps. Speaking of which, you'll notice they are different than they were in the concept art, after doing them both ways, the fuller wraps seemed to work much better for the model once it was in 3D.
|
|
|
|
|
CCoward
|
|
|
Group: Forum Members
Last Active: Last Year
Posts: 27,
Visits: 148
|
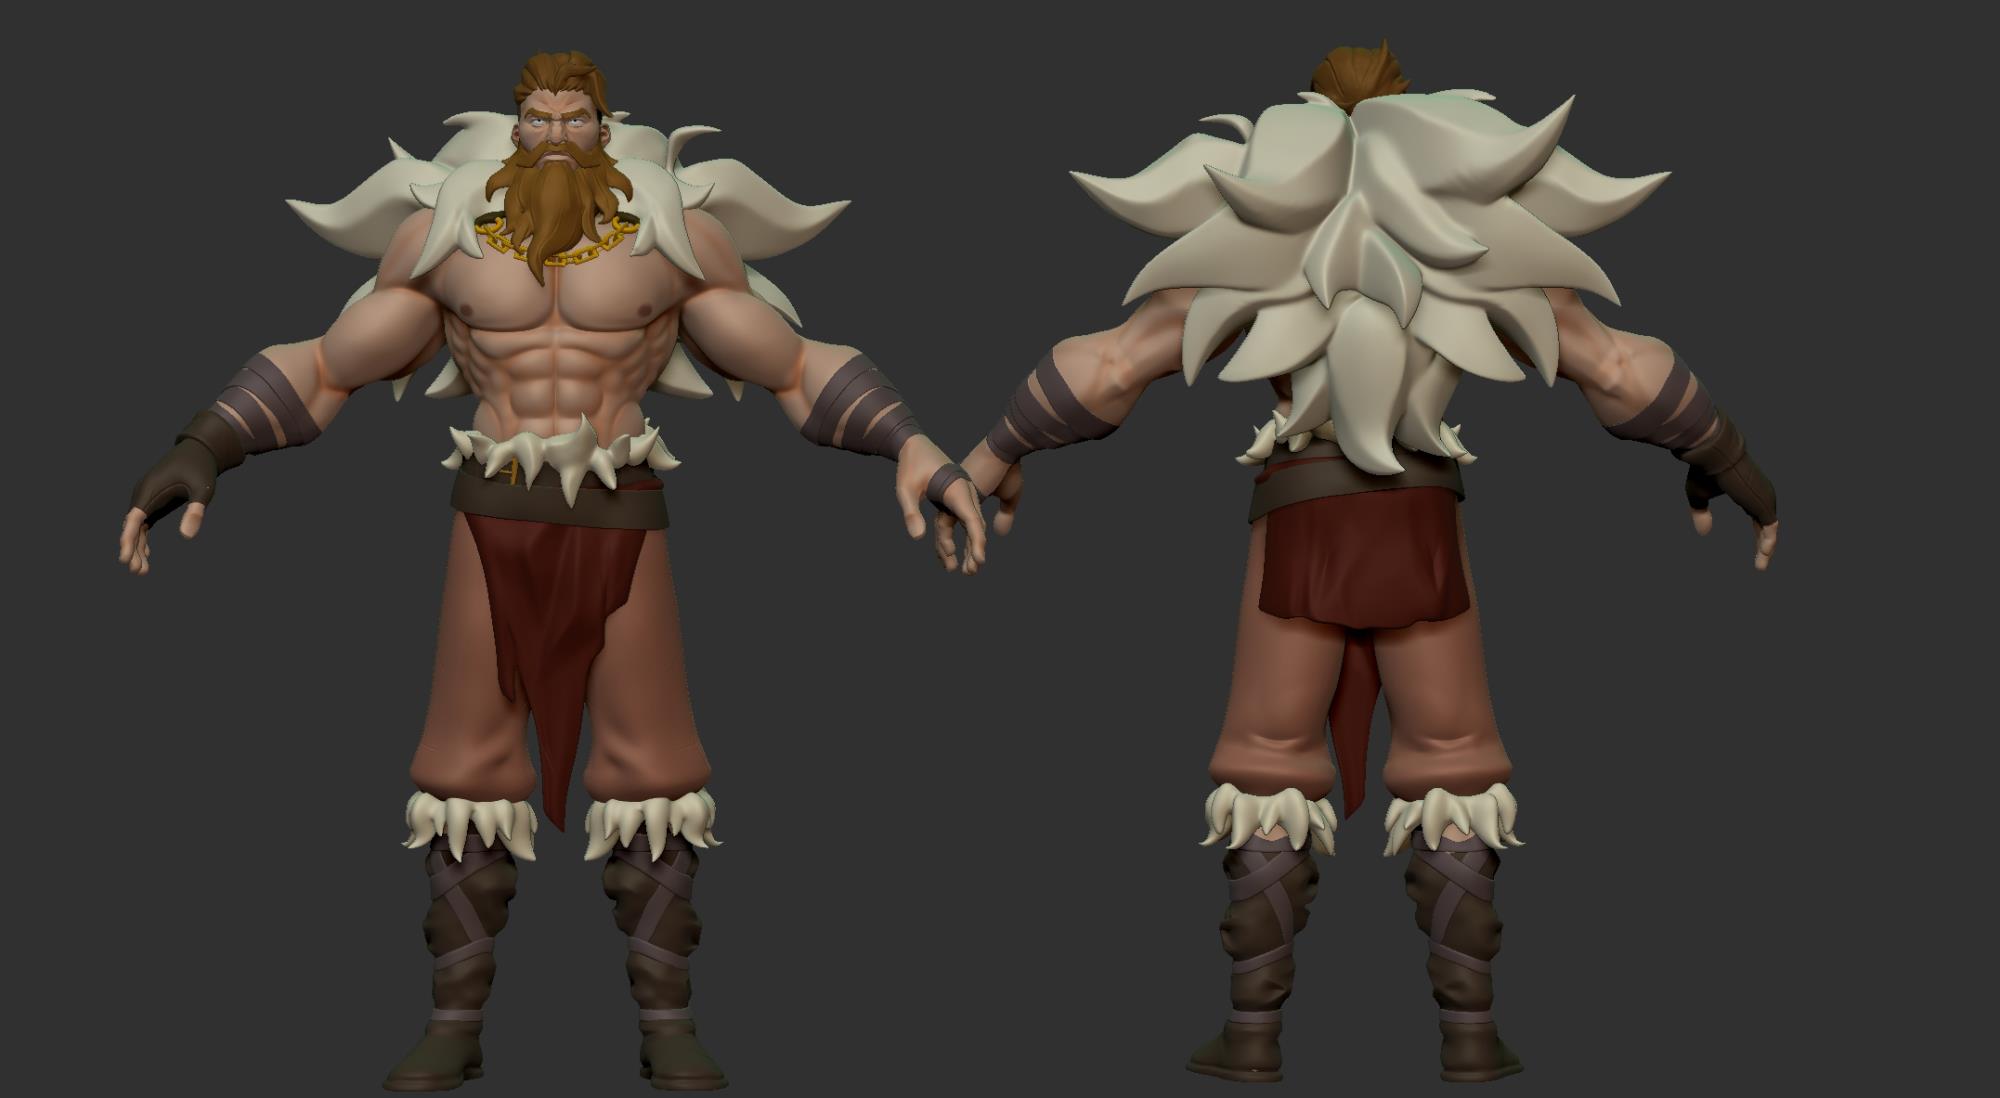 I had to travel to visit family for the last two weeks so I haven't been able to post Updates, but I did get a bunch of work done on the Barbarian. I finished the sculpt and began working on the weapon of the character. I had to travel to visit family for the last two weeks so I haven't been able to post Updates, but I did get a bunch of work done on the Barbarian. I finished the sculpt and began working on the weapon of the character.
|
|
|
|