Hello Reallusion Community !
This is a WIP post of my submission for the Lipsync Contest 2021. I wanted to recreate one of my favourite scenes from the STAR TREK DS9 tv show. The one where Captain Benjamin Sisko formulate a computer log, in which he explains the state of the galaxy after he bribed and forged evidence that the enemy was planning to attack. The first section of that end monologue was used as reference for this shot.

I became aware of this contest about 10 days ago, and these past days have been intense.
Since time is short i will attempt to explain my workflow in short summaries.
First i dabbled with Character Creator 3, using the various morphs in order to make it look like the captain.
This is my first result.

It obviously didn’t look like him, especially with that neck, and sadly I wasn’t experienced enough to further use the morphing tools from CC3.
I’ve discovered an add-on for Blender that allows you to import from Character Creator and iClone efficiently, allowing you to build and sculpt various accessories and morphs.
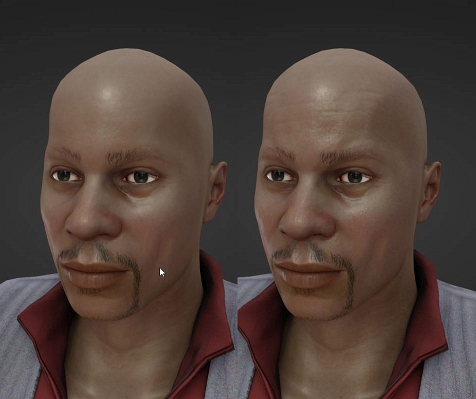
My second attempt after using The add-on and the sculpting tools from Blender:

At this point I was pretty much satisfied with the basic morph. I’ve exported it back into CC3
While the face looked fine, the facial features were too clean. The forehead wasn’t wrinkled, the ridges too simple. After this I decided to build my own normal map for the face, so used the Multires modifier on the Morph and sculpted the forehead, the supraorbital ridges and the occipital area. Then there was a simple texture baking procedure. I combined the old Normal map with the new one

Next step was building the clothes. This was the easiest to since all it took was some simple retopology and fold sculpting. First, i retopologized the Torso and the arms, then modelled it look like a shirt.
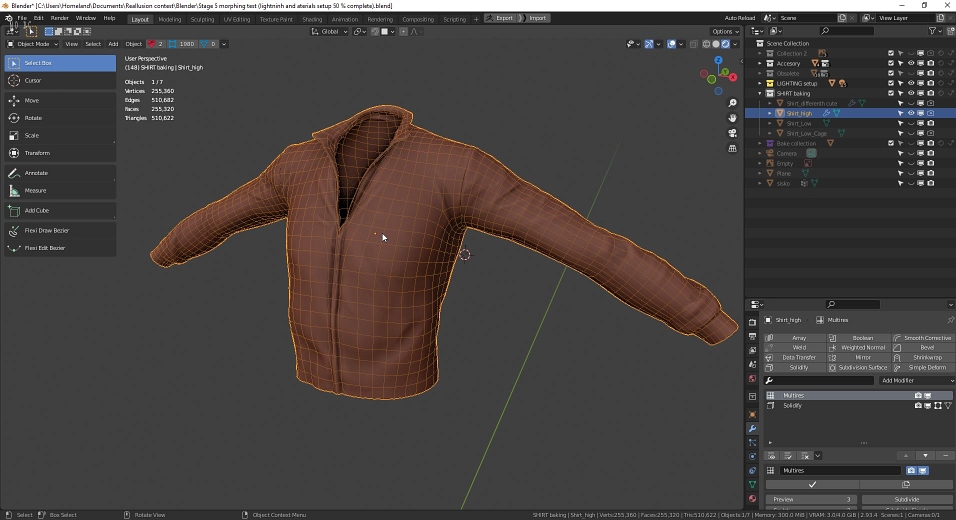
For the vest I had the most work in texture creation. By using texture creation software like Materialize, and painting brushes from Krita and Photoshop, i managed to make the creases quickly enough.
I’ve also used a procedural fabric creation technique that I found from a good tutorial video from ErindaleXYZ’s youtube channel. The pants and boots were the fastest to make, and since it's not that visible in the final shot I won't comment on it further.

The next milestone was the background environment. I should also mention that while I was working on the graphical assets, I was learning and testing the ICLONE animation tools.
The background took only one day off my timetable, and I had the most joy working on it.
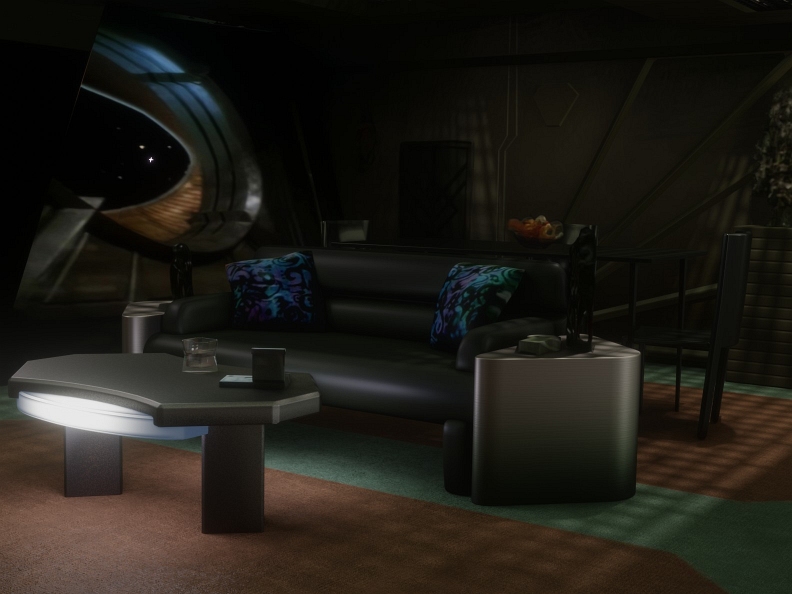
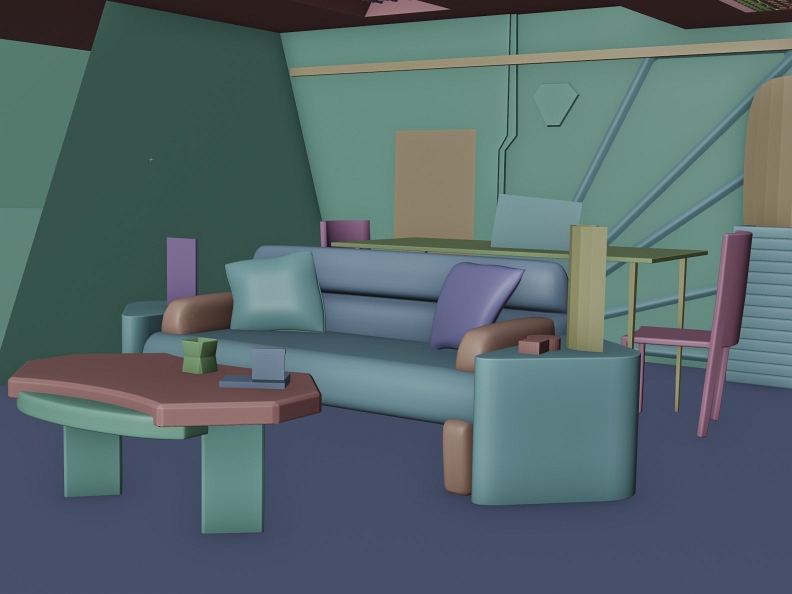
Polygonal modeling and UV projection from an image were the tools. The software F-spy was very helpful in this case, and saved a lot of time. The complex objects such as the statues next to the couch or the fruit basket on the table were instead simple textures applied on them.
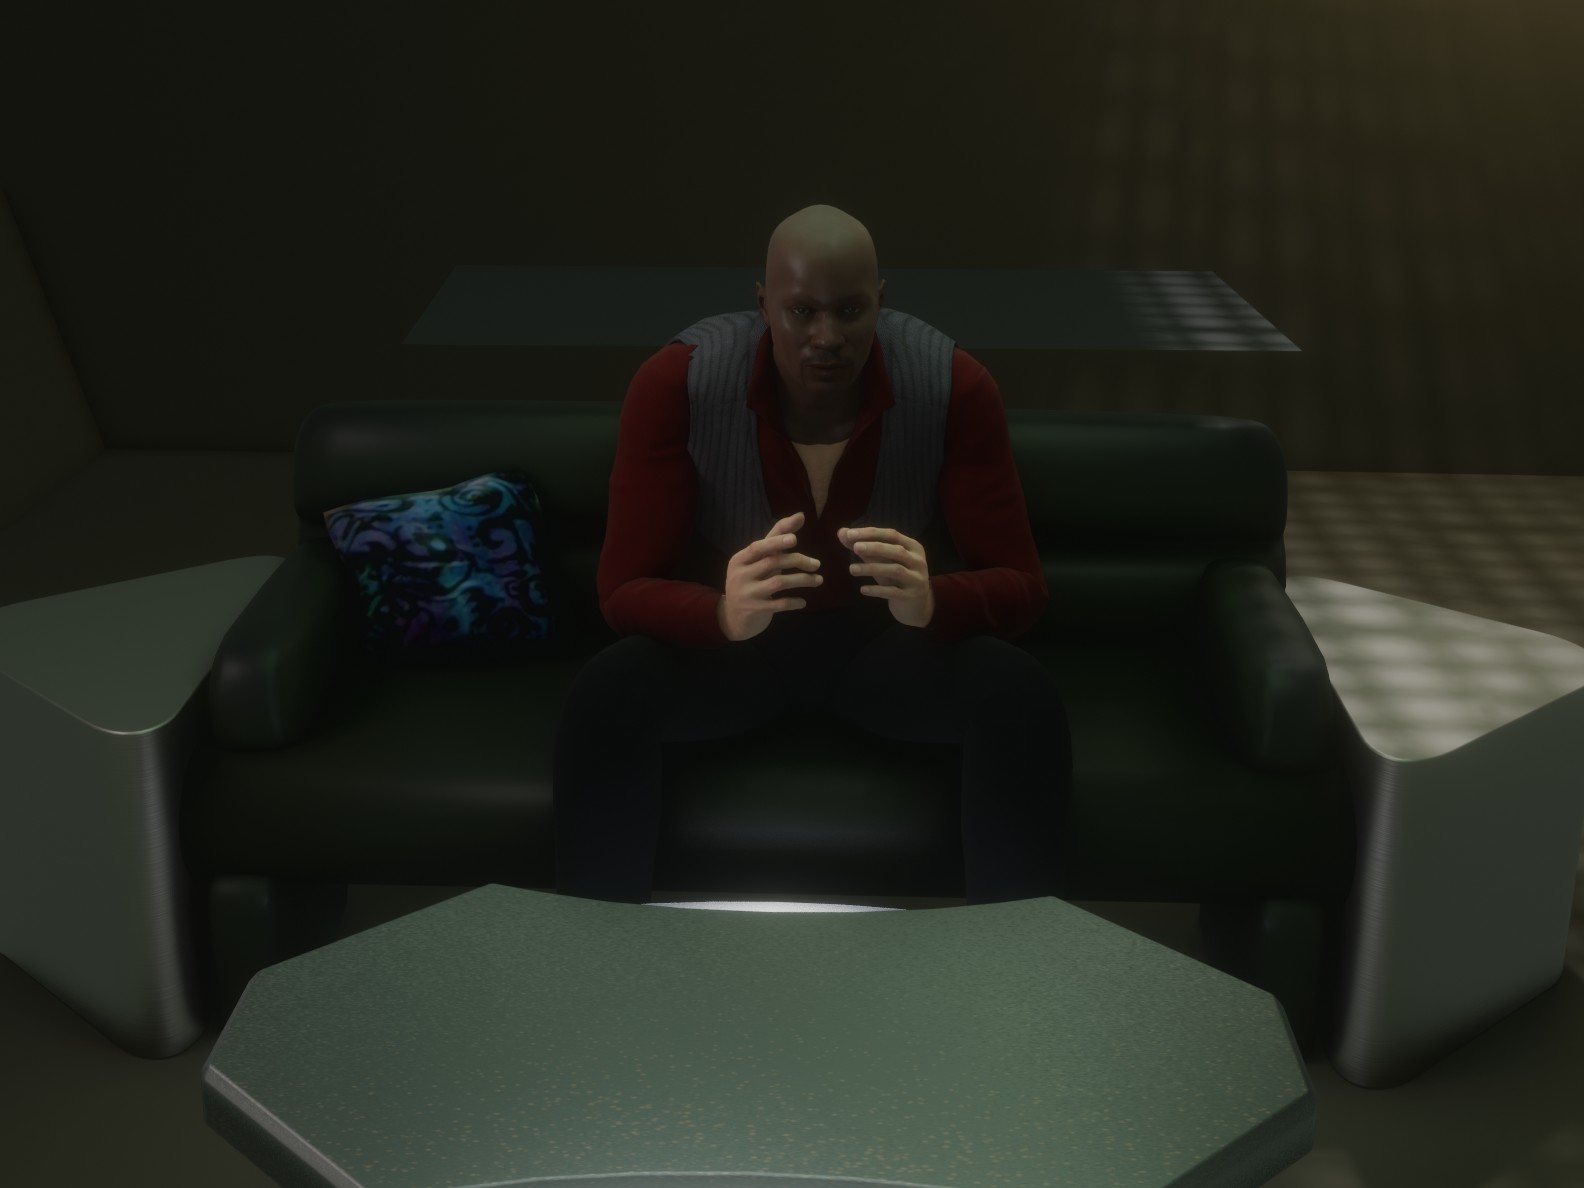
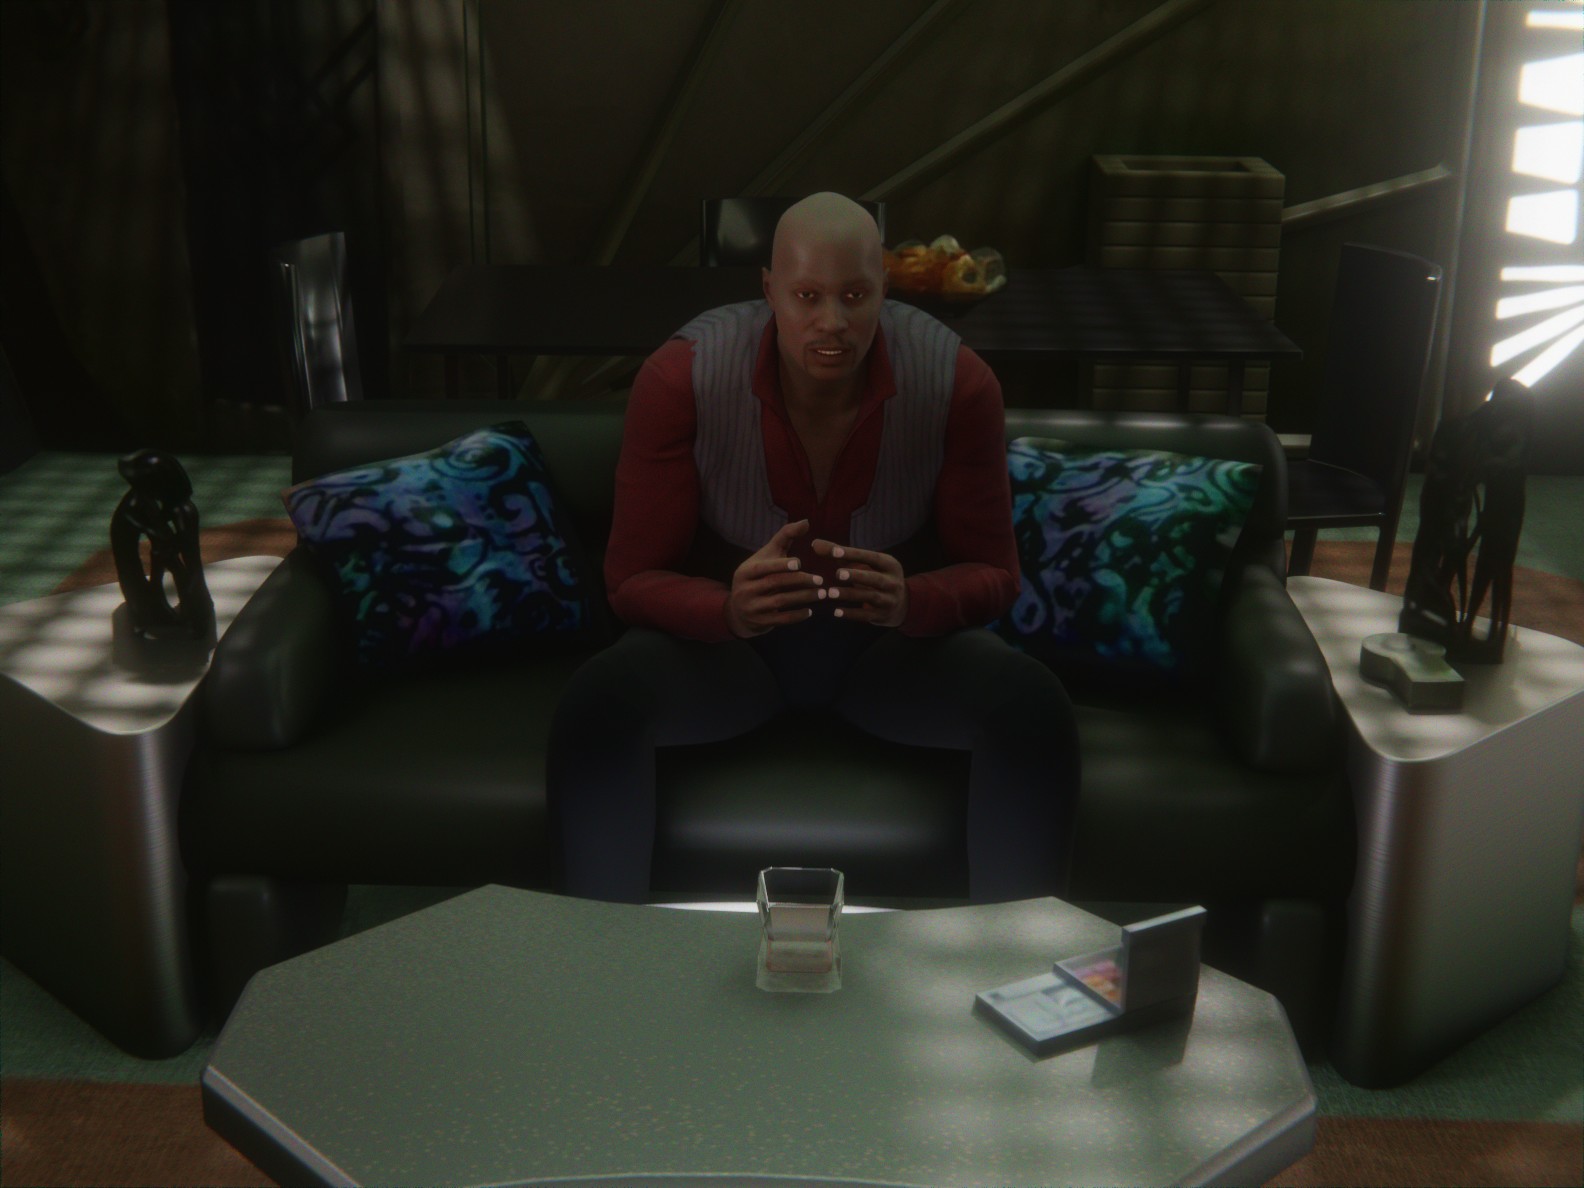
Next there was tinkering with animation. The drink glass was used as a prop in iClone. I used Reach effector mechanic to keep the Hands tied to the Glass while animating. In blender i used a spring bone addon to simulate the liquid jittering inside the glass cup. The bone was linked to a boolean object that cuts through the inside liquid.

Now back into iClone. The tools provided with this software helped my brother with the animation, he wished he had more time with it
Team Members: Danut Firicel and Alex Firicel