Today we are going to take content that we want to apply the DH shader too, other than CC3 characters such as objects and older characters or items imported through 3DXchange
SSS will be able to apply to props and accessories in iClone v7.8 and CC v3.3. The non-cc character will be supported too, till then this method will allow you to apply the shader.
So let's get started.
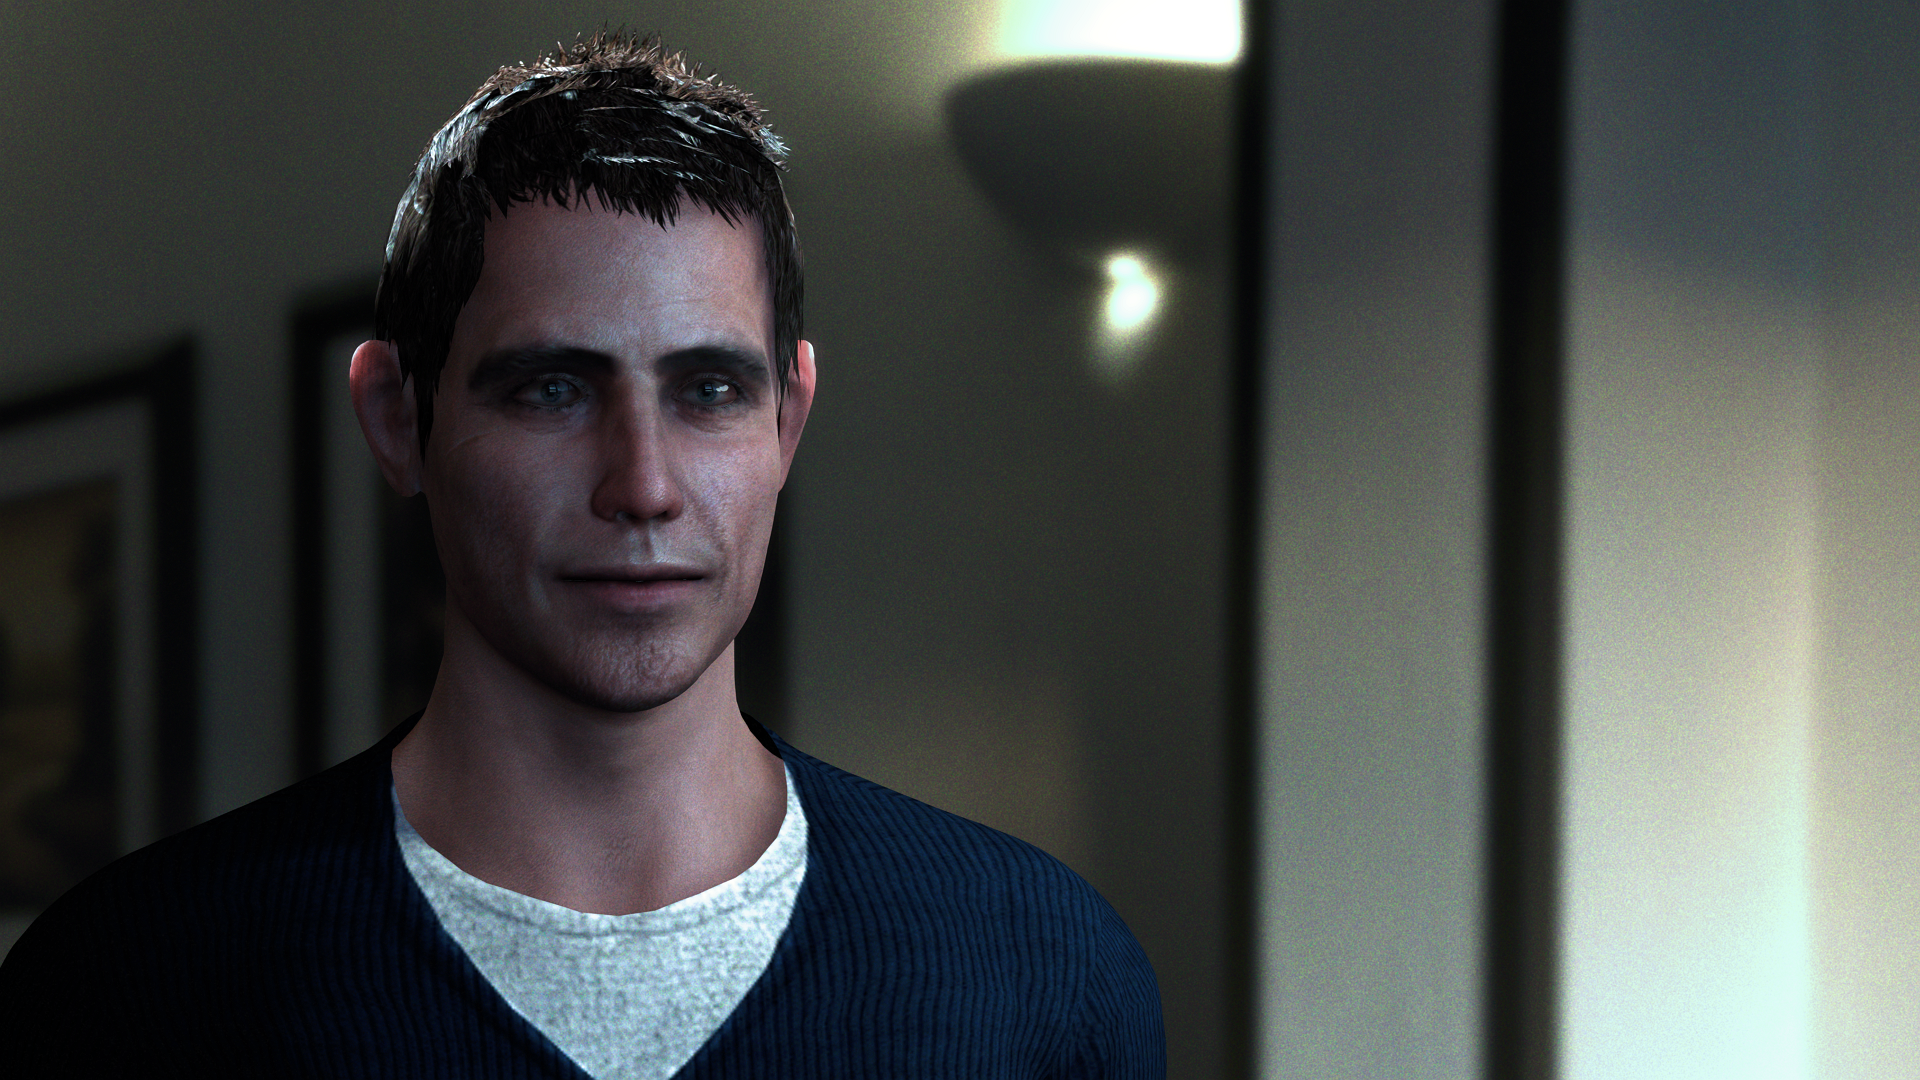
1. Import any CC3 character that has the DHS applied to it, in this example I've imported the character Jody into iclone.
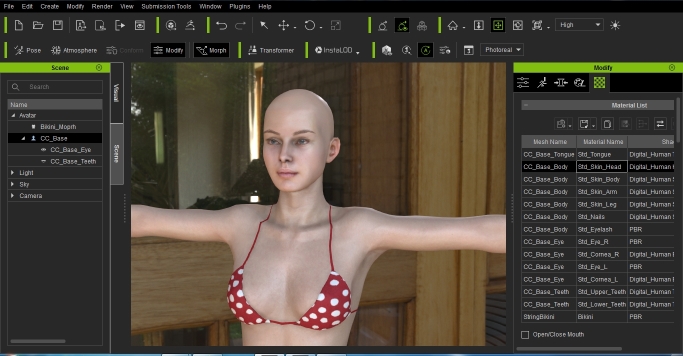
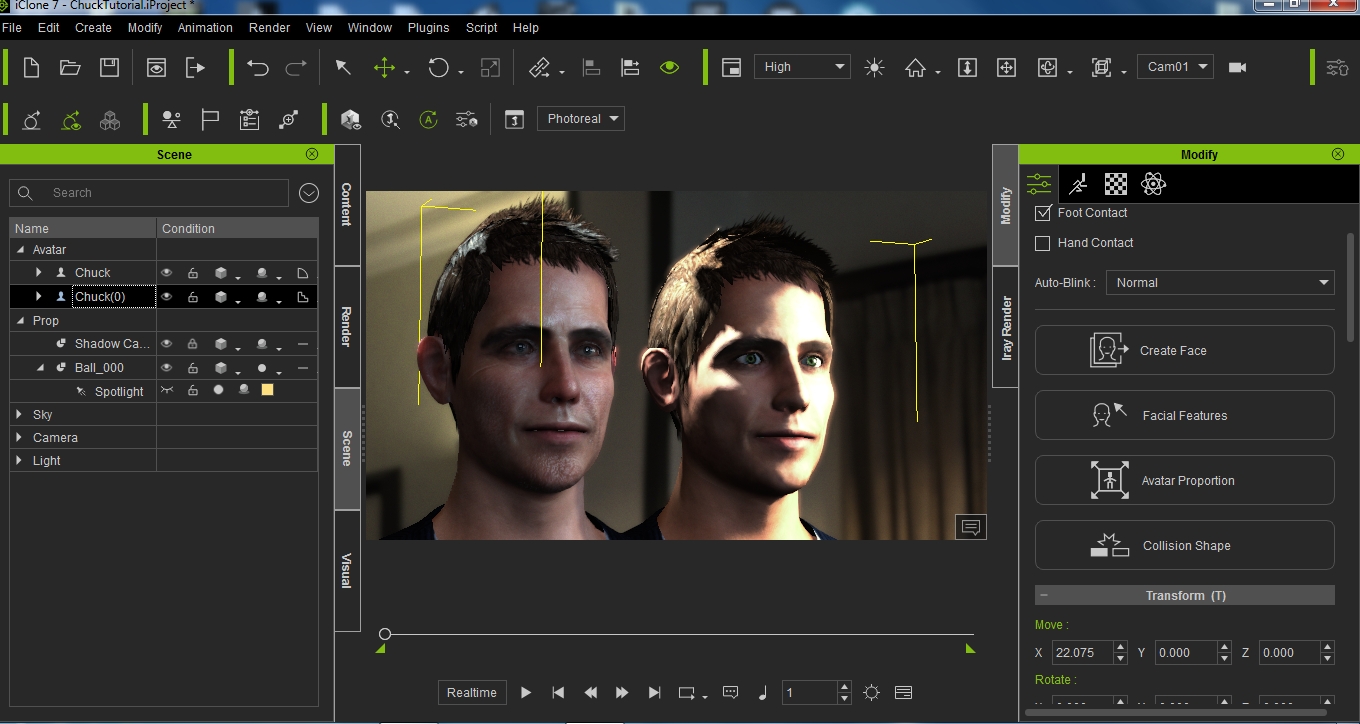
2. Once inside iclone, this is the character we will sample from to get the shader and transfer from Jody to Chuck.
3. Select Chuck or the character you wish to apply the shader too. In my case, it is our friend, Chuck, with Chuck selected you will need to export all skin textures you will be applying the shader too, we will need these later. I've saved mine to the desktop in a folder named chuck. In the case of Chuck, I have saved the face hands and torso texture which contains the neck and the arms.
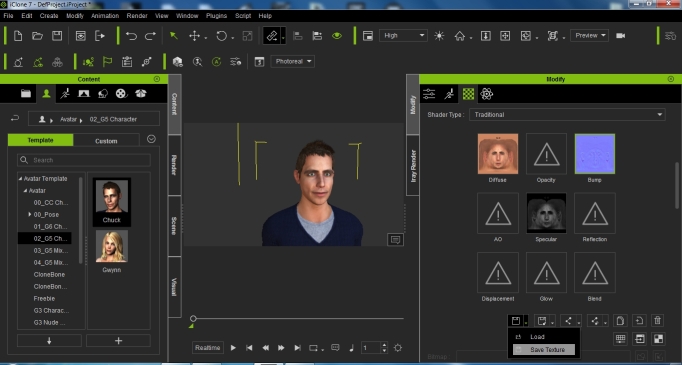
4. Select the character Jody with the pick material tool, select Jody's face, use the paint material to apply it to Chuck's face, now Chuck has bad plastic surgery.
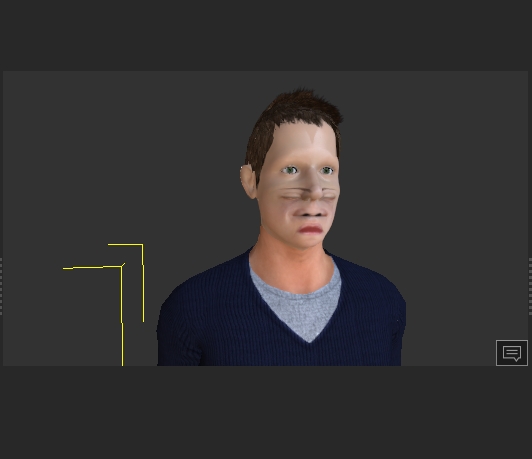
Let's fix that, go to the folder where you saved your textures and replace the face textures I inverted chucks roughness map.
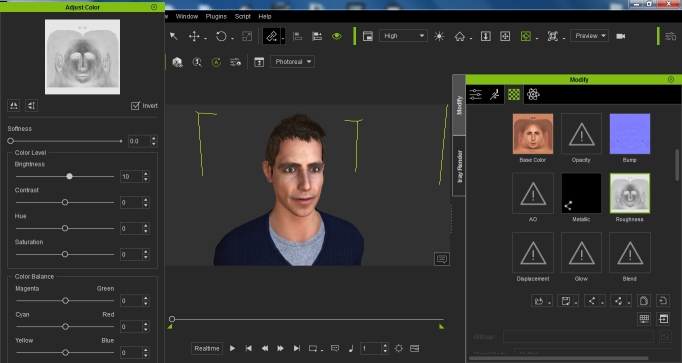
5. Now its time to get started with our maps. We will start with the (Base color blend map) let's take a look at what this does, scroll down.
To the blend map section of the shader, lets increase the base color blend map strength to full.
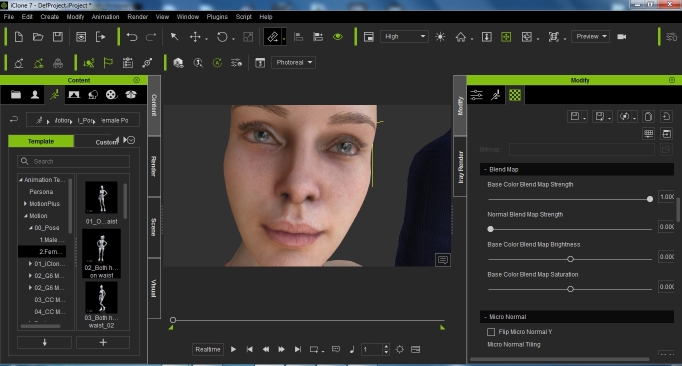
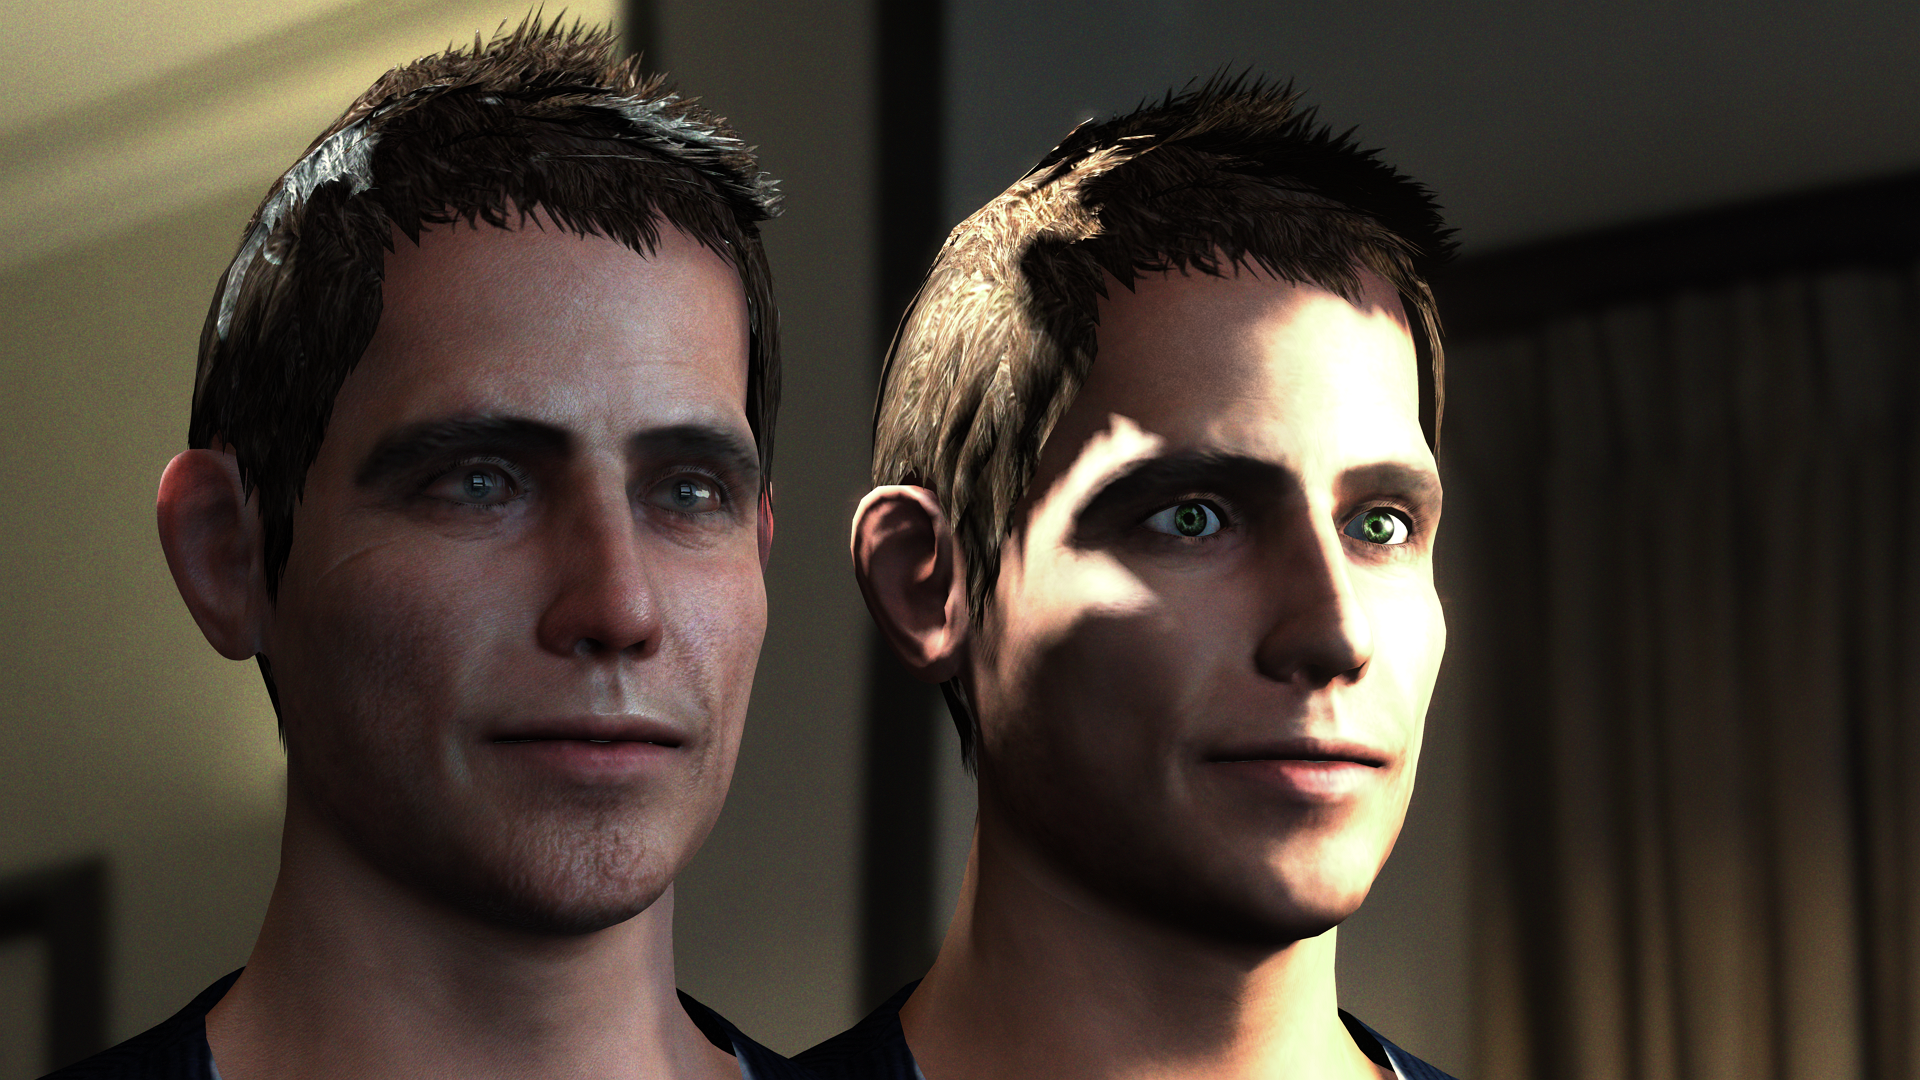
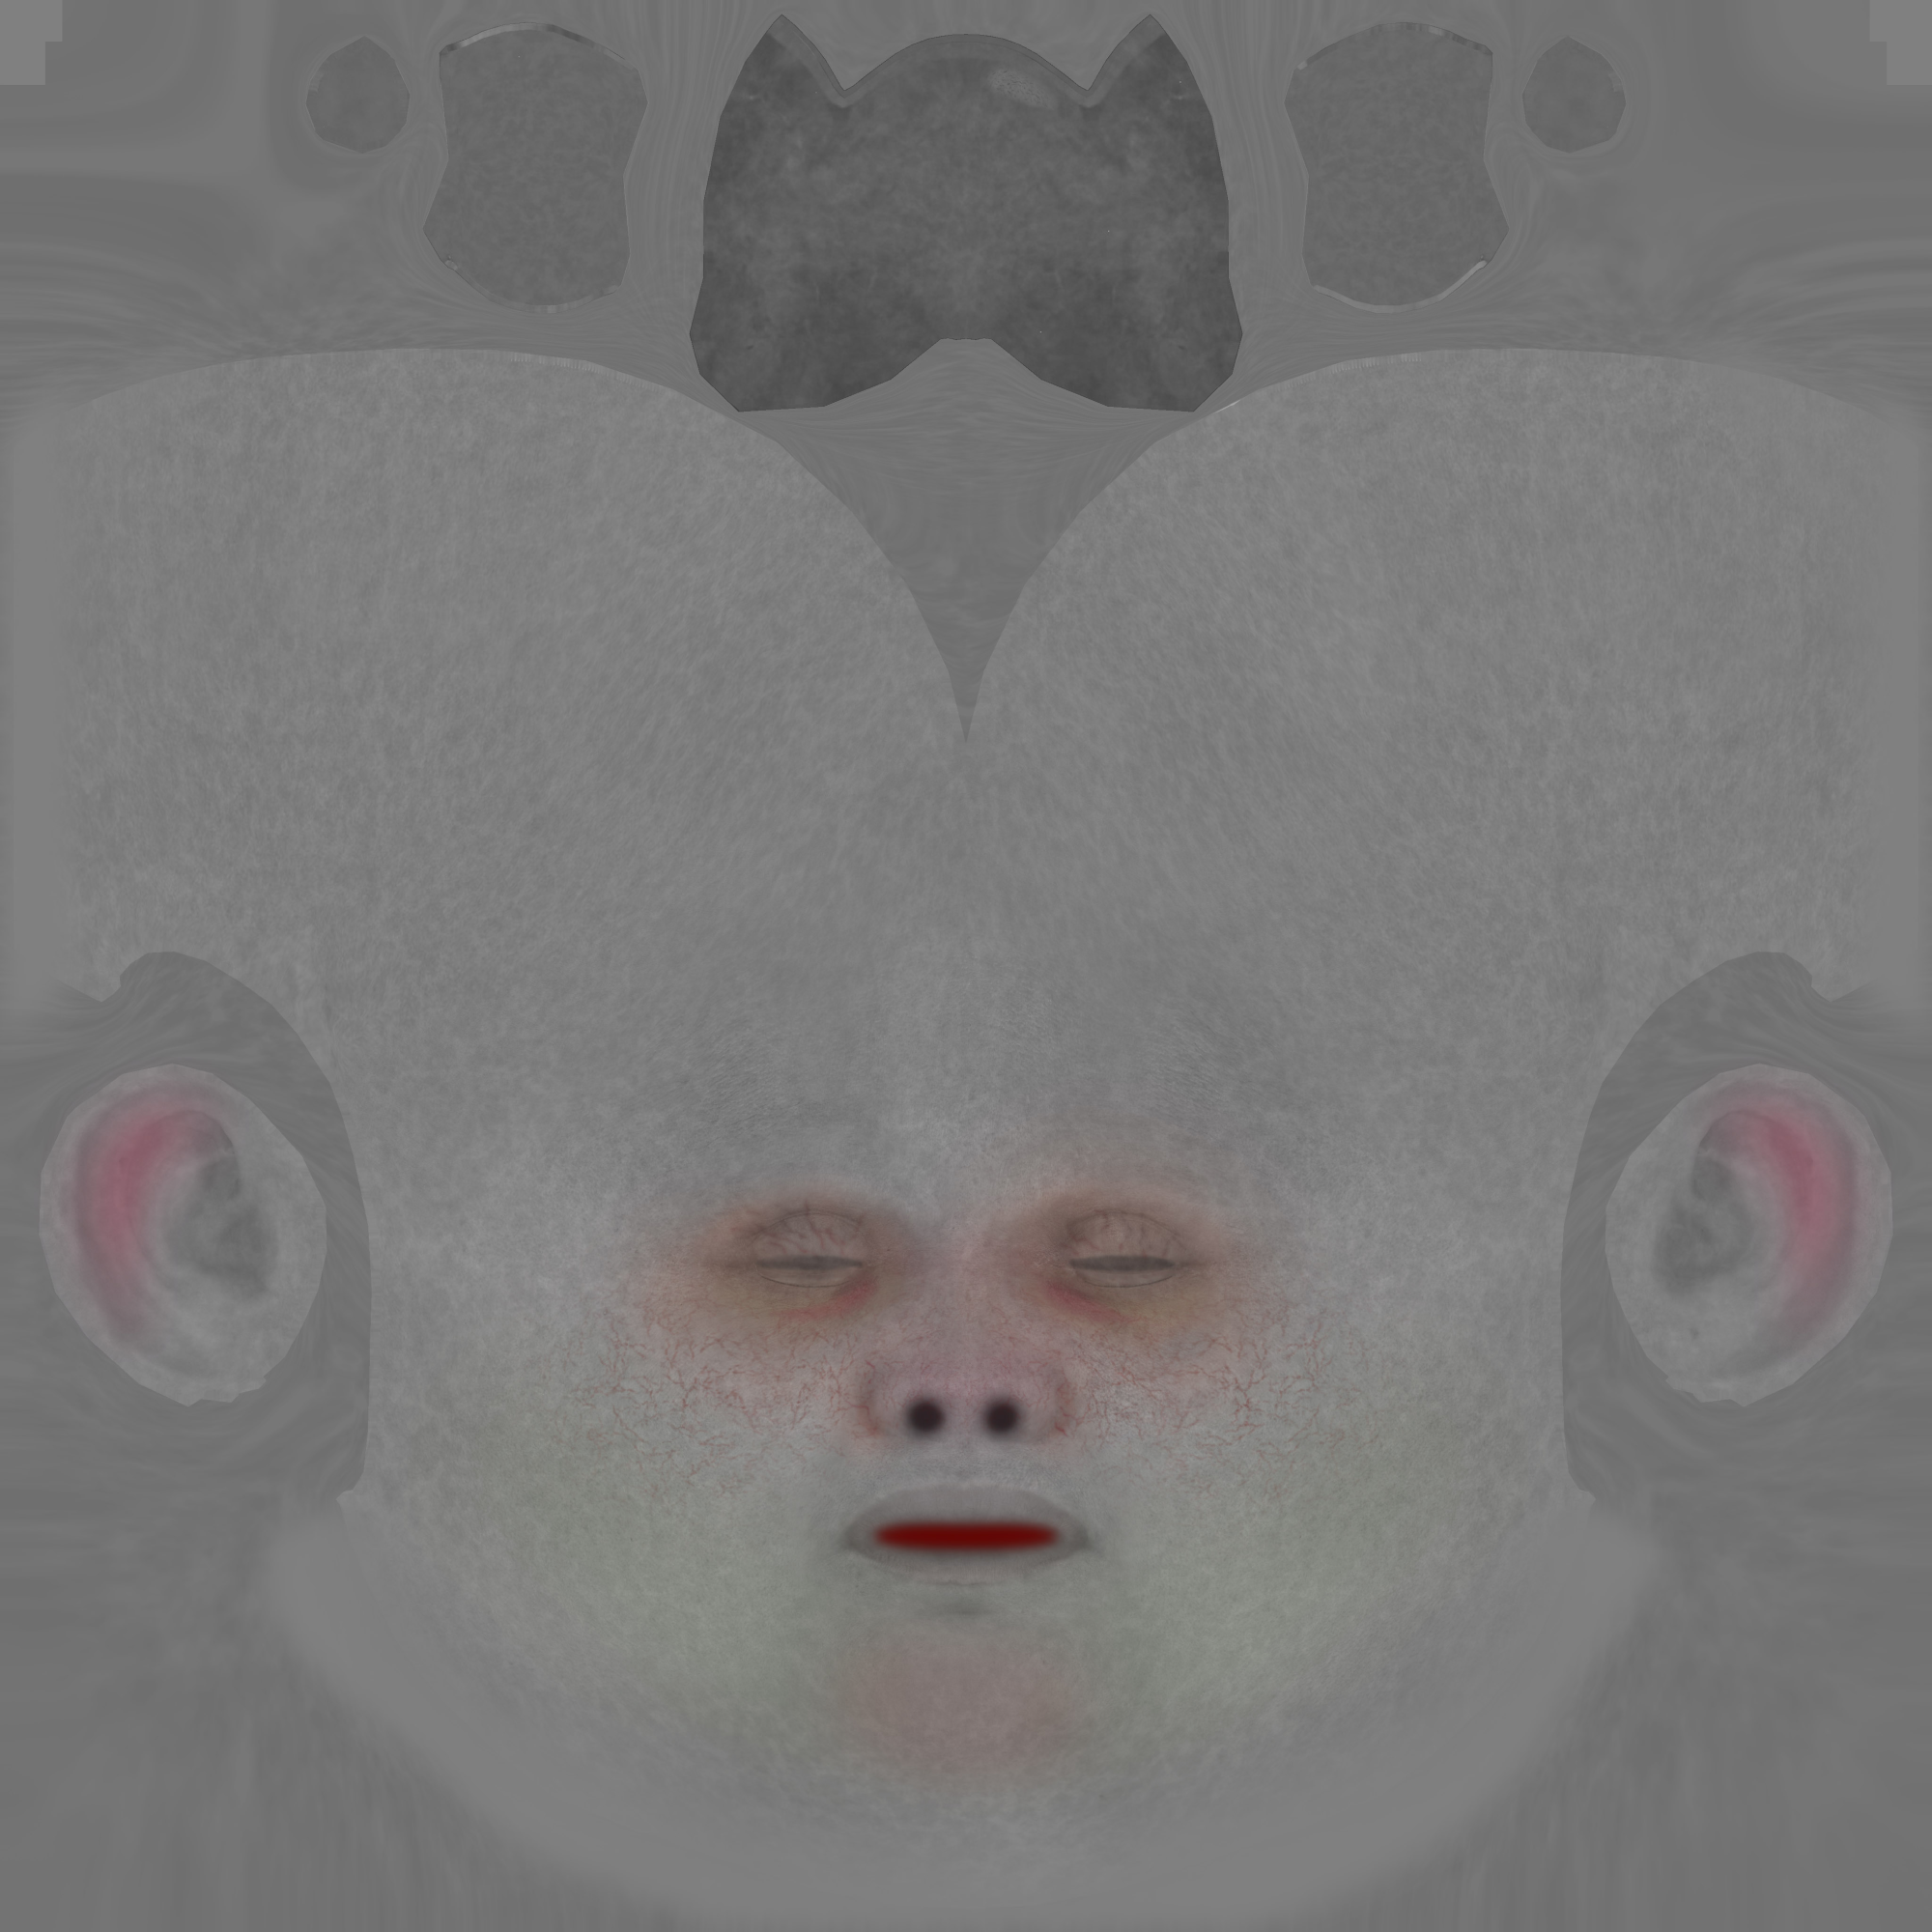
As you can see with the jody charcter there is a reddish-pink hue around the cheeks the nose and ears and mico veins, If we take a look at Chuck.
We can see the maps do not align to fix this. lets take Chucks specular map into photoshop.
And create the map, first let us create two layers. will use a soft brush with an opacity of 6%, here is the color value I used in hex f52556. For the first layer fill it with 50% gray for the second layer, this will be our color layer.
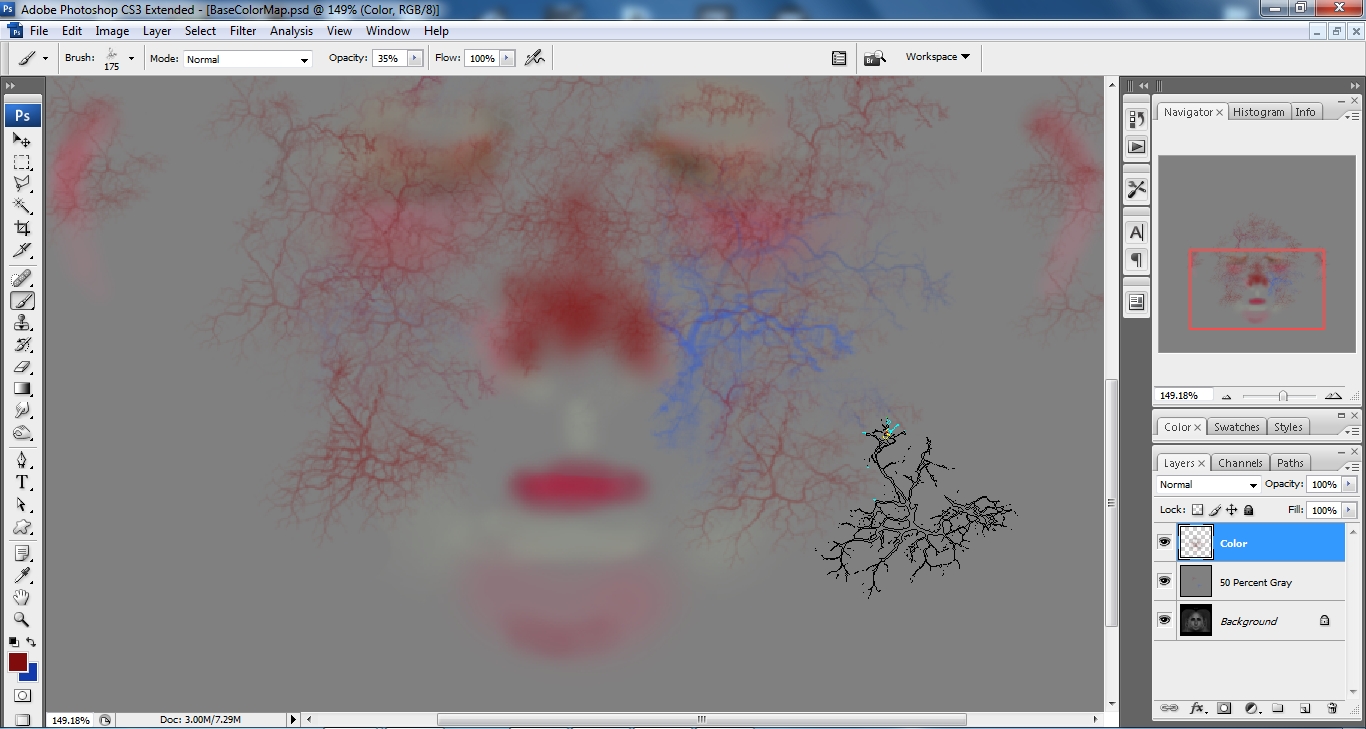
Original CC3 Map.
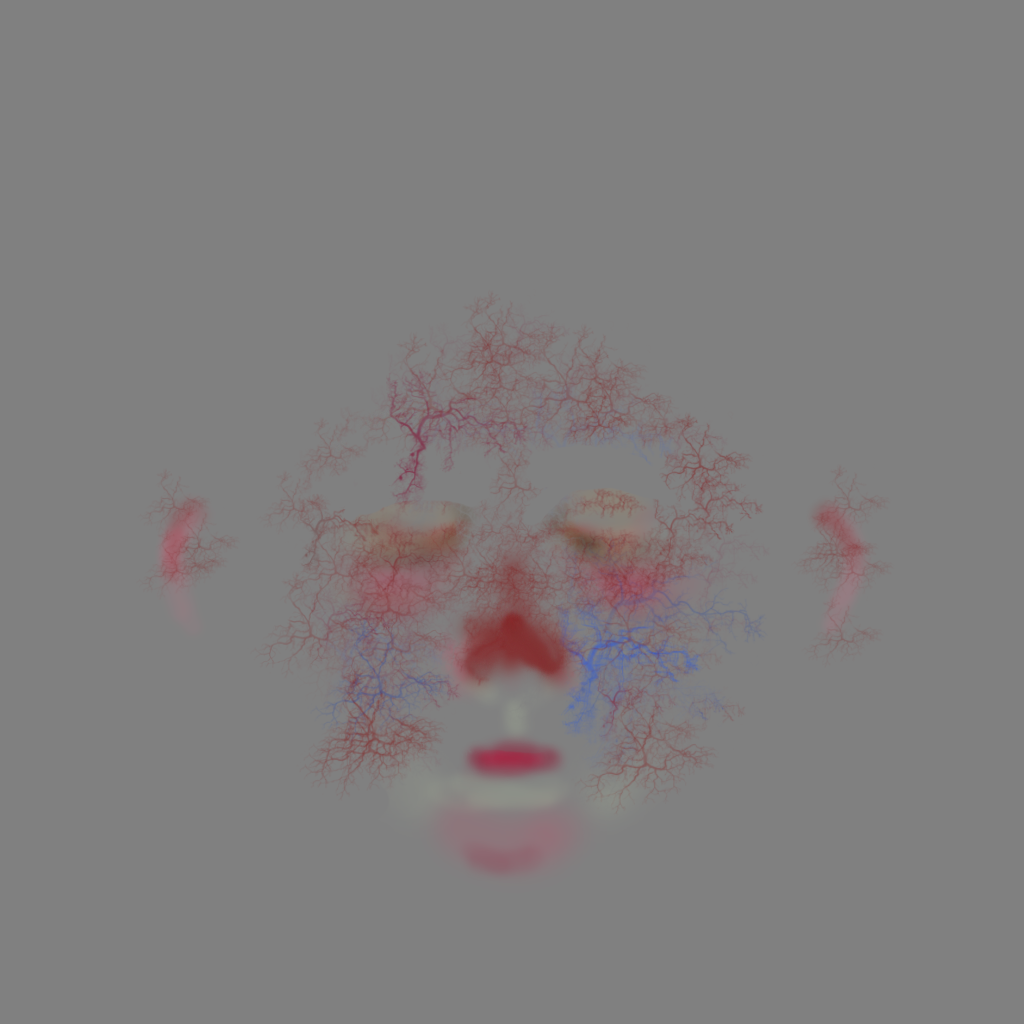
I will start by copying the original map, painting around the ears, cheeks, and nose.
But many more advanced effects can be created, here is what my. map looks like, you can use this for Chuck if you like.
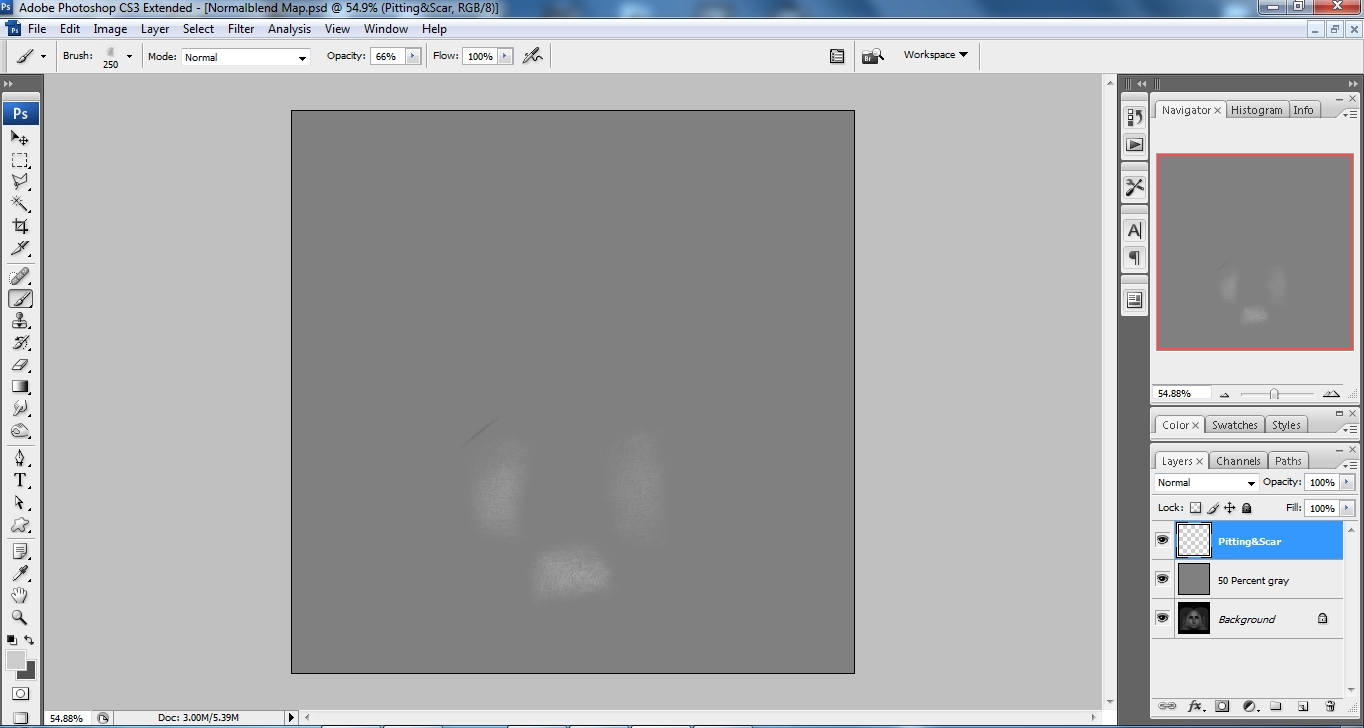
6. The next map we will tackle is the normal blend map, this gets blended with the default normal map. We will import the specular map again.
For reference this time we will give chuck some pitting in his face for this I will use photoshop and Bitmap2 Material.
But you can also use Materialize, it's a free program to create the normal maps with.
To start lets again create two layers. the fist layer fills with 50% gray and the second layer will be our effect, choose a skin brush, you can find
One online if you don't have one, and with an opacity of 35% and color of hex #cdcdcd.
Will put the pitting on Chuck's cheeks like the actor, Richard Davi, and give him a scar when your satisfied with your normal blend map its time
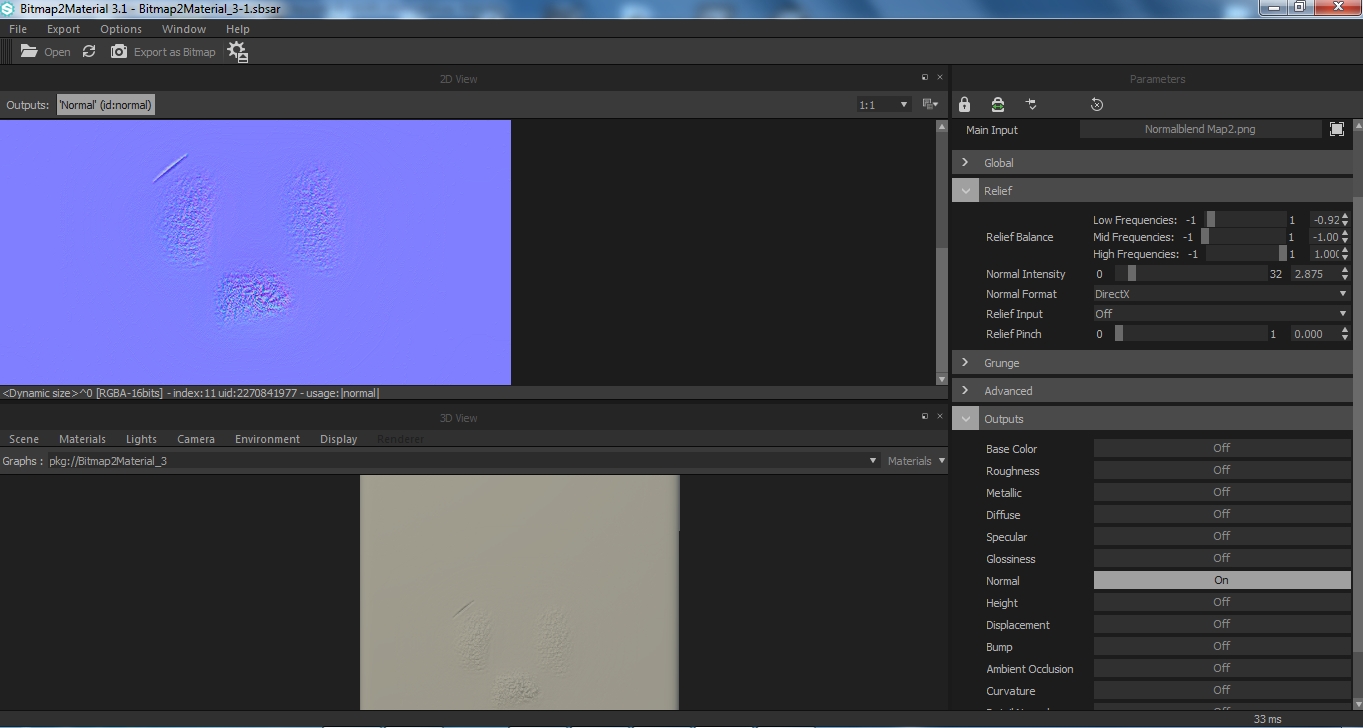
To bring it into B2M or your application of choice.
To create the normal map be sure to adjust the relief balance low, mid and high frequencies to get the desired results.
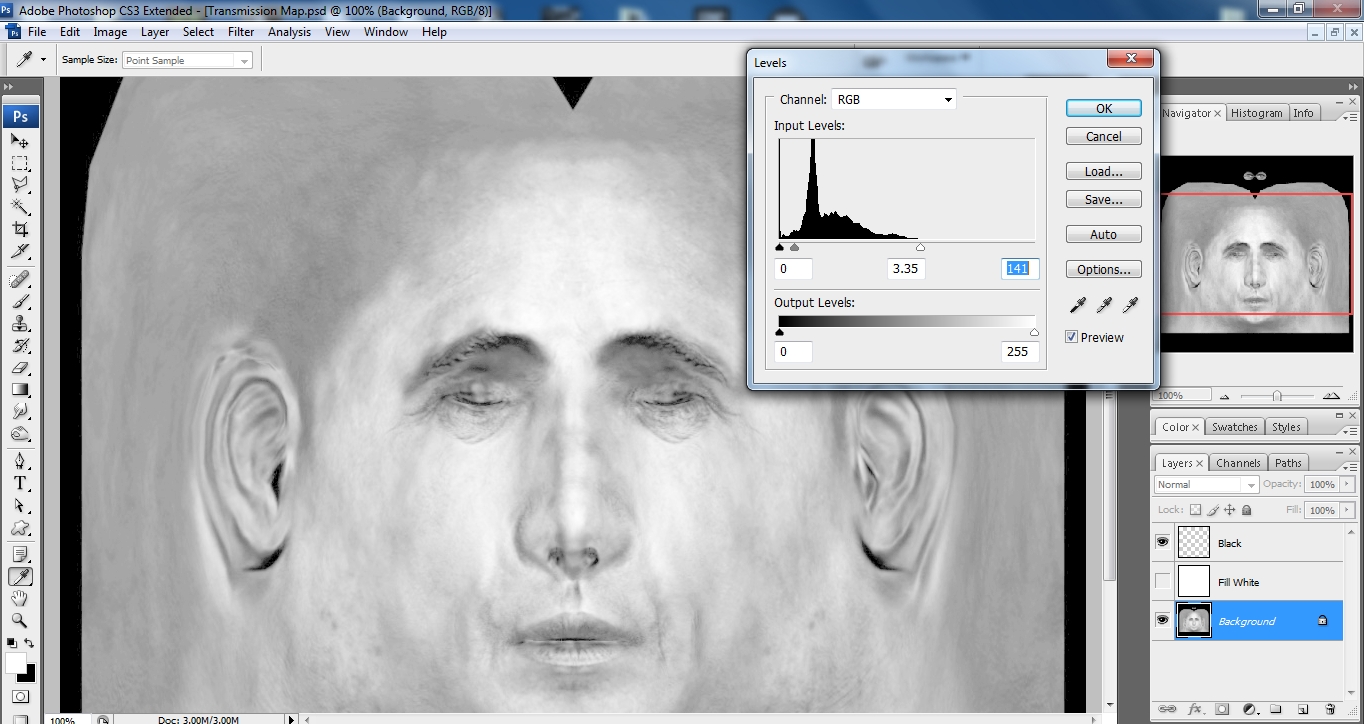
7. Next, we have the transmission map, let's bring the specular map into photoshop or our application of choice, let's create two layers.
Fill the first layer with black, for the second layer we will paint with white, as before, lets grab a soft brush with an opacity of 12%.
We want to trace the ears and the nose and lips with white, these areas are the most common place you see subsurface scattering.
Or light transport.
But every part of our skin has this effect but to diffrent degrees.

As I create this map I place a spotlight in iclone and in the light properties. Enable sss transmission, in iclone,
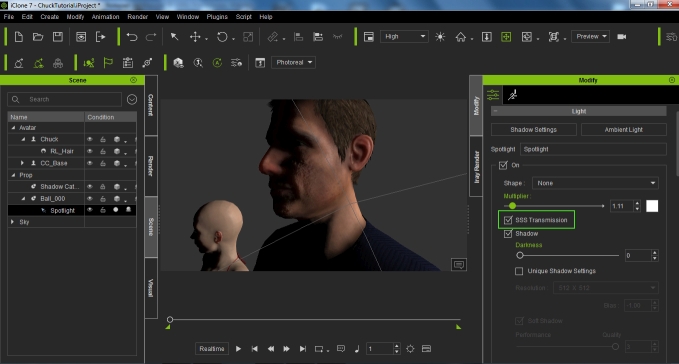
I next create a primitive sphere, let's attach the spotlight to the sphere so we can rotate the light around.
Chuck, so we can check our work after we're satisfied with our transmission map, apply a small amount of gaussian blur with a radius of 3.0.
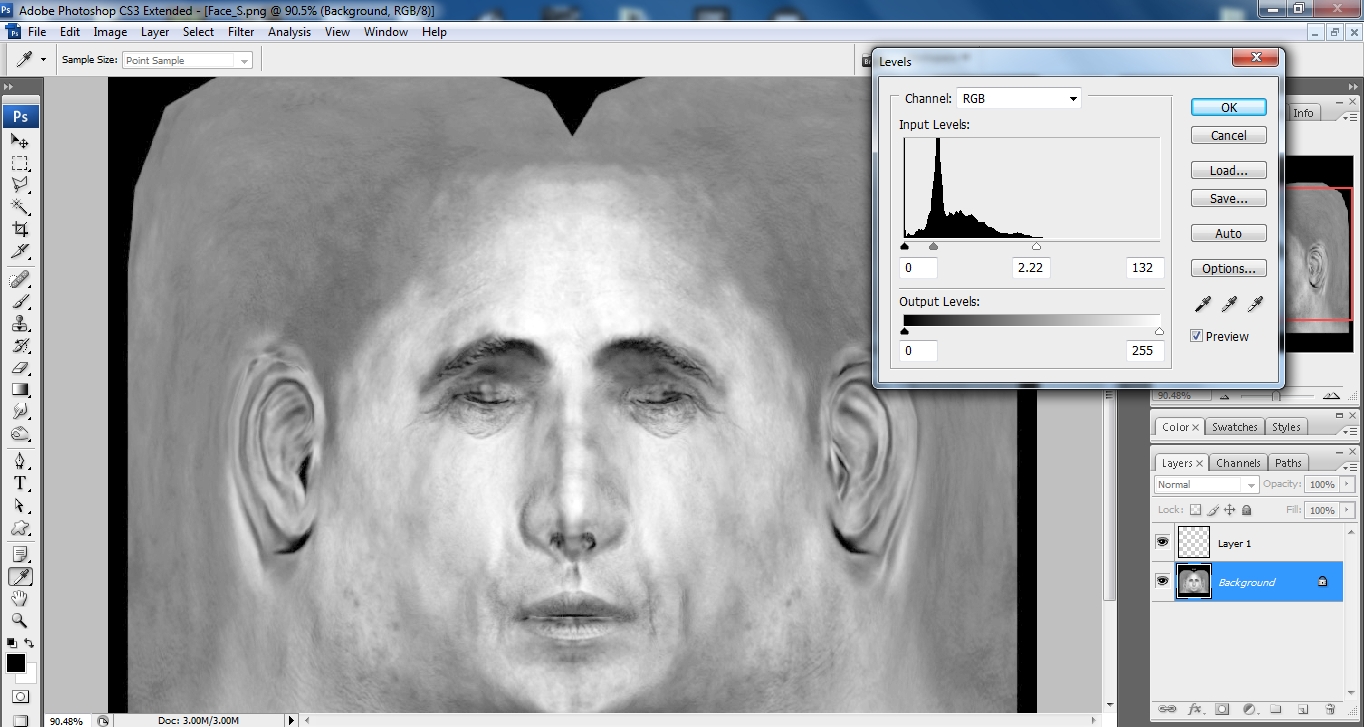
8. Next up is the SSS Map, let's bring in our specular map again, we will use levels first to brighten the specular map some.
We also need to create a new layer, to paint with black using a soft brush with an opacity of 23%, this is where we don't want this effect.
To be visible like the eyebrows.

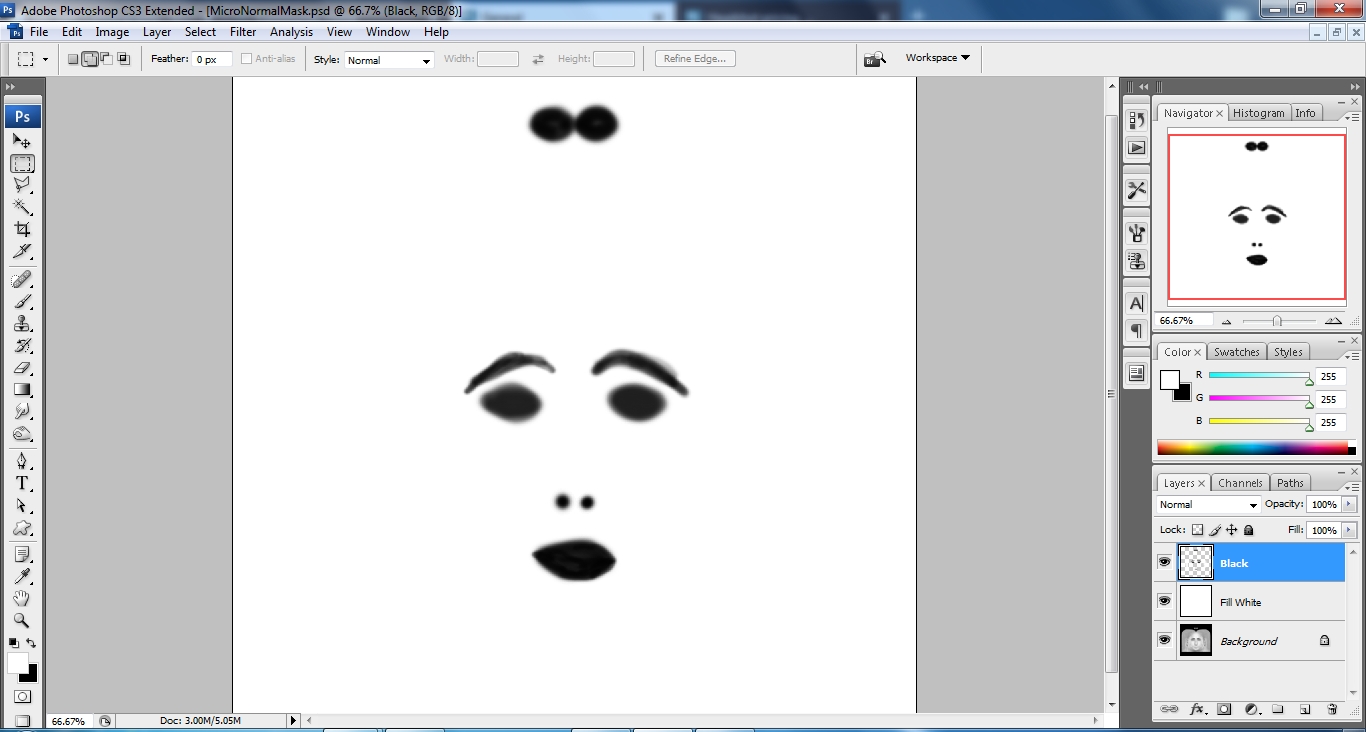
9. Now its time to work with the micro normal mask, bring in the diffuse or specular texture, create a new layer and fill it with white.
We will paint with black, this is where the effect will not be applied such as the eyes, lips, eyebrows, and inside the nostrils.
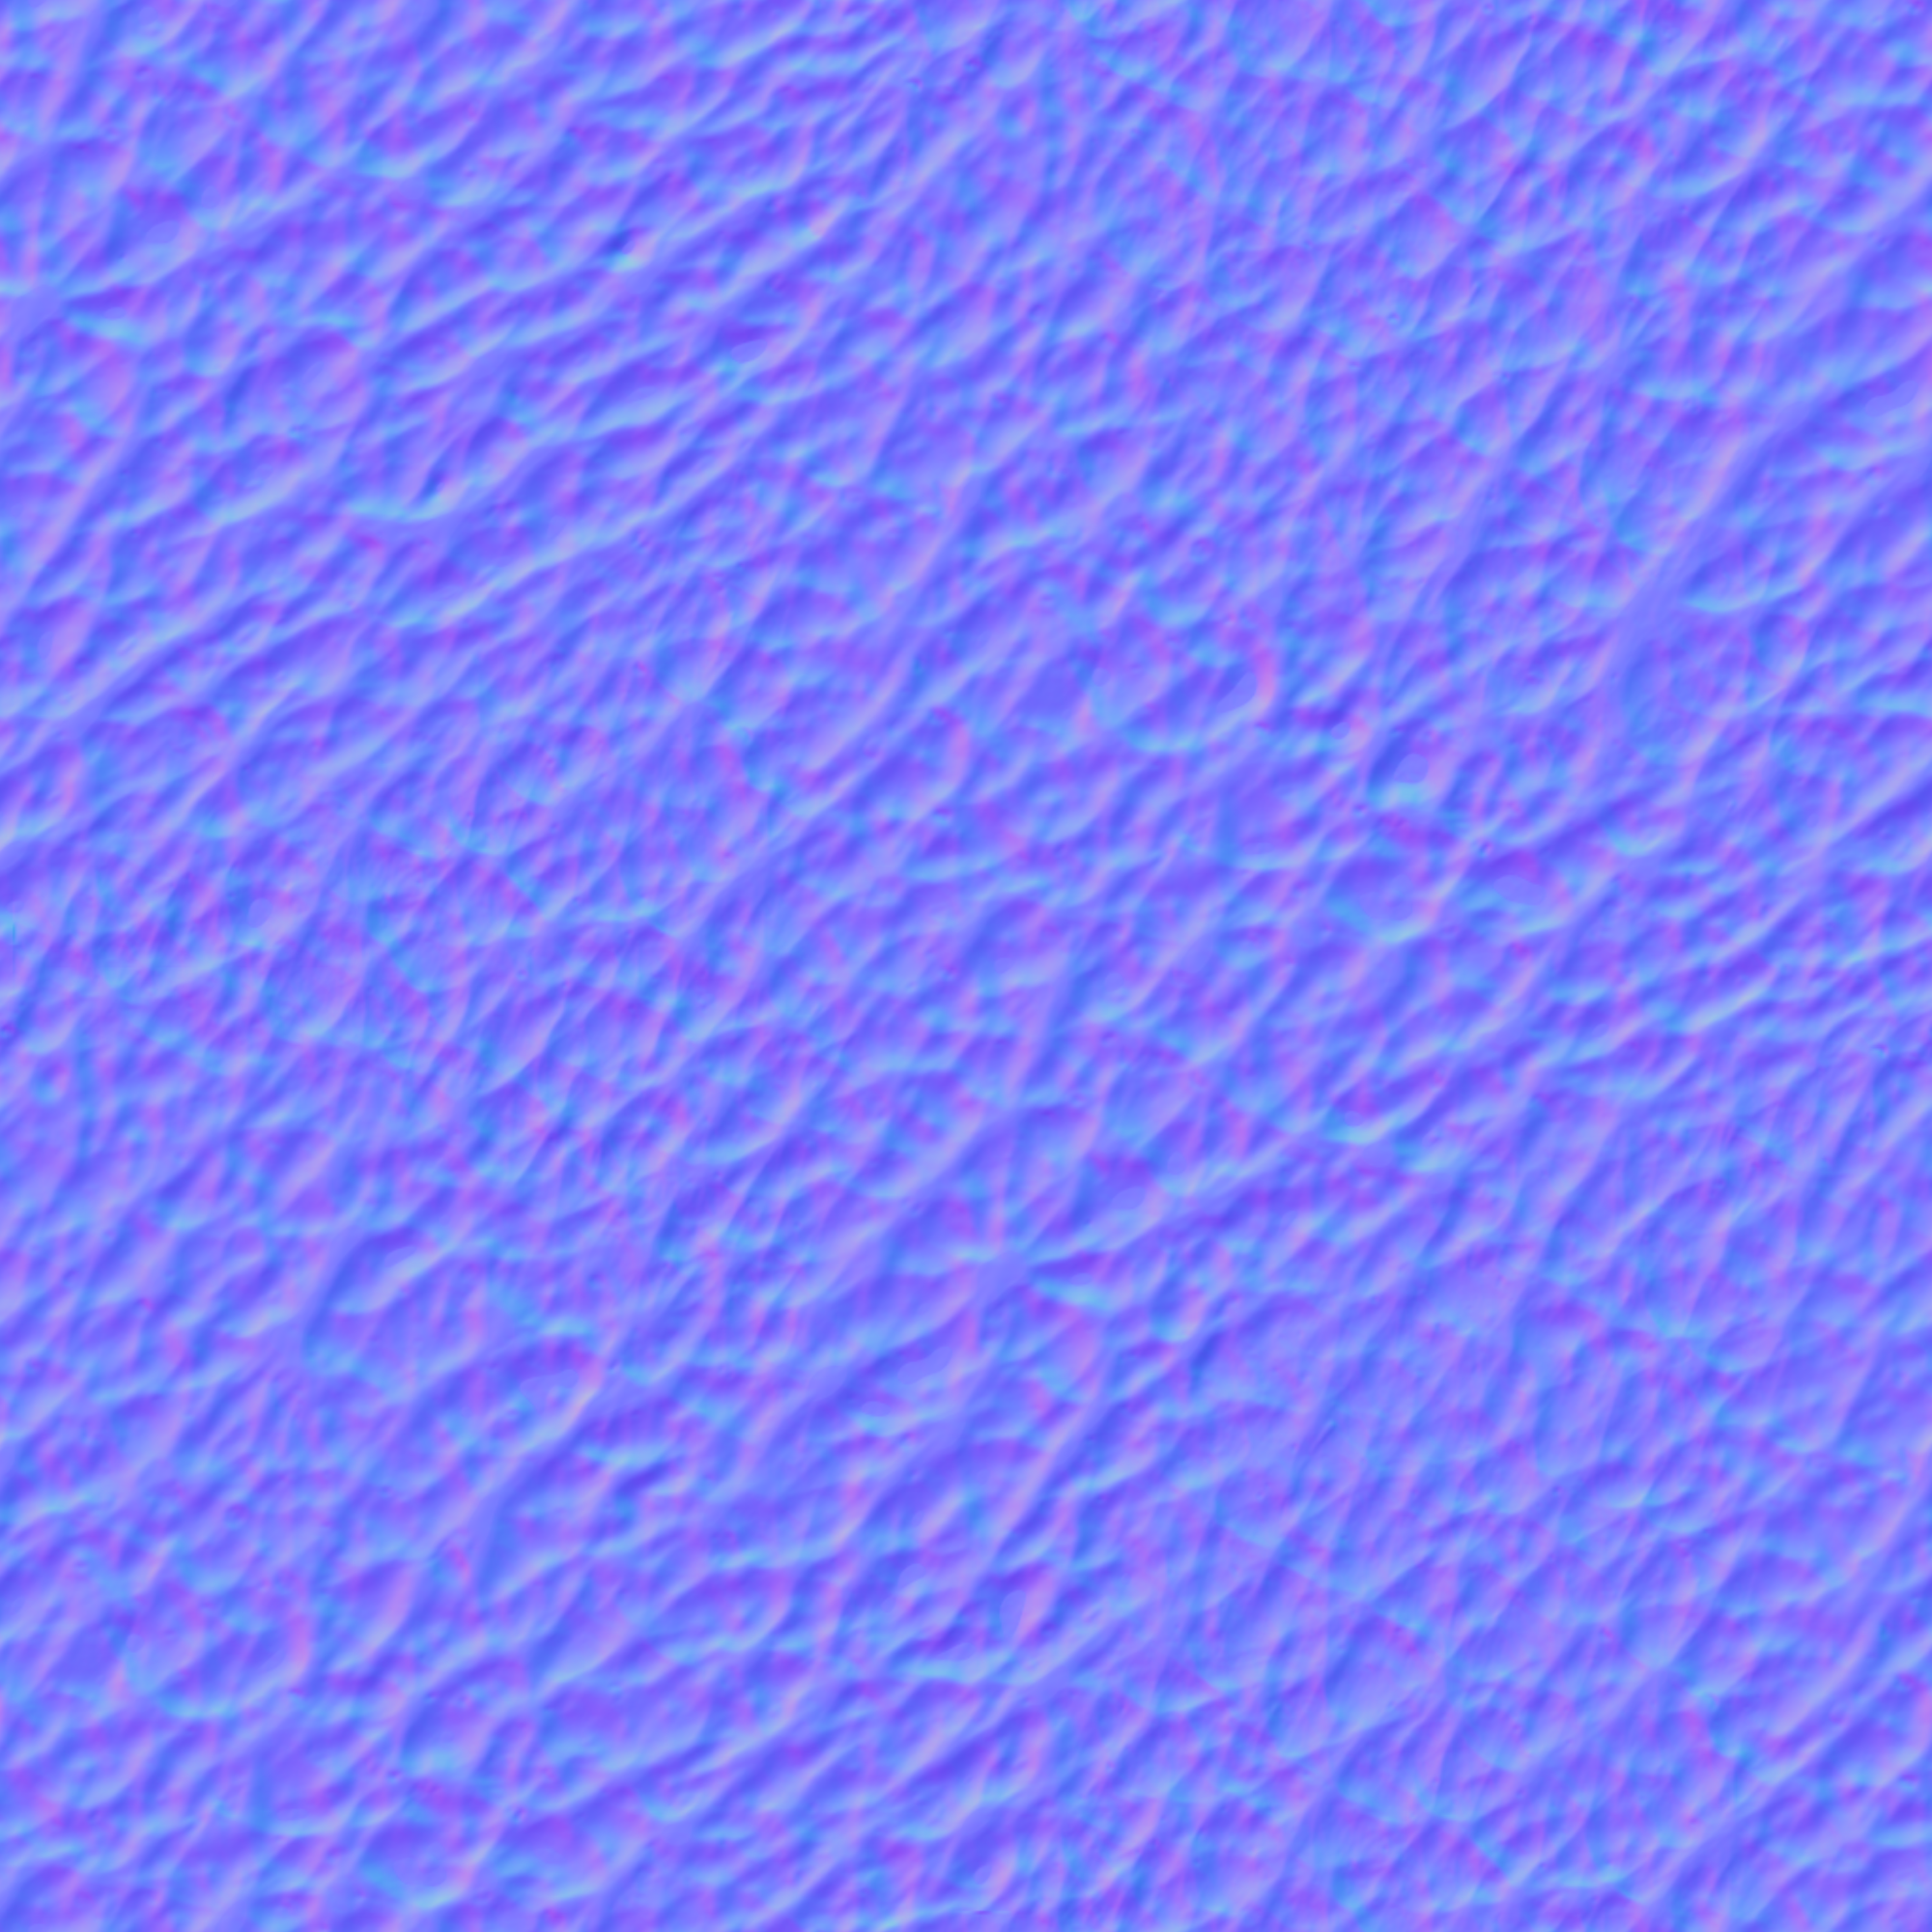
10. The micro normal texture is a tiled normal map, that is blended, also with the default normal map for fine details or other effects.
By adjusting the tiling and strength for close up camera shots. You can create these in photoshop, filter forge, substance designer.
And many other applications you can also find them online, here is the one I created from substance source you can use.
11. The Specular mask is used to determine which part of the texture is subject to specularity.
We simply paint with white and black, white areas are effected and black areas are not...
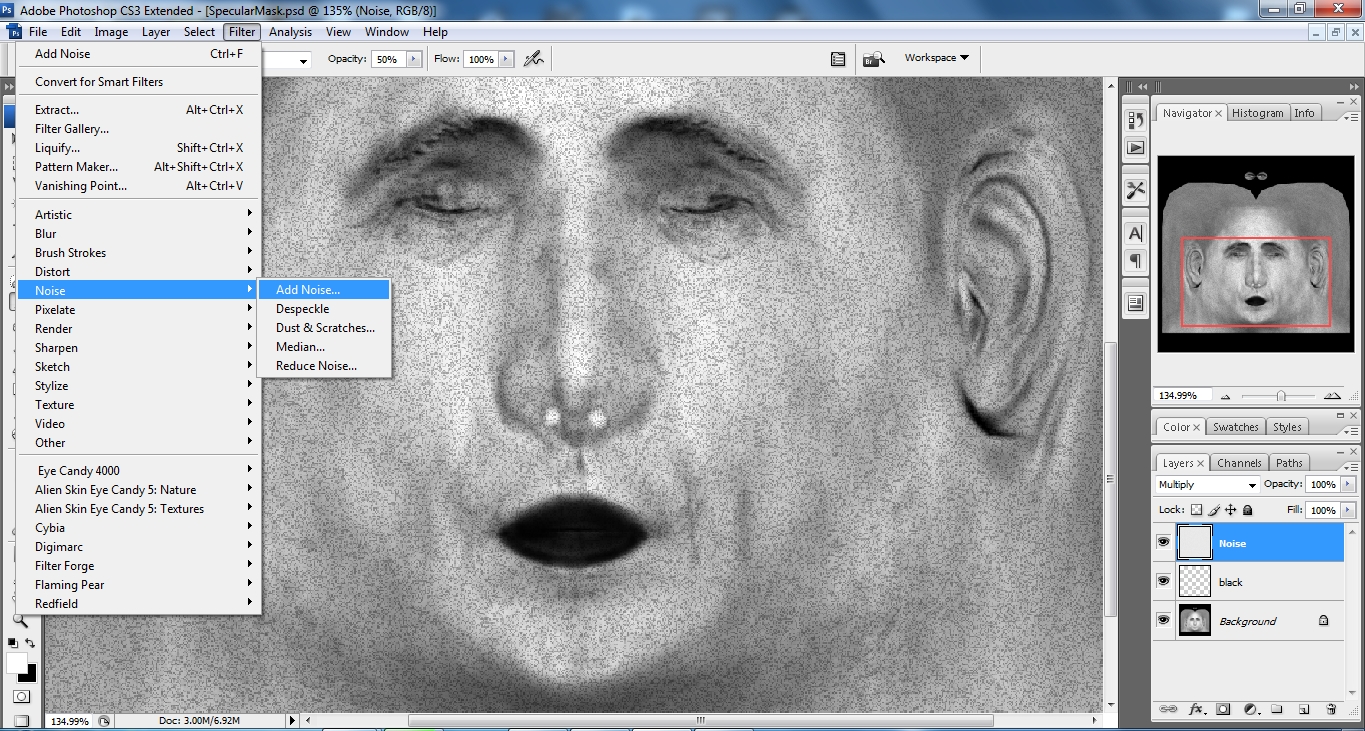
We will start by once again bringing in the original specular map,we will also use levels on the original specular map.
We will create two layers. The first layer we paint with black and white.
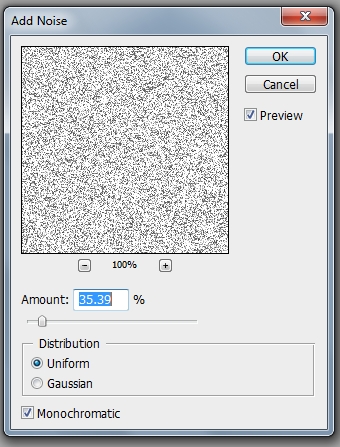
On the second layer, we use the noise filter with a blending mode set to multiply.
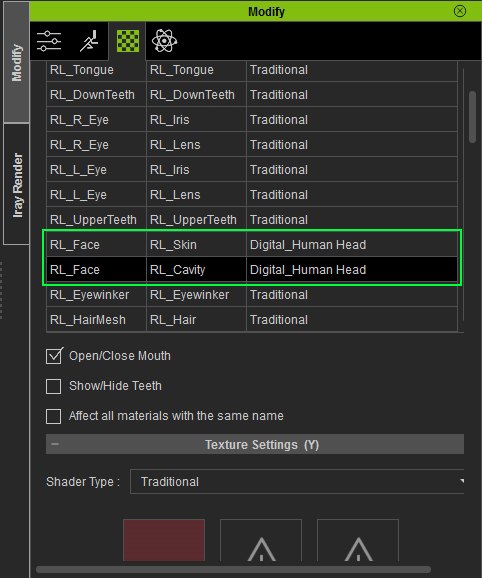
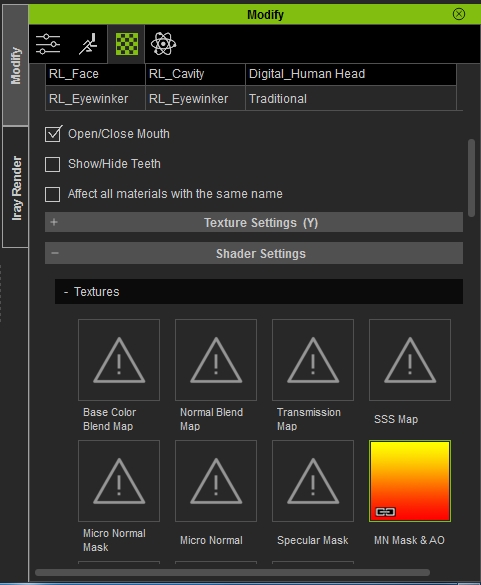
12. Lets, take a look next at the(MN Mask&AO map),for the character Chuck I had to copy the shader again for the mouth cavity.
Because they do not share the same texture space.
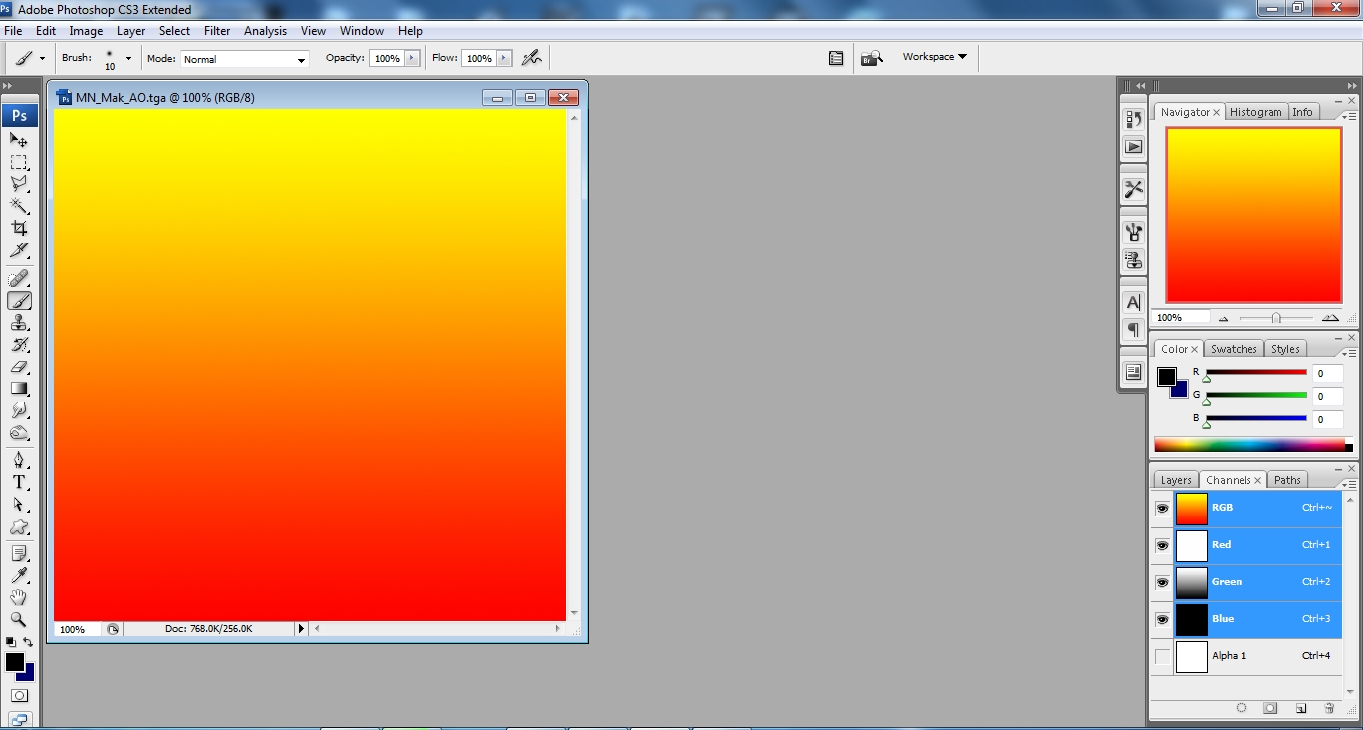
In photoshop I created a new texture 512x512 for the map.
Switch from layers to channels, we start with (R Channel = mouth cavity mask), in photoshop I select from the swatch and choose the red color.
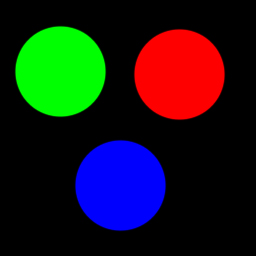
In the edit menu, I select the fill function and select foreground color, to fill the channel with red.
Moving on to the (G Channel = mouth gradient AO), select the green color from the swatch and select the green channel.
Select the gradient tool, also choose linear gradient type to draw your gradient, in the case of chuck I started from top to bottom.
The direction may be different on other characters your working with if you're working with Chuck or other characters with a separate.
Mouth cavity map.
You may delete unused textures from the, shader setting, textures section.
Save your mouth cavity map (MN Mask AO), map as 32bit TGA.
The (B Channel = nostril gradient AO), and the (A Cannel = lip line AO).
Are part of the face texture, we will work on that in the next section.
12A.Selecting the RL_Skin once again, so we can work on the second part of the (MN Mask&AO Map), I first import Chucks Diffuse texture into photoshop lets create a new layer we will be working on the (B Channel = nostril gradient).
Fill the new layer with white reduce the layer opacity to 25% so we can see the diffuse texture layer select a soft brush with opacity set to 30%.
Paint in the nostril area with black we are painting on the blue channel.
When done, let's work on our lip line area (A Channel = lip line AO), create a new alpha channel, name it lip line.
Fill the alpha channel with white, using the same brush setting, paint with black, tracing where the lips meet.
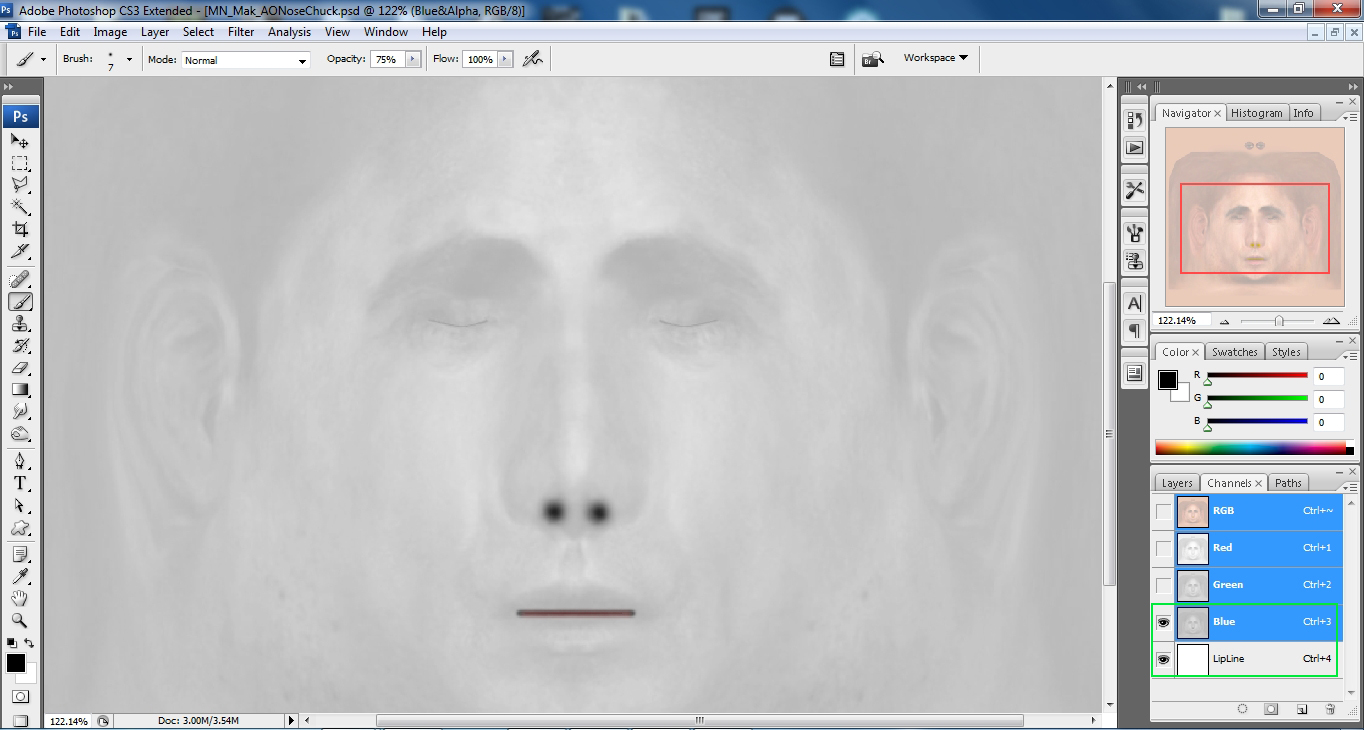
When you're satisfied, set the opacity of the blue and alpha layer to 100% and deactivate the diffuse layer save the map too, TGA 32 BIT.
13. In this part we will deal with the more advanced roughness section of the shader, the remaining three texture maps function in the same way, breaking the face-up into areas for fine control over the roughness applied.
To start with, import Chucks specular map, you may also use the diffuse texture if you find it easier to work with, all we need it for is to trace.
The separate areas of the face texture, we will create the (NMUIL Mask).
Let's start by creating a new layer and name it NMUIL. I also created an adjustment layer to brighten up the specular map to make it easier to see as I trace the different areas of the face.
Fill the NMUIL layer with black, select red from the swatch, and switch from layers to channels (R Channel = Nose).
In the red channel trace the nose,(G = Mouth) in the green channel trace the mouth.
Next, the (B Channel = Upper lid), select the blue channel and trace the upper eyelid, and finally the alpha channel (A Channel = inner lid).
Trace the inner eyelid in the alpha channel.
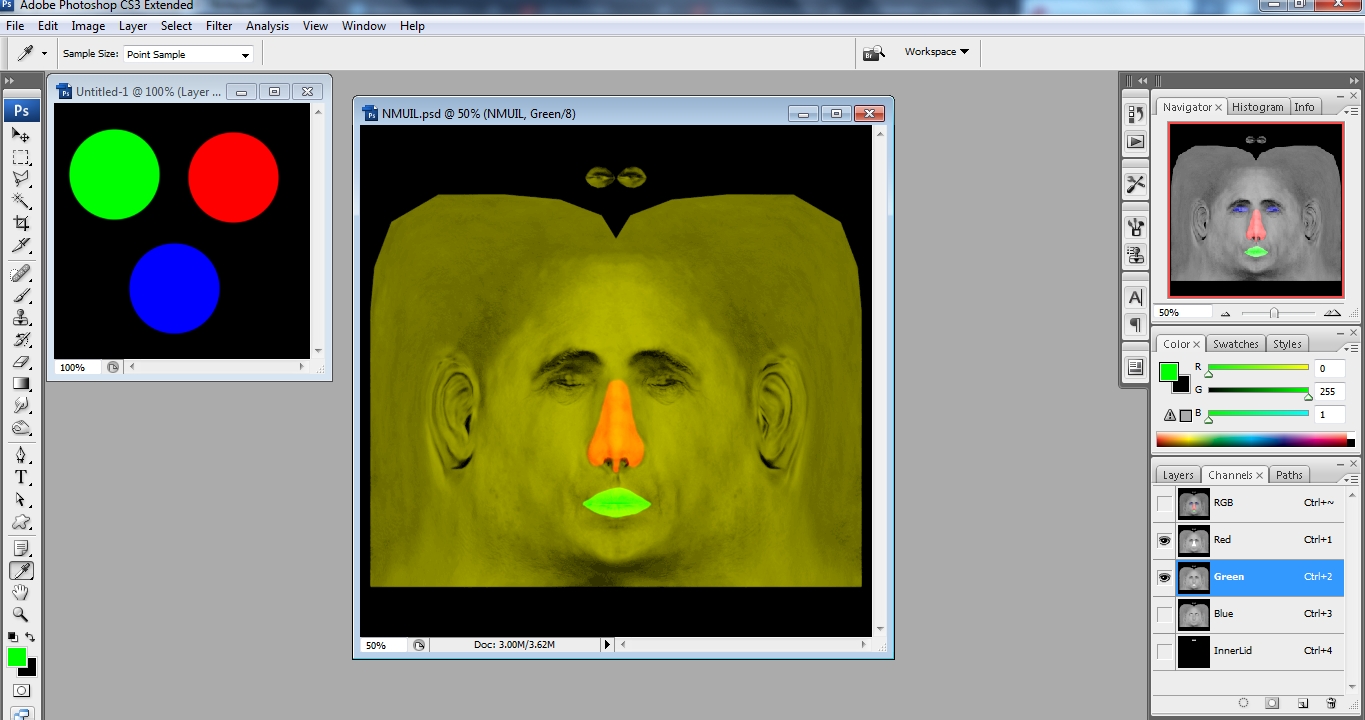
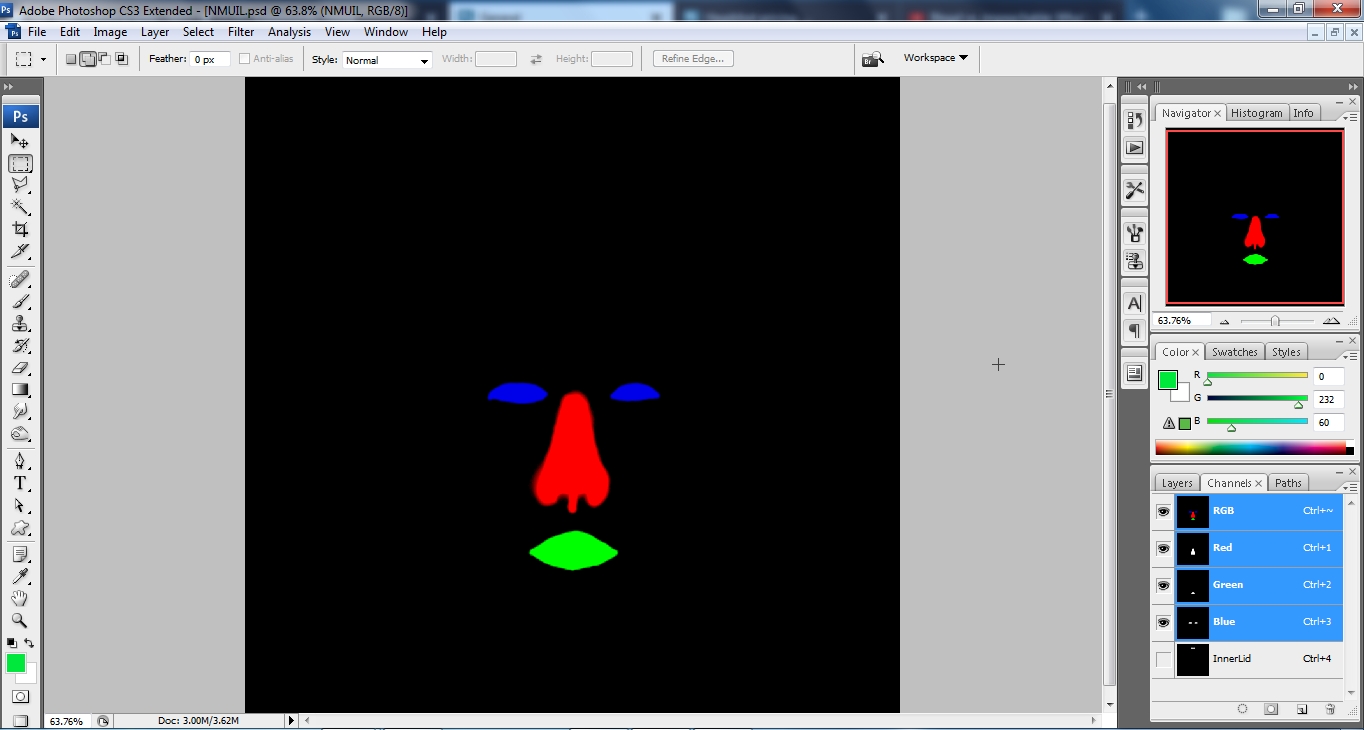
Save to a 32-bit TGA.
Repeat using this same method to create the last two maps for the neck and ear, cheeks, forehead and upper lips and chin.
I hope this tutorial was of help.
Best Regards.
Kevin L
 Warped Reality VFX.