|
Eric (RL)
|
Eric (RL)
Posted 9 Years Ago
|
|
Group: Administrators
Last Active: 9 Years Ago
Posts: 99,
Visits: 1.0K
|
Hi all!
Tip 1: When exporting a character to Zbrush to create your unique morph, make sure you adjust the approximate scale in Character Creator First!
Say if you were to make a dwarf or midget, get the proper proportion in Character Creator first is crucial!
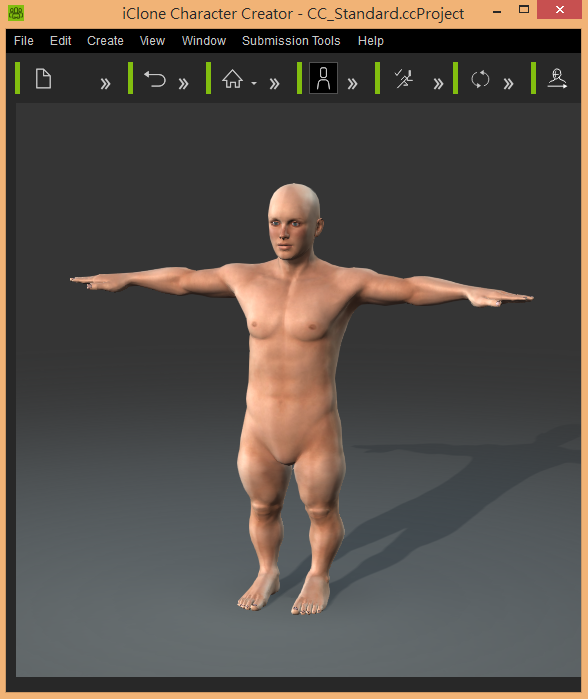
If you didn't follow the above rule and morph the character drastically in other 3rd party sculpting tool, your imported character and the resulting morph slider created may behave abnormal when performing animation or otherwise!
The same rule applies to teeth and eyes as well! Make sure you do not move the teeth or eyes drastically when exported to other 3D tools!
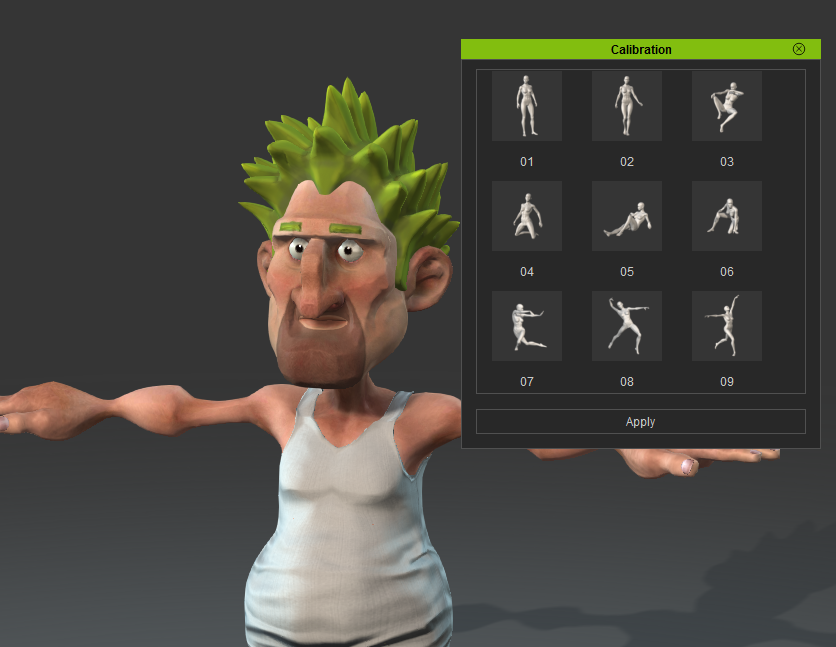
Tip 2: Add more Calibration Profile through iMotion File
Don't think you have enough Calibration Profile to use when designing your characters in Character Creator? Now you can add your own iMotion by following these simple steps!
Note: Character Creator will only read the 1st frame of the iMotion file!
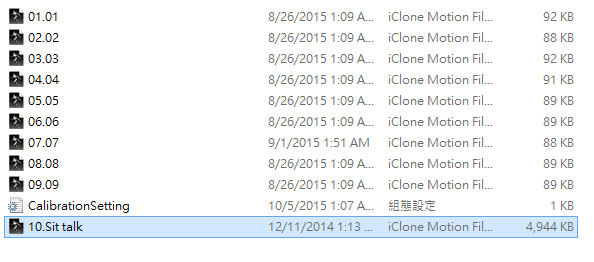
1. Get the iMotion file you wish to use by finding it in iClone
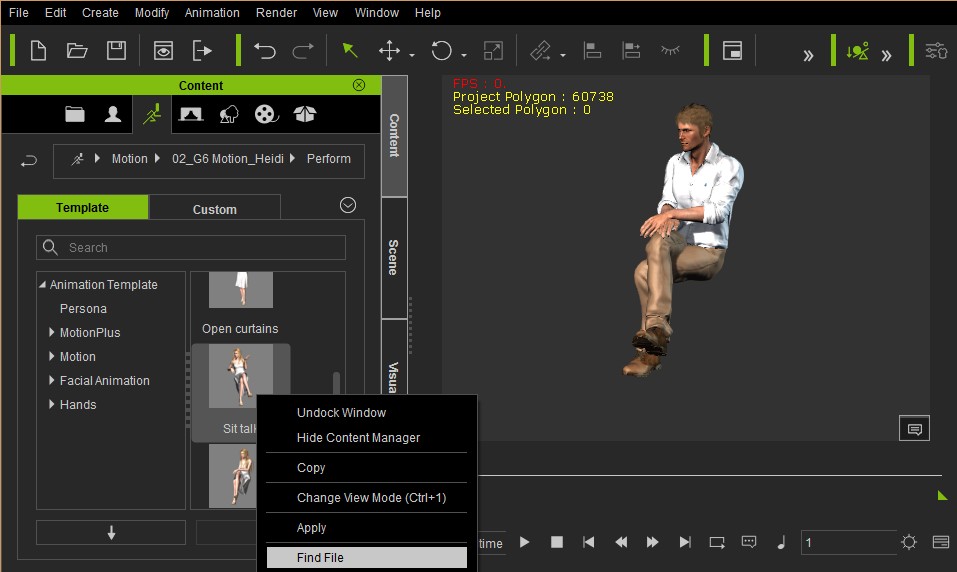
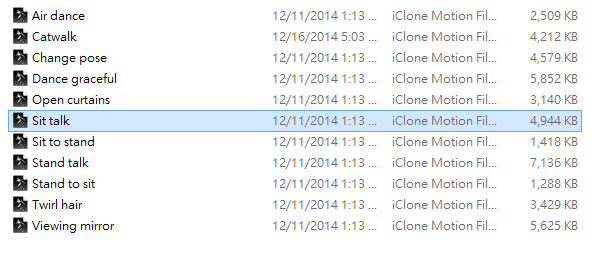
2. Copy the file to the "C:\Program Files\Reallusion\iClone Character Creator 1\Program\Default\Calibration\" directory, and rename it by adding a number in front:
The template should be ##.<iMotion Name>
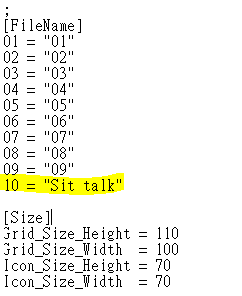
3. Open up and edit CalibrationSetting.ini
Add a new line at the bottom. The template should be ## = "<iMotion Name>"
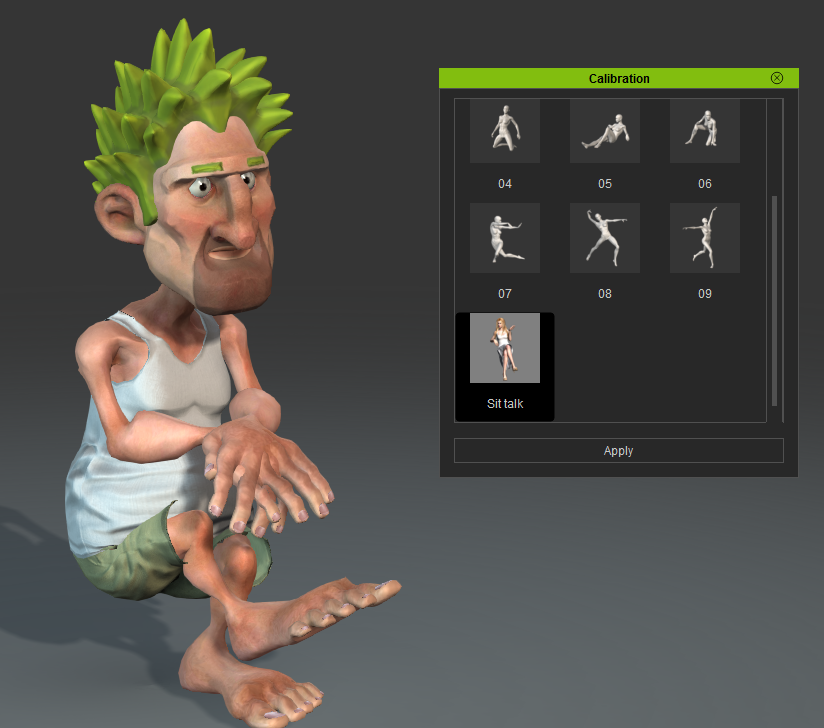
4. Close and reopen Character Creator, the new calibration pose should be there!
 ______________________________________
Eric (RL)
Forum Moderator
Reallusion, Inc.
https://forum.reallusion.com
"Simplicity is the ultimate sophistication." - Leonardo da Vinci
|