|
By Slayerazazel - 6 Years Ago
|
Hello all,
I have decided to share how I create armor/clothing for Character Creator. My process may be different than many others, but for me, it works. I'm always trying to improve my workflow and remove programs to speed up time and so on. So if anyone has any suggestions as you follow through my tutorials, feel free to mention it to me.
My current workflow is CC3 to Zbrush to 3Dcoat to Zbrush to Substance Painter (a lot of back and forth between 3dcoat, Zbrush, and substance painter) - And then imported into Character Creator via 3dxchange and iclone. I'll explain my process of why I do it this way throughout the video tutorial series.
I will also be trying to import the clothing/armor directly into Character Creator 3 from ZBrush without the need for iclone and 3dxchange. I will add videos for both Methods. And anyone can use whichever method works better for them.
Feel free to follow along and I would love to see if my workflow and how I do things help people. And feel free to share your work here as you follow along.
I will hopefully upload a video every 1-2 days. Depending on how busy things are. Feel free to message me on this thread, or PM me. You can also contact me via my Facebook page https://www.facebook.com/ReaperProductions
I've included all my stuff-ups in the video along the way. No one is perfect and I am still quite new myself to creating clothing.
I will be going over everything during the process. Modeling, Topology, Polygroups, UVs, Texturing in substance painter, exporting FBX, importing into CC, skin weights, weight maps for the physics of hanging cloth, etc. My whole process from start to finish.
Now let's get to it!!!
PS... Don't mind the accent. I'm Aussie after all.
|
|
By Slayerazazel - 6 Years Ago
|
Next part of the tutorial is up.
Tutorial 02 - Pants and Robe Structure
Continuing on from last video building up the base forms of the trousers and Templar robe.
|
|
By Angel Alonso - 6 Years Ago
|
|
Cool!
|
|
By matenn30 - 6 Years Ago
|
|
Thank you for your understanding on YouTube. By applying Slayerazazel's work, I would like to see and examine it in reallusion. If you look like it is now, it's only a matter of time before you become a successful fan and fan. It is a V-shaped recovery. The forum is layman. Is about myself please do not worry. ユーチューブで理解いただきありがとうございます。Slayerazazelさんの作品応用でリアリュージョンで、見て吟味したいです。今の様子だとこのままの調子で来れば、見込み客などのファンで成功者になるのは、時間の問題です。V字回復です。 フォーラムは素人です。は自分のことです。気にしないでください。 |
|
By Slayerazazel - 6 Years Ago
|
matenn30 (7/11/2020)
Thank you for your understanding on YouTube. By applying Slayerazazel's work, I would like to see and examine it in reallusion. If you look like it is now, it's only a matter of time before you become a successful fan and fan. It is a V-shaped recovery. The forum is layman. Is about myself please do not worry. ユーチューブで理解いただきありがとうございます。Slayerazazelさんの作品応用でリアリュージョンで、見て吟味したいです。今の様子だとこのままの調子で来れば、見込み客などのファンで成功者になるのは、時間の問題です。V字回復です。 フォーラムは素人です。は自分のことです。気にしないでください。
Just a language barrier issue I guess. Not everything translates well.
The majority of modelling is pretty boring and repetitive, the part I enjoy the most is creating the textures with substance painter. Stay tuned for when we get to that part. So much fun hopefully.
|
|
By matenn30 - 6 Years Ago
|
|
As you may know, you can generally translate it with your own etymology on Google Translate, Google Chrome, and other translation sites. I explain in two languages, English and Japanese. See above. 知っているとは思いますが、グーグル翻訳や、グーグルクローム、他翻訳サイトで、自国の語源で、大体は、翻訳できます。自身は英日の2か国語で説明しています。 上記参照です。 |
|
By Slayerazazel - 6 Years Ago
|
matenn30 (7/12/2020)
As you may know, you can generally translate it with your own etymology on Google Translate, Google Chrome, and other translation sites. I explain in two languages, English and Japanese. See above. 知っているとは思いますが、グーグル翻訳や、グーグルクローム、他翻訳サイトで、自国の語源で、大体は、翻訳できます。自身は英日の2か国語で説明しています。 上記参照です。
I understand that. But the translation sites are obviously not 100% accurate. And there will always be certain words that have no direct translations, which in turn uses a similar word (but not the right word) which then makes some sentences not make sense.
Now with that said. Let's keep this thread focused on the Tutorials. If you wish to talk about google translate. Please either message me directly or start another thread about that.
|
|
By matenn30 - 6 Years Ago
|
Thank you for your advice in two languages.
一応2か国語で、助言ありがとうございます。
Also, regarding clothes, I think it's good to set yourself as Japanese as armor or clothes this summer, depending on the season and the temperature of the country.
あと、服の事ですが、季節や国の気温に合わせて、自身は日本人で今夏での鎧や服などに設定するといいと思います。
And the reason for bilingual is to make it easier for users and fans around the world to see.
そして、2か国語の理由は、少しでも世界のユーザーやファンが見やすいようにするためです。
I think it is the forum's hand to make the etymology easier for fans in their own country and fans in other countries to see.
自国のファンや、別国のファンが見やすい語源にするのもフォーラムの手だと思います。
I'm still strong, sorry, sorry.
まだ自分我が強いですね、失礼ですいません。
|
|
By Slayerazazel - 6 Years Ago
|
Next video is up
Tutorial 03 - Boots Structure
Continuing on from the last video we build up the base form of the boots from primitive shapes within Zbrush and edit and manipulate with 3d-coat.
|
|
By matenn30 - 6 Years Ago
|
This is a good reference as I was wearing boots and had been rubbing. Thank you, Slayerazazel. I will see it several times.
自分はブーツで、がさつになっていたので、これは参考になります。Slayerazazel さんありがとうございます。何回か見ます。
|
|
By Slayerazazel - 6 Years Ago
|
Hi, guys in the videos I mentioned using some IMM brushes that I thought where built into ZBrush. I've had a quick look and they were actually from the Zbrush insert multi mesh repository. Link below. I've also been calling it the Insert Multi-Media. That's probably from all my years of working in IT. But it's definitely Insert Multi Mesh.
https://www.zbrushcentral.com/t/insert-multi-mesh-repository/205636
You will find the Primitives IMM that I used here. And also there is a Leather Straps brush that I used in the next upcoming video. They are all free for you to use if you haven't gone through that repository, I recommend doing so and grabbing certain IMM brushes that may help you with your modeling in the future.
|
|
By Slayerazazel - 6 Years Ago
|
The next video is up. Just a quick buildup of the belt shape.
There's still a long way to go. But it is finally starting to take shape. You need to have a creative mind when making stuff. In my head, I'm always seeing the undershirt as chain mail and the robe as a white or black templar robe with the cross on it. The belt and boots as leather. And I can already see the shoulders and gloves in place. Throw a templar helmet and a sword attached to the belt and it's all coming along nicely. If you are an artist that can draw out your plans first, that's probably even better. I'm not very good with the pencil and what I'm looking at is all in my head for the reference.
4 Episodes in and roughly about 2.5 hours work so far.

|
|
By Slayerazazel - 6 Years Ago
|
And the next video is up. So far I'm managing to get some time each day to get one made each day. This next one is building the gloves base shape, super easy and quick.
Building the base shape of the shoulder armor should be next. I'll need to create a sword and sheath to be able to finish off the belt also, so that will possibly be after the shoulders.
I've said previously that my workflow contains bringing in the clothing/armor using 3dxchange and iclone to get it into CC3. But there is a way to do it without using those programs, I haven't used that method yet and if it works correctly, as it should then I'll go over the 2 methods later on when we are ready to bring them into Character Creator. I only really use that workflow because I have both iclone and 3dxchange and I'm probably just used to doing it that way. But if we can just use ZBrush, CC3, and Substance painter and possibly 3dcoat then that's limiting the programs needed. (Nearly everything i do in 3dcoat can be done in ZBrush, except for later on i will use 3dcoat to give the robe some weight maps for physics to the lower half of it)
|
|
By Slayerazazel - 6 Years Ago
|
Shoulder armor structure part 1 - Leather straps section of the armor.
Picture of the structure

|
|
By Slayerazazel - 6 Years Ago
|
Shoulder Armor Structure Part 2 - Creating the shapes for the plate sections of the shoulder armor.
So far the forms are looking good and really starting to take shape now. So far the total time spent has been around 3 hours, according to the length of the 7 videos. I think i want to add a helmet next, creating the base shape for it. And then we will start getting more definition and depth into all of the pieces.


|
|
By matenn30 - 6 Years Ago
|
It is polite and detailed.
丁寧で細かいです。
|
|
By Slayerazazel - 6 Years Ago
|
Second video of the day. I may not have time over the weekend to do another video.
Helmet Structure - Forming the base of a helmet from a basic capsule shape. All you need is a base reference and some creativity and imagination!!! (And ZBrush and 3D-Coat)


|
|
By matenn30 - 6 Years Ago
|
This too is polite and detailed. I can only say that it is amazing.
これも、丁寧で細かすぎます。すごいとしか言いようがないです。
|
|
By Slayerazazel - 6 Years Ago
|
|
matenn30 (7/17/2020)
This too is polite and detailed. I can only say that it is amazing.
これも、丁寧で細かすぎます。すごいとしか言いようがないです。
Thanks Matenn30. I'm far from an expert, and am still learning new things all the time. Hopefully these techniques of building cloth/armor may help some people.
The armor clothing/armor still doesn't look that great yet. But from now onward I'll be building up the forms better and giving it depth and detail, folds etc.
So stay tuned for the rest of it.
|
|
By Slayerazazel - 6 Years Ago
|
The next video contains some mesh editing, just cleaning up the topology of all the separate pieces in the one video. After speaking at the beginning I've just sped up the video and put some random music in. I also reformed the belt as I've decided to go with a basic single belt and I've redone the helmet as I wasn't happy with how it was looking. I've also shortened the robe and chainmail length and reduced the height of the boots. The video contains all of it just a bit of a faster pace to keep the video under an hour.
As you can see, after editing the mesh editing and fixing the topology it is really starting to take form. And we still have to do a little detailing before it's ready to go into substance painter. Some bits still need to be joined like the chest armor/straps and the boots/sole. I'll go over that when we start to give the depth (which needs to be done first)


|
|
By Slayerazazel - 6 Years Ago
|
We are now starting to detail the mesh and adding the UVs which we are done in each video. Starting with the Helmet. Over the next few videos, you should definitely see more definition in the armor/clothing.
The helmet is basically done now and ready for texturing (when all parts are done so we can texture as one with an FBX in substance painter, which I've briefly shown in this video)
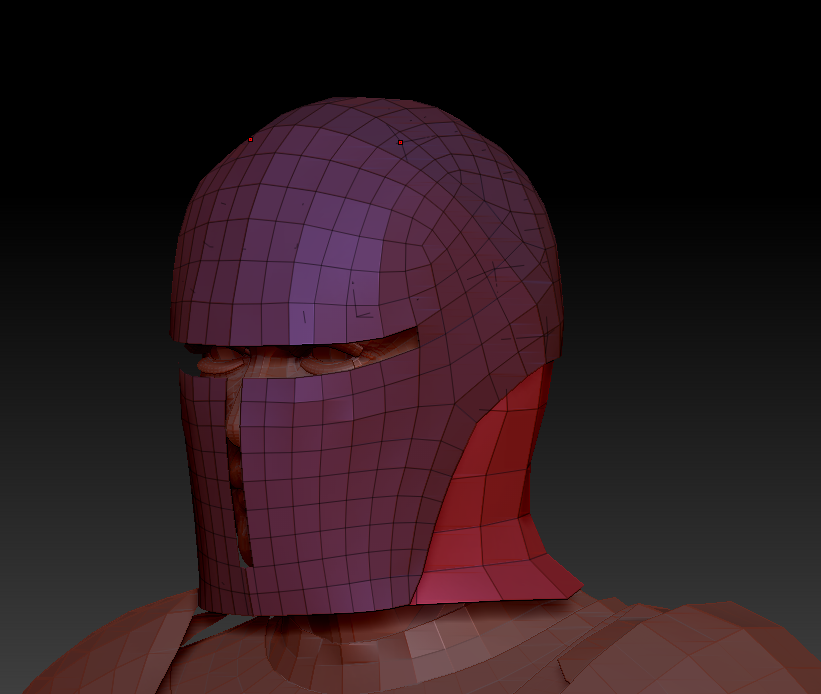
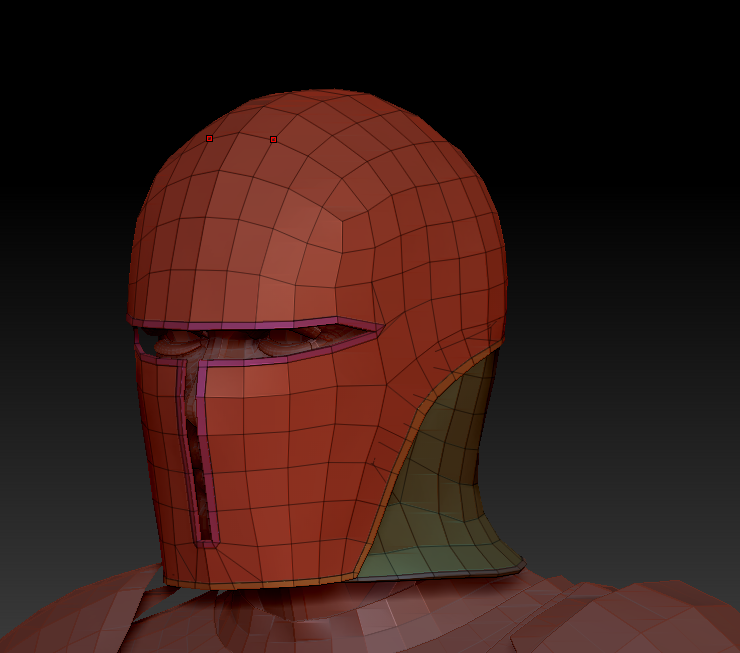
|
|
By Slayerazazel - 6 Years Ago
|
Second video of the day
Chainmail shirt detailing mesh and adding UV's
|
|
By Slayerazazel - 6 Years Ago
|
And... Third video for the day.
Robes detailing and adding some folds and UV's - I've also added folds into the chainmail shirt in this video also
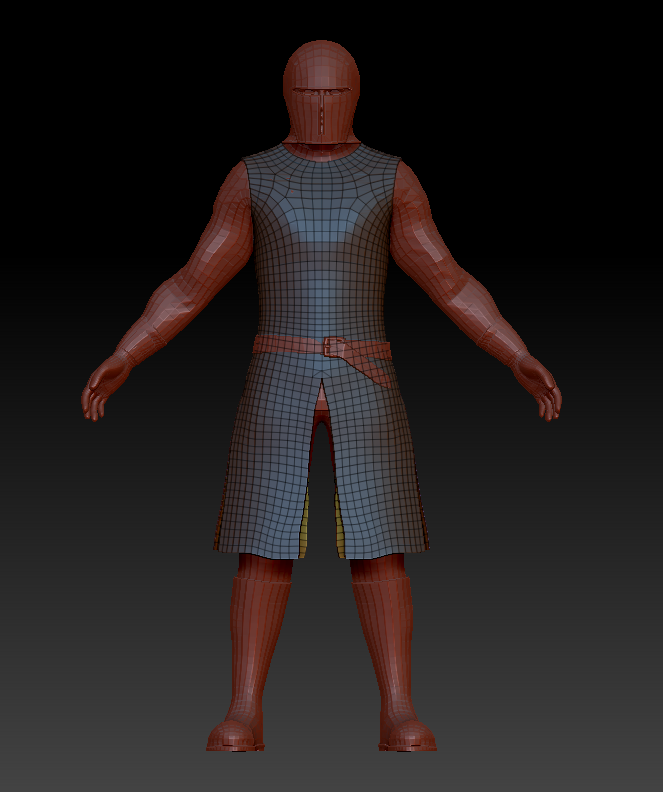
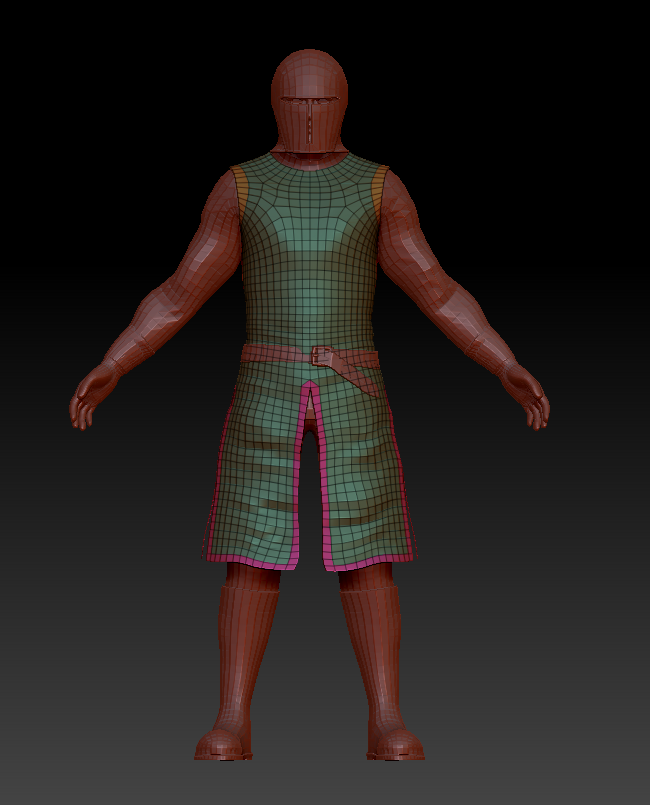
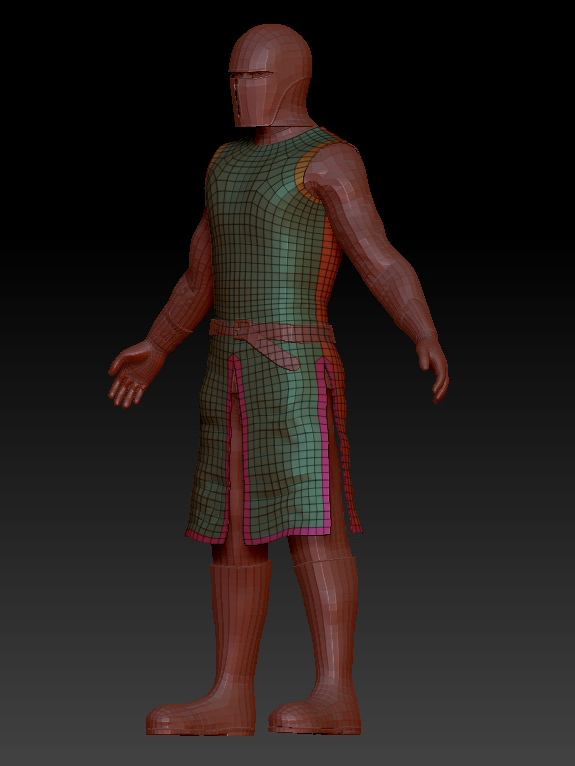
The folds brushes can be found from here:
https://www.youtube.com/watch?v=3SkDJhO3j2U&t=178s - Youtube video by youtube user Danny Mac 3D
https://www.dropbox.com/s/3e5atwd0ge53gn4/ClothBrushes.zip?dl=0 - The free brushed provided
|
|
By Slayerazazel - 6 Years Ago
|
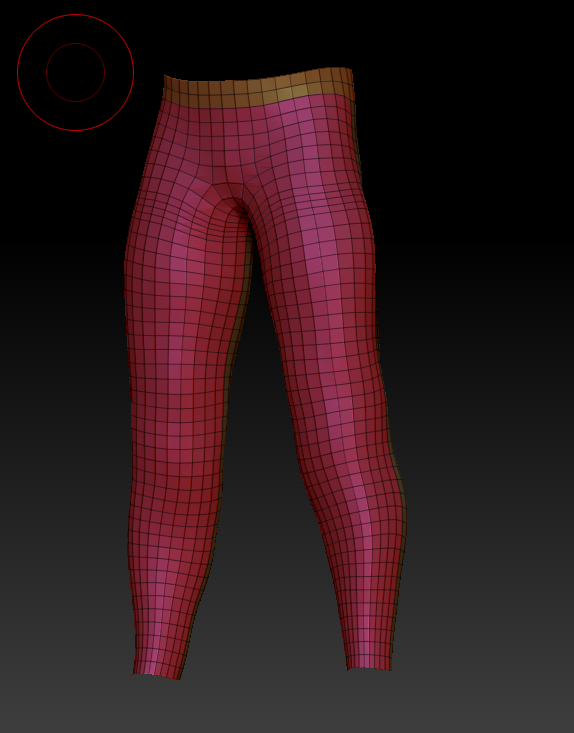
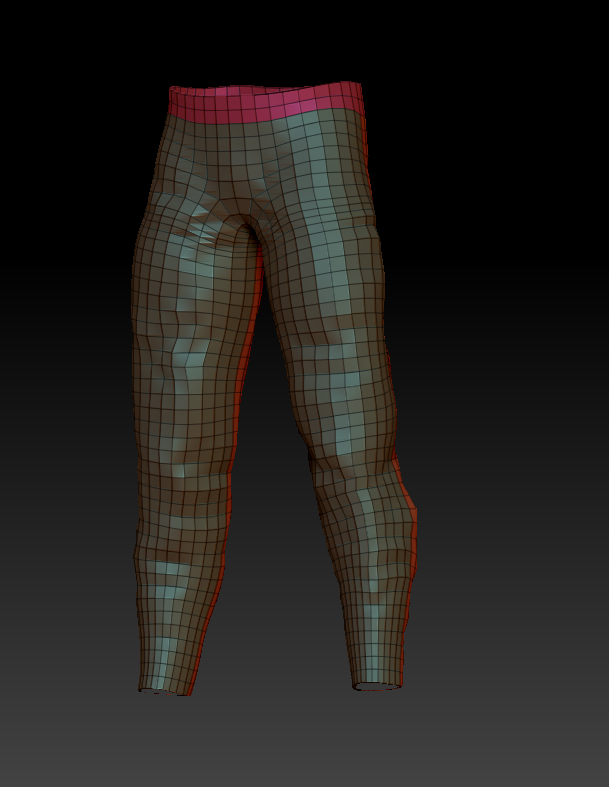
Detailing the trousers with the fold brushes and adding uvs
|
|
By Slayerazazel - 6 Years Ago
|
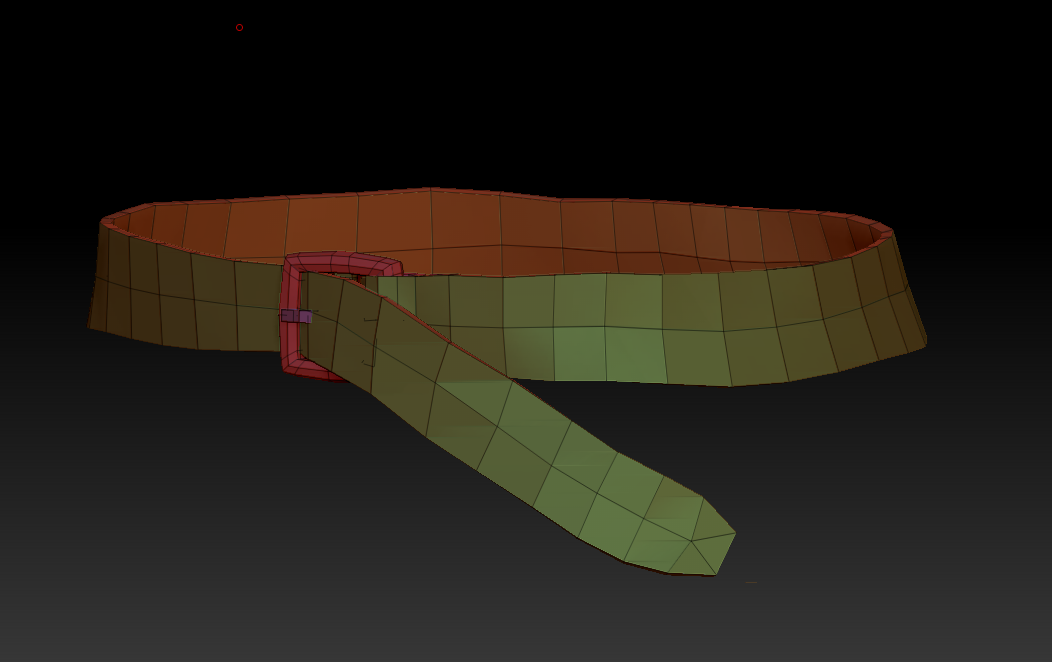
In this video we just build up the depth of the belt and add UVs
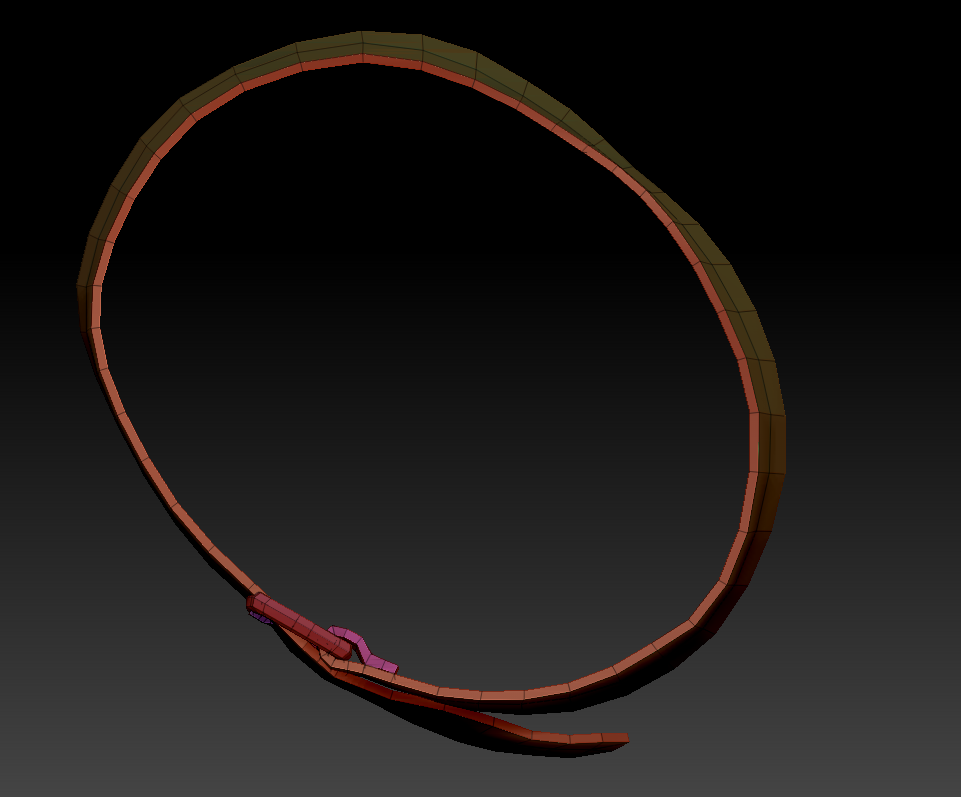
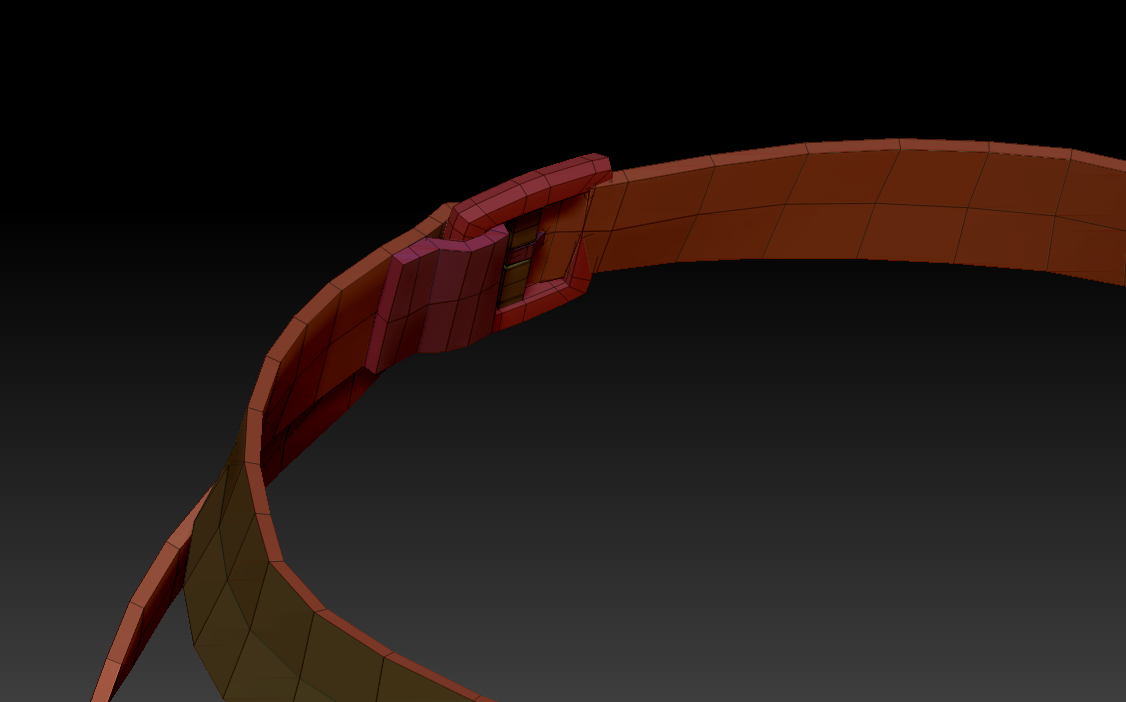
|
|
By Slayerazazel - 6 Years Ago
|
My tutorial is probably going to be obsolete soon with the upcoming zbrush 2021 update adding cloth dynamics and plenty of other cloth creation additions. It could just make things easier, we will have to see when it comes out. I may do a separate smaller tutorial with it later. But i will continue to finish off with this tutorial still.
Sneak peak at the zbrush 2021 update
And the next video of my tutorial series is up. Gloves detailing. I was going to add some straps and buckles to it, but i decided to keep it simpler for now. As I've said before we can make changes during the substance painter texturing part if needed easily enough.
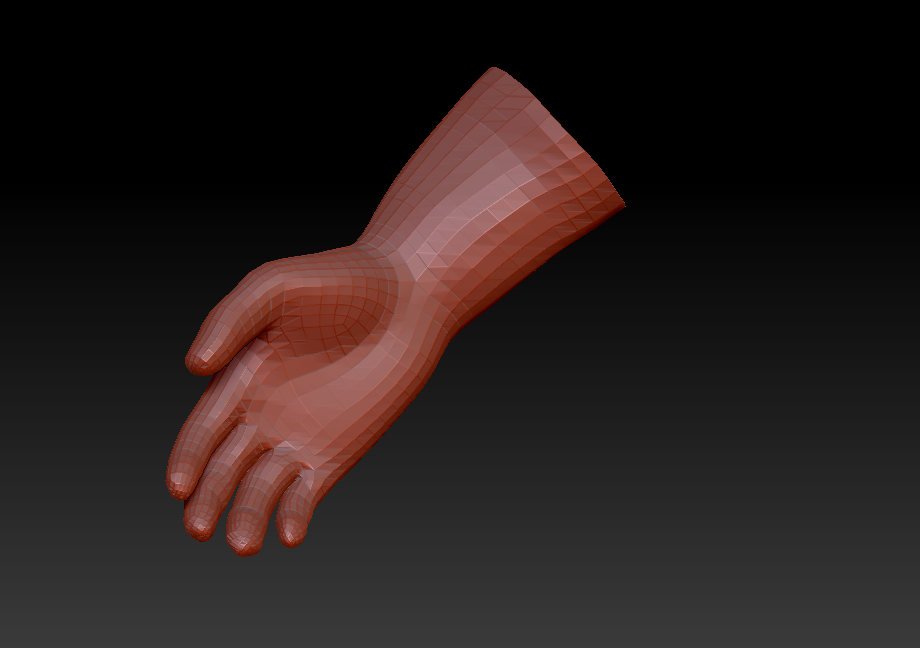
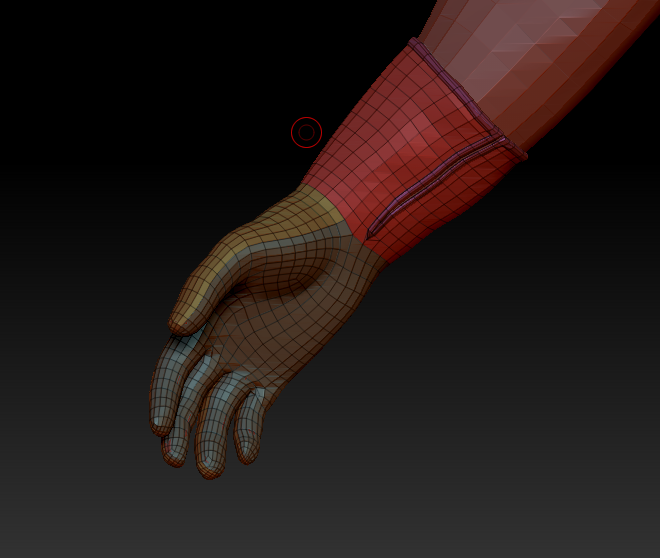
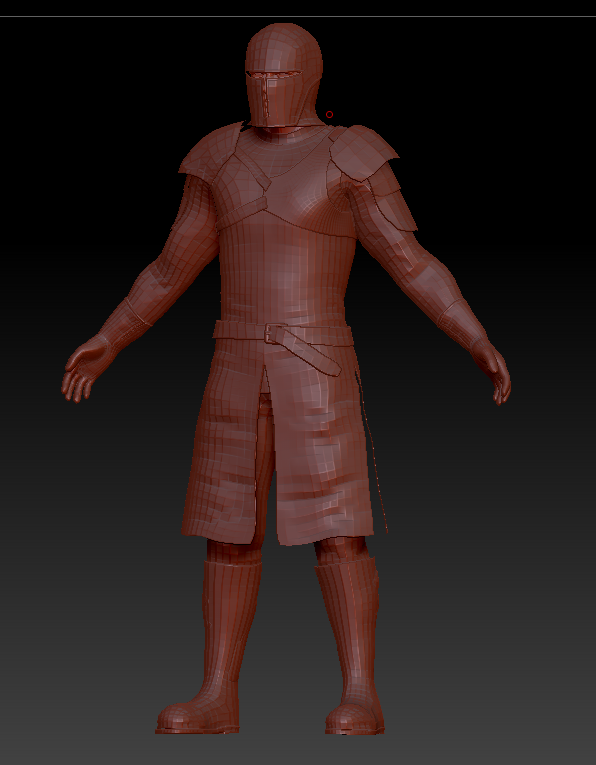
Just the shoulder armor and boots left to do before we get into substance painter. But I'm also considering a few more minor changes to the helmet. So we'll see...
So far 15 videos - For a total length of around 8 hours (rounding up from where I sped up some videos) - So we pretty much have all the modeling done and ready for substance in a full 8 hour day of work. So that's a bonus of doing the tutorials. We get a good time frame for how long in real-time it's actually taking.
|
|
By Slayerazazel - 6 Years Ago
|
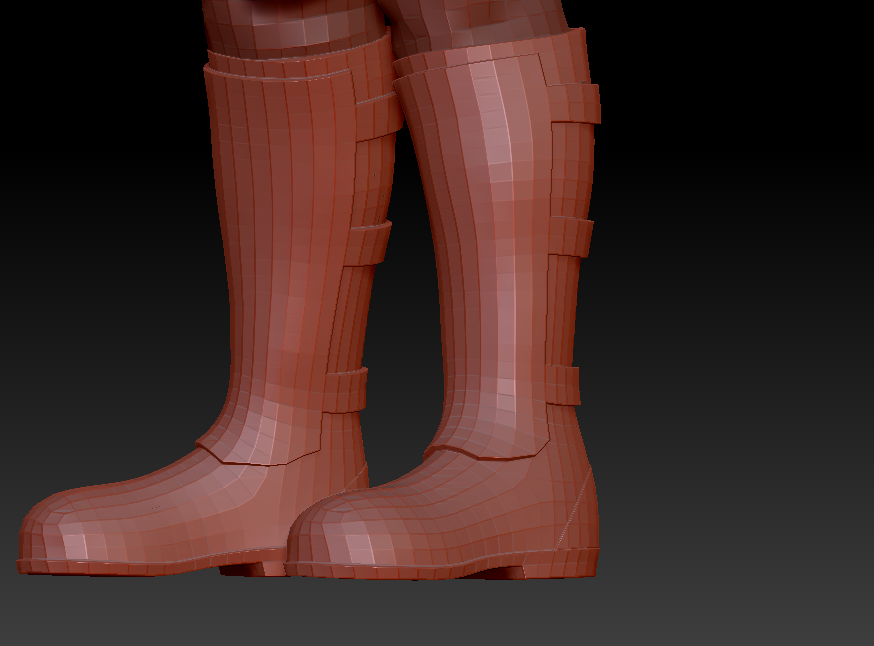
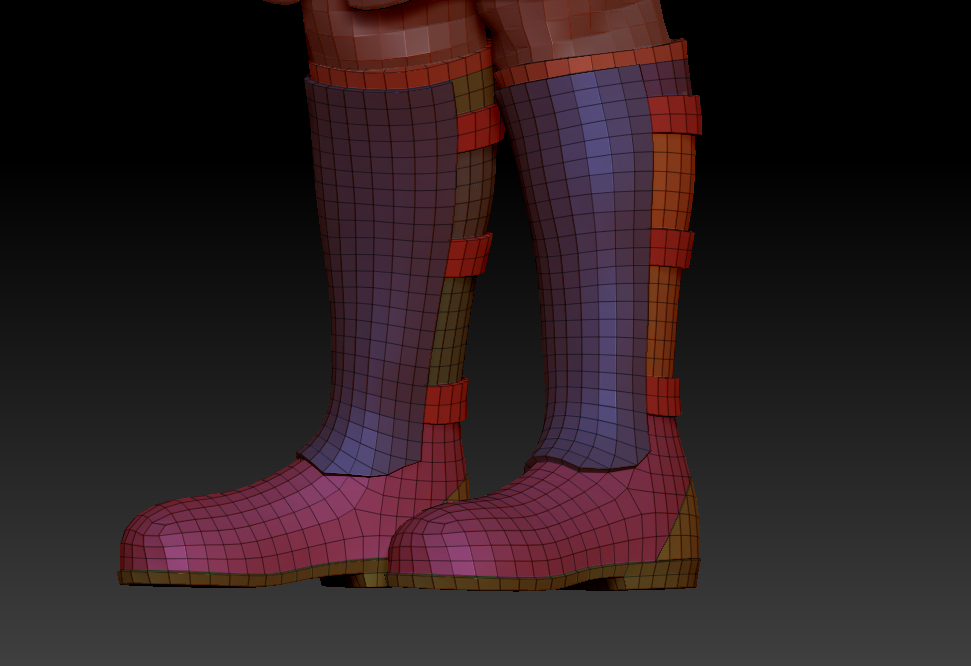
The boots are up next...
Gave them a bit of an armored plate with leather straps. We will check out how they look when we get to substance. We can always edit them easily and bring them back into substance easy. Next video is the shoulders, which i have done, and the other after that fixing the helmet. They will be uploaded tomorrow. And then we will start with Substance Painter!!!!!
|
|
By Slayerazazel - 6 Years Ago
|
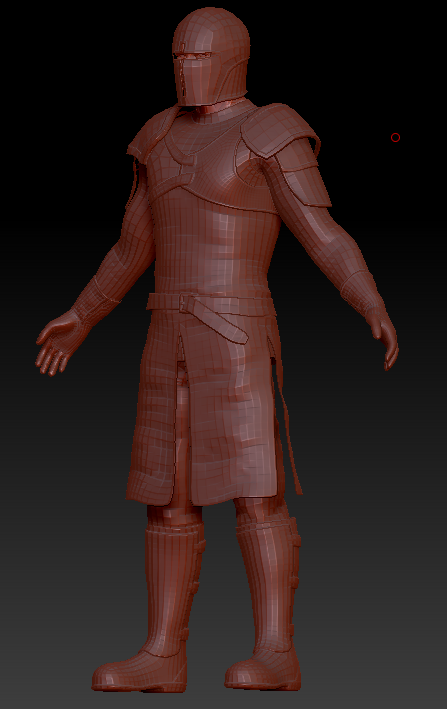
A quick look at the overall templar set with the shoulders and helmet fixed. Before I upload those videos tomorrow. I think it's looking pretty good. Can't wait to get it into substance painter.
|
|
By Slayerazazel - 6 Years Ago
|
Sorry about the length of this one, but the shoulders required a fair bit more time due to being more complex of mesh.
|
|
By Slayerazazel - 6 Years Ago
|
And 1 more before going into texturing. I have redone the helmet a little bit.
|
|
By Slayerazazel - 6 Years Ago
|
And before we get into texturing. Here is how to export FBX from Zbrush to Substance Painter and 3D-Coat if that information is needed. Along with initial setup in substance painter (None for 3dcoat as i don't know how to paint in 3dcoat yet)
So if you are using substance painter, make sure you want the video for the setup.
|
|
By Slayerazazel - 6 Years Ago
|
Do we have anyone following along with their own clothing creations? I would love to know if anything from my videos has helped anyone. Don't be shy, I'd love to see everyone's progress.
|
|
By Slayerazazel - 6 Years Ago
|
Oh boy. Definitely my favorite part!!! Texturing with Substance Painter! Unending possibilities.
To start off, we create the Color ID's. I show how to create a color ID smart material to save for all your projects and how to use the smart material to create the color IDs. We need those color IDs to help us add the textures to the correct sections of the mesh/UVs.

|
|
By Slayerazazel - 6 Years Ago
|
And before we get stuck into substancing I have gone over some sites to get some base materials and alphas and brushes
Substance source, substance share, game textures, ZBrush alpha repository for brushes alphas and grunges.
|
|
By Slayerazazel - 6 Years Ago
|
In this video, i just add some base materials to the clothing/armor to get a general idea of how it all looks together. And do a quick render within substance painter.

|
|
By matenn30 - 6 Years Ago
|
If this is the case, it will be original and sold, and you will not complain.
これでしたら、オリジナルでしかも売れて、苦情が出ないでしょう。
It’s just like that.
流石です。
|
|
By Slayerazazel - 6 Years Ago
|
|
matenn30 (7/29/2020)
If this is the case, it will be original and sold, and you will not complain.
これでしたら、オリジナルでしかも売れて、苦情が出ないでしょう。
It’s just like that.
流石です。
Thanks, I think.
There's still a lot of detail to be added. Folds, shading, stitches, and more. Along with fixing any mesh errors, which will be the next video.
|
|
By Slayerazazel - 6 Years Ago
|
This video goes over me fixing mesh issues with the models/UV's and then importing the updated models in overwriting the old models but keeping the paint layers.
I've also added a cross to the templar robe. And updated the chainmail shirt to go around the character's neck more.


Next video I will be going over how to add more folds/ cloth bumps to the mesh itself and also using substance materials to add some folds. And highlighting the folded areas with shading. At some point, I'll change the color of the leather as I think it will be better dark grey or black and will better suit the rest of the armor. I may also remove the chest pieces of the shoulder armor and just have them on the shoulder. Still not sure I'm happy with how it looks. And I'm also contemplating giving him some sort of cloak.
Still lots to do so stay tuned for more videos daily.
|
|
By Slayerazazel - 6 Years Ago
|
Some folds added which will be the video uploaded soon. Still need to do the shading for them. I've also removed the harness strap from the shoulders and i think it definitely looks a lot better.

Edit: I've removed the cross from the robes. And will add the ability to add and change your own decals later in CC3 appearance editor. This will allow for customization to suit using the character in other instances opposed to him just being a templar knight.

|
|
By Slayerazazel - 6 Years Ago
|
Today's video I go over adding folds in Zbrush and updating the model in substance painter. And I go over adding folds through just substance painter. Next episode I will be adding shading details to the folds.
I hadn't changed the robes yet to take out the cross. That is in the next video, i just took away the polygroup and UV's. At the end of the tutorial I'll go over how to add any decal to it in CC3 appearance editor (if you don't already know how to)
|
|
By Slayerazazel - 6 Years Ago
|
A nice and short video for today. Adding detail to the folds by applying some shading with just a basic paint layer in Substance Painter.
|
|
By Slayerazazel - 6 Years Ago
|
In this video, I quickly go over dirt/dust and scratches using the smart masks in substance painter.
In the next video, I'll go over the stitching. And then I think I have covered everything and will just do some speed videos of me finishing the texture painting.
If there's anything else I can think of adding before I finish the texturing and import it into CC3 I'll add that in.
If anyone has any questions of something I may have missed. Let me know and I'll add a video of that also if it is relevant to the project.
|
|
By Slayerazazel - 6 Years Ago
|
Stitching in Substance painter. Basic stitching and stitching with a purchased stitch tool. (Linked in the video description)
|
|
By Slayerazazel - 6 Years Ago
|
Ok, last substance painter video for now. I've finished up the texturing and sped up the video. With the textures finished, we can bring in the armor/clothing into CC3. Which will be the next video.
Including this video, the total time spent is around 19 hours (including the sped-up videos original time). So total about 2.5 days for modeling and texturing.


|
|
By Slayerazazel - 6 Years Ago
|
The remaining videos now will mainly be in CC3.
This video contains 3 ways to import my clothing/armor into CC3. 2 of the ways only need Character 3 Standalone and the third which I still prefer uses 3dxchange, iclone, and cc3.
I've gone over the reasons why I still prefer the older method.
We now have our models into CC3. Next video I'll be going over importing the textures to the models from substance painter.

|
|
By Slayerazazel - 6 Years Ago
|
Moving along pretty quick now that we are just in CC3.
This video goes over the export of textures from substance painter to import them into Character Creator 3
CC3 with Textures

Quick iRay Preview shots from within CC3


|
|
By Slayerazazel - 6 Years Ago
|
Skin weights are up next. I've gone over adding the skin weights with some minor editing.
I'll add more detailed editing of skin weights in the next video.
I've also had to fix the chainmail shirt from the a-pose to the t-pose to help to conform better to the character.
I've explained why in the video.
|
|
By matenn30 - 6 Years Ago
|
For myself, I use zbrush core to make the clothes a little thicker so that I don't get them out when I move them. However, the pants are thin.
自分の場合、鎧服など動かしてもはみ出ないように、zbrush coreで少し服の厚みを厚くしています。ただし、ズボンは、薄くしていますが。
Please do your best.
頑張ってください。
|
|
By Slayerazazel - 6 Years Ago
|
Tutorial 33
Skin weights part 2. I just go over a few more things with skin weights and finish them up. Also, I add them to iclone to get a better idea of what's happening when the character moves.
|
|
By Slayerazazel - 6 Years Ago
|
Tutorial 34
In this video, I add the weight maps for the cloth physics for the robe. Credit to Mike Kelley (Kelleytoons) where I first learned how to add the weight maps easily using 3D-Coat. His video is linked in my description. Please make sure you check out his video also.
|
|
By Slayerazazel - 6 Years Ago
|
Sorry about the audio for the previous videos. I don't have a great mic. I have tried to change some settings and move the mic further away from my mouth to avoid breathing coming through loudly. I have also tried speaking a bit louder as in some it has been a bit quiet.
I think I've gone over nearly everything and there's not much left. So as for now, this will be the last video. If I think of anything else I will add it. If people need to see how to upload the armor and projects to the marketplace I can do another tutorial on that. Just let me know. If any of you can think of anything else, let me know and I'll make a video for it if I can and if it is relevant to this series.
Tutorial 35 - Adding decals to the robes through character creators' appearance editor. The decals are removable and editable so you can hide them, select from 2 others, or import your own decals/banners/symbols/house insignia, etc.
A quick render through iRay in CC3. I'm going to make another helmet that is just a T and not the cross on the face bit. And make the gloves a bit bigger around the arms. That is stuff I've already gone over and will do that before I get ready to upload the clothing/armor to the marketplace. And do some more testing in iclone and import into unity to test there also. I like to do multiple tests on everything before I upload them to the store. Stay tuned to this page for when it will be available on the content store, and I'll also update my content store thread.

Thanks, everyone who has followed through the tutorials with me. I'd estimate around 3 full 8 hour days worth of videos. From complete scratch to the above. I will look at possibly doing more tutorials in the future.
Stay safe everyone!!
Doug Wells
Slayerazazel
Reaper Productions
|
|
By animagic - 6 Years Ago
|
Slayerazazel, I appreciate your tutorials. I have not yet followed them myself, but I hope to do so in the near future.
I have 3DCoat and Substance, but I haven't done much with them and this may inspire me.
|
|
By Slayerazazel - 6 Years Ago
|
|
animagic (8/6/2020)
Slayerazazel, I appreciate your tutorials. I have not yet followed them myself, but I hope to do so in the near future.
I have 3DCoat and Substance, but I haven't done much with them and this may inspire me.
Thanks animagic. I'm in no way an expert. But I hope some of these may come in handy for yourself and others. Every time I use substance painter I'm learning something new. I may do some substance-specific tutorials in the future when I substance new creations. I find substancing to be one of the more enjoyable parts of the whole process.
|
|
By michael.pickering - 6 Years Ago
|
This is an excellent and very detailed tutorial, thanks so much for sharing!
Do you mind letting me know if you've updated to CC3.3 yet, and if so, are you able to apply decals to the clothing the same way? I myself haven't tried to do anything as involved as designing clothing from scratch as you have shown, but was at least able to add decals to existing clothing assets -- until I upgraded to CC3.3, and that feature now seems to be broken! Would there be an 'easy' workaround to apply the decal outside CC in either Zbrush or Substance Painter?
|
|
By Slayerazazel - 6 Years Ago
|
|
michael.pickering (8/6/2020)
This is an excellent and very detailed tutorial, thanks so much for sharing!
Do you mind letting me know if you've updated to CC3.3 yet, and if so, are you able to apply decals to the clothing the same way? I myself haven't tried to do anything as involved as designing clothing from scratch as you have shown, but was at least able to add decals to existing clothing assets -- until I upgraded to CC3.3, and that feature now seems to be broken! Would there be an 'easy' workaround to apply the decal outside CC in either Zbrush or Substance Painter?
Hi, Thanks Michael, I do have the new update. And you can still add the decals. The appearance editor for clothing is still there. You can also add the decals in substance painter. But I have done it through CC3 because i will be uploading this armor to the marketplace and allowing the purchaser to be able to edit it. If it was through substance painter, the decals would be baked and not editable.
If the character is not yet converted to a CC3+ base. It is still in the same place.

With the CC3+ Base it has just moved slightly


|
|
By Slayerazazel - 6 Years Ago
|
Animation test for The Templar using iClone7 native render. Who will be renamed to The Guardian.
|
|
By matenn30 - 6 Years Ago
|
It has definitely received high marks, no complaints, and sells well. However, I also want to see the female version.
これは、間違いなく高評価を得られて、苦情も絶対ないし、売れます。ただ、女性バージョンも見たいです。
When will you sell it? I can only give support and evaluation with maket place, but this is absolutely appreciated.
販売は、いつぐらいですか。自分は、応援や評価をmaket placeで与えることしかできませんが、これは、絶対評価します。
|
|
By Slayerazazel - 6 Years Ago
|
|
matenn30 (8/7/2020)
It has definitely received high marks, no complaints, and sells well. However, I also want to see the female version.
これは、間違いなく高評価を得られて、苦情も絶対ないし、売れます。ただ、女性バージョンも見たいです。
When will you sell it? I can only give support and evaluation with maket place, but this is absolutely appreciated.
販売は、いつぐらいですか。自分は、応援や評価をmaket placeで与えることしかできませんが、これは、絶対評価します。
Hi Matenn30, I may make a female version later. But I won't be doing a tutorial for that since I've already gone over everything. You really just need to reshape the mesh to fit a female form.
As for when it will be available on the marketplace. Soon hopefully. I'm still contemplating adding more to it like a shield and sword and maybe a cloak.
|
|
By Slayerazazel - 6 Years Ago
|
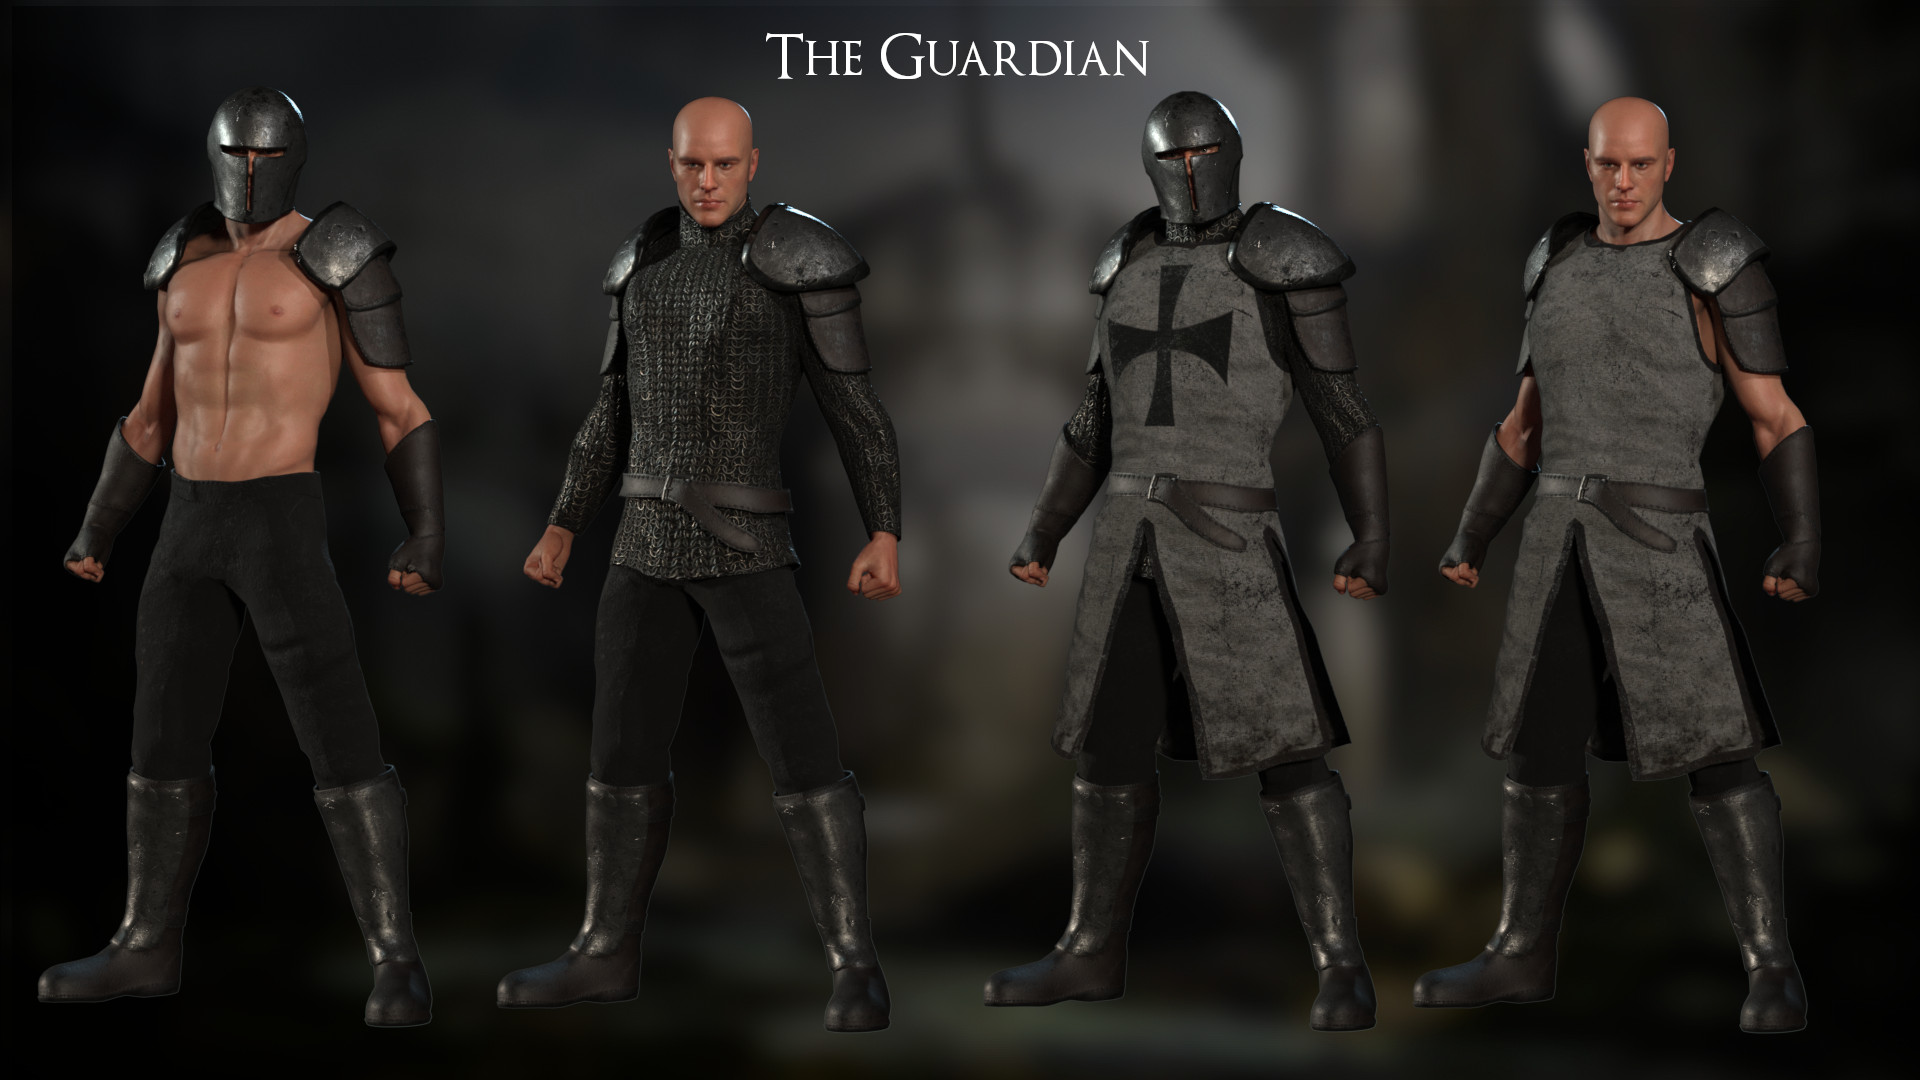
The Guardian available now in my marketplace store https://marketplace.reallusion.com/the-guardian_289565
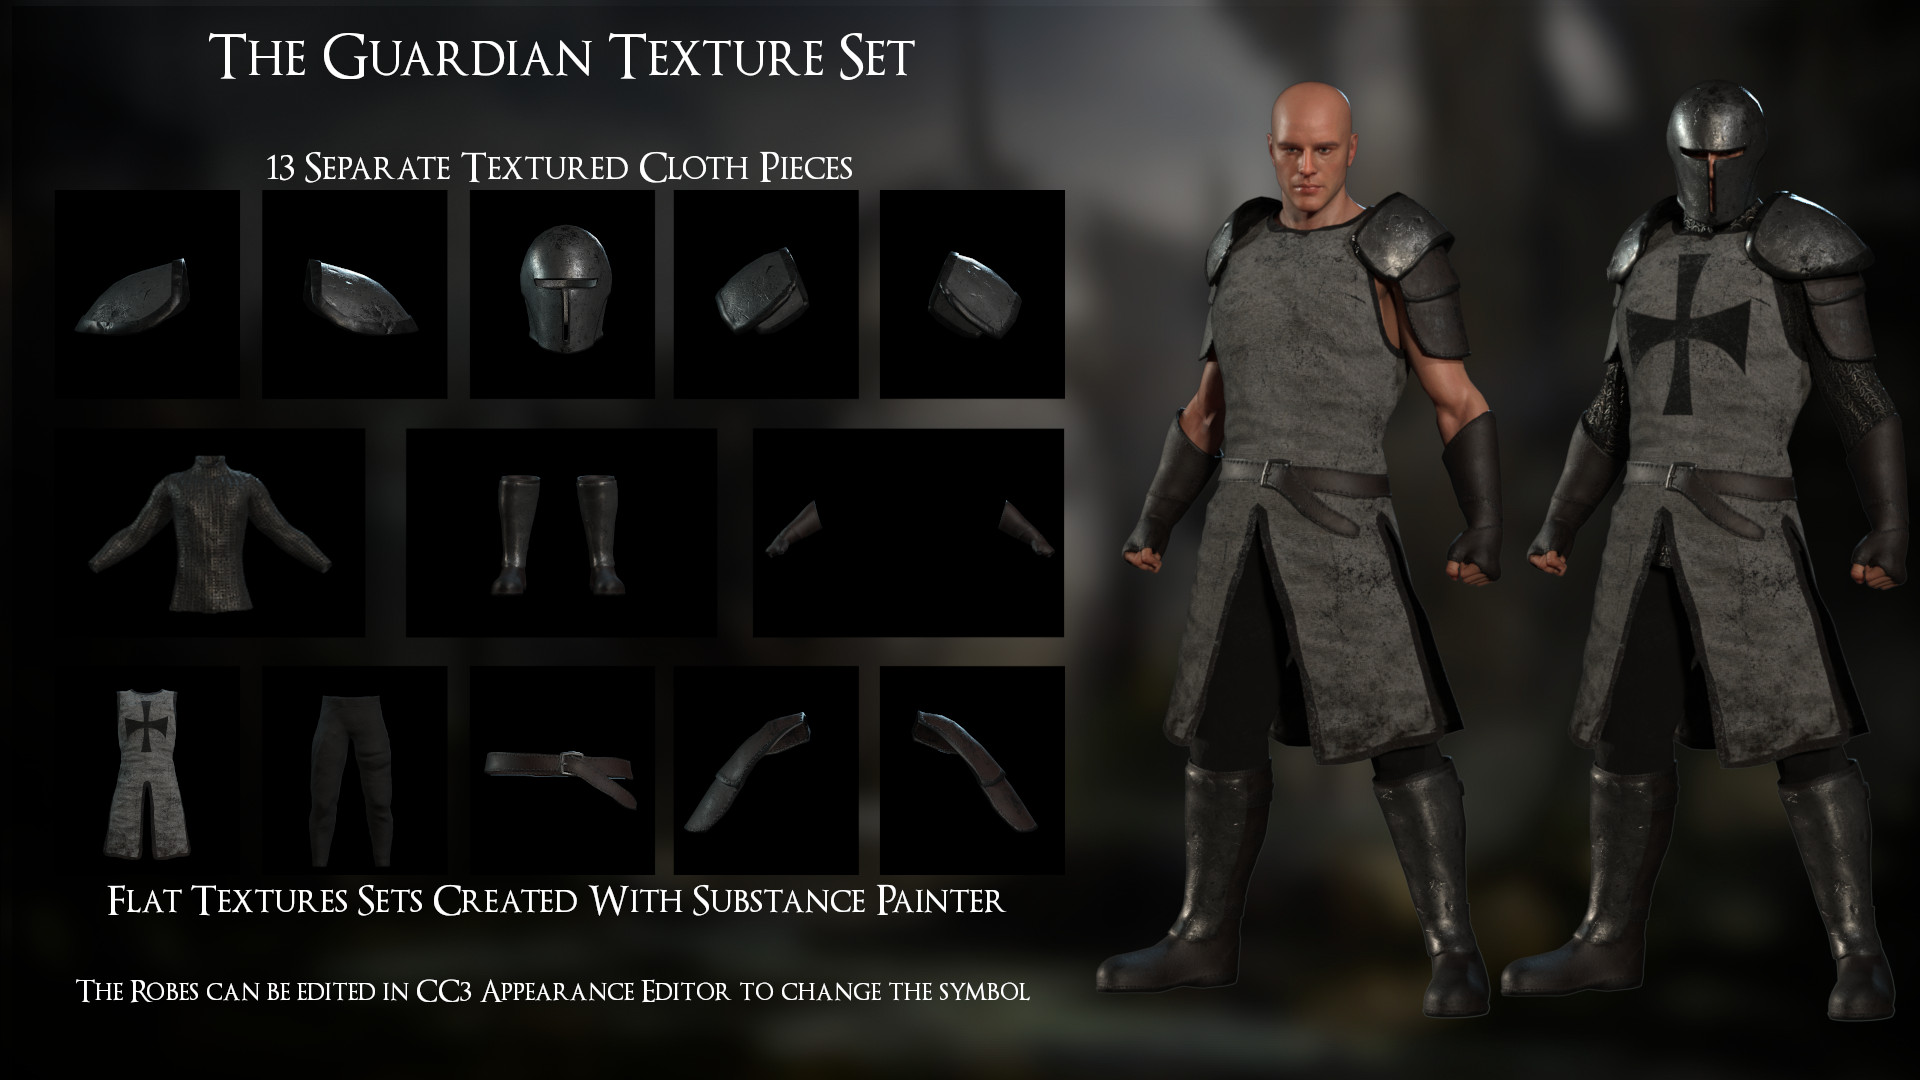
This is the Templar that I created for my tutorial. I decided to rename to The Guardian to keep it a neutral type of armor. The Templar symbol is on there by default but can be removed and replaced through the CC3 appearance editor.
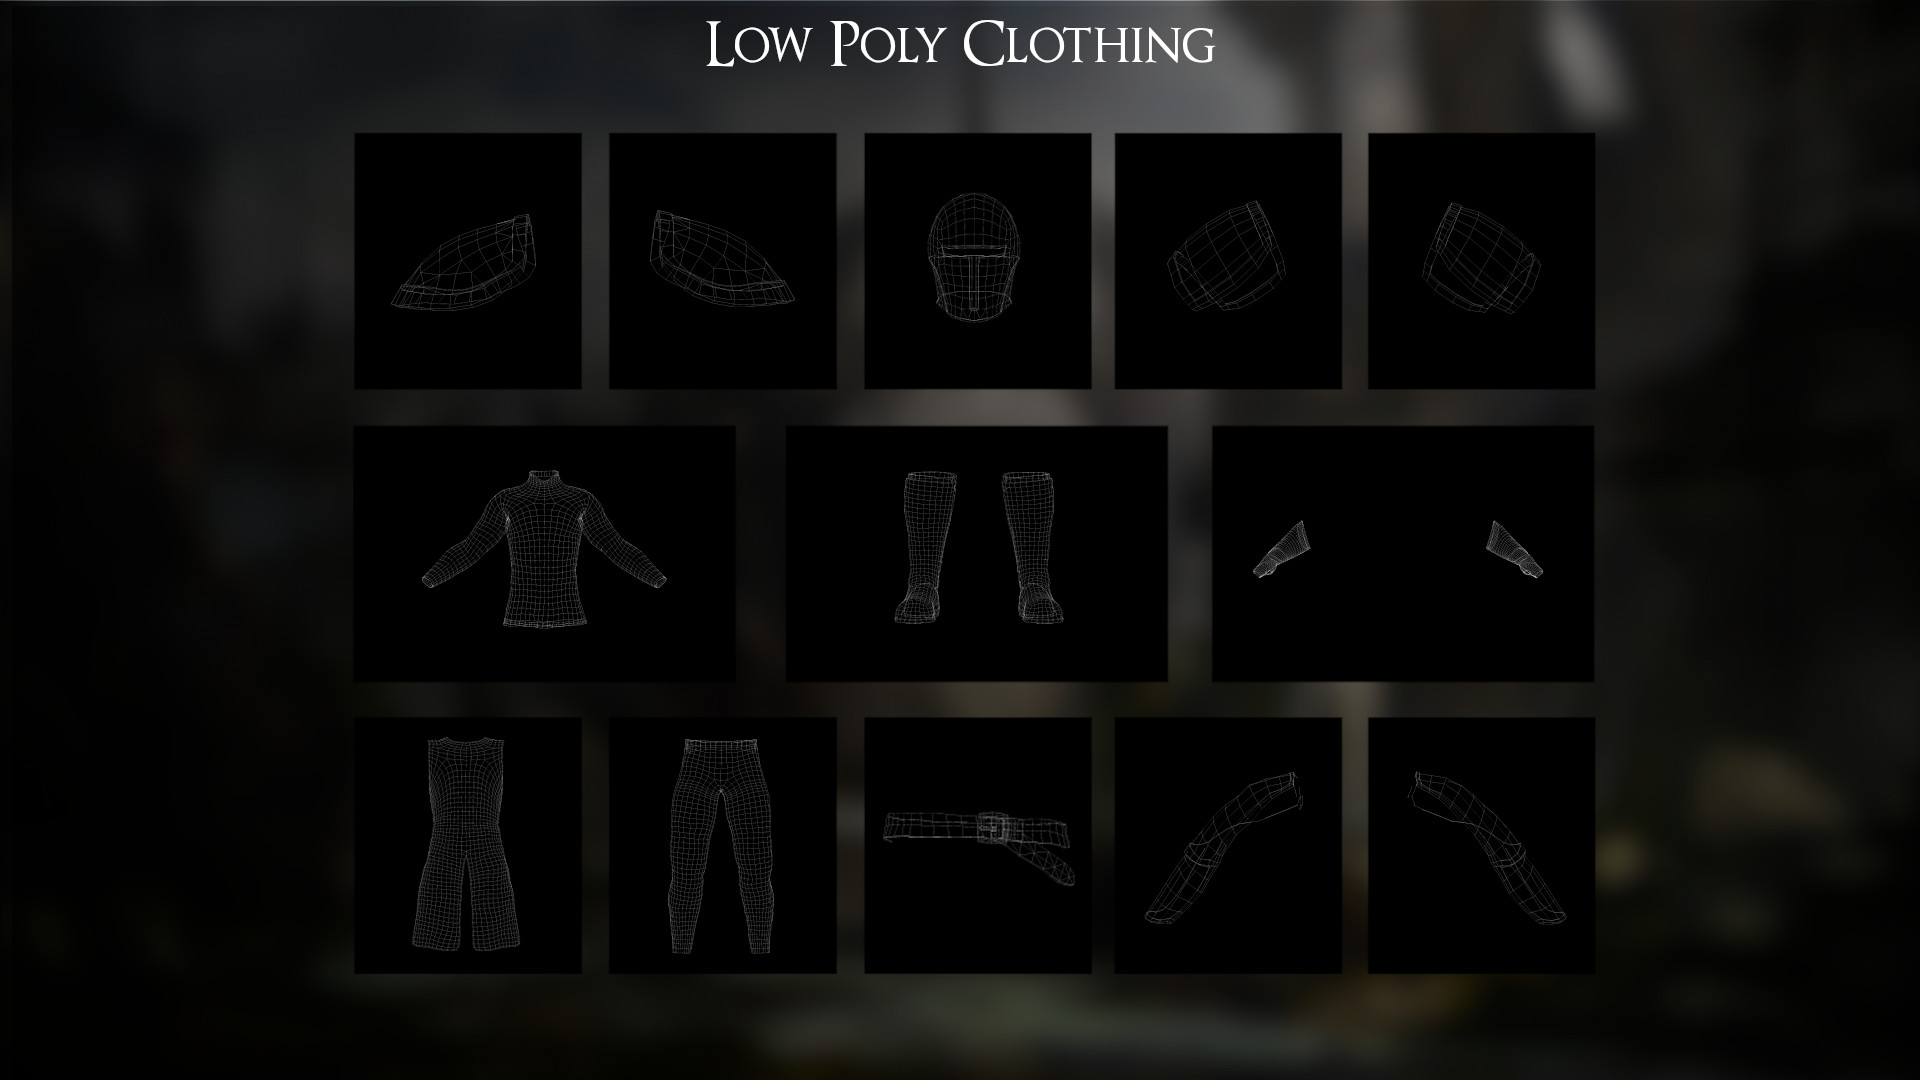
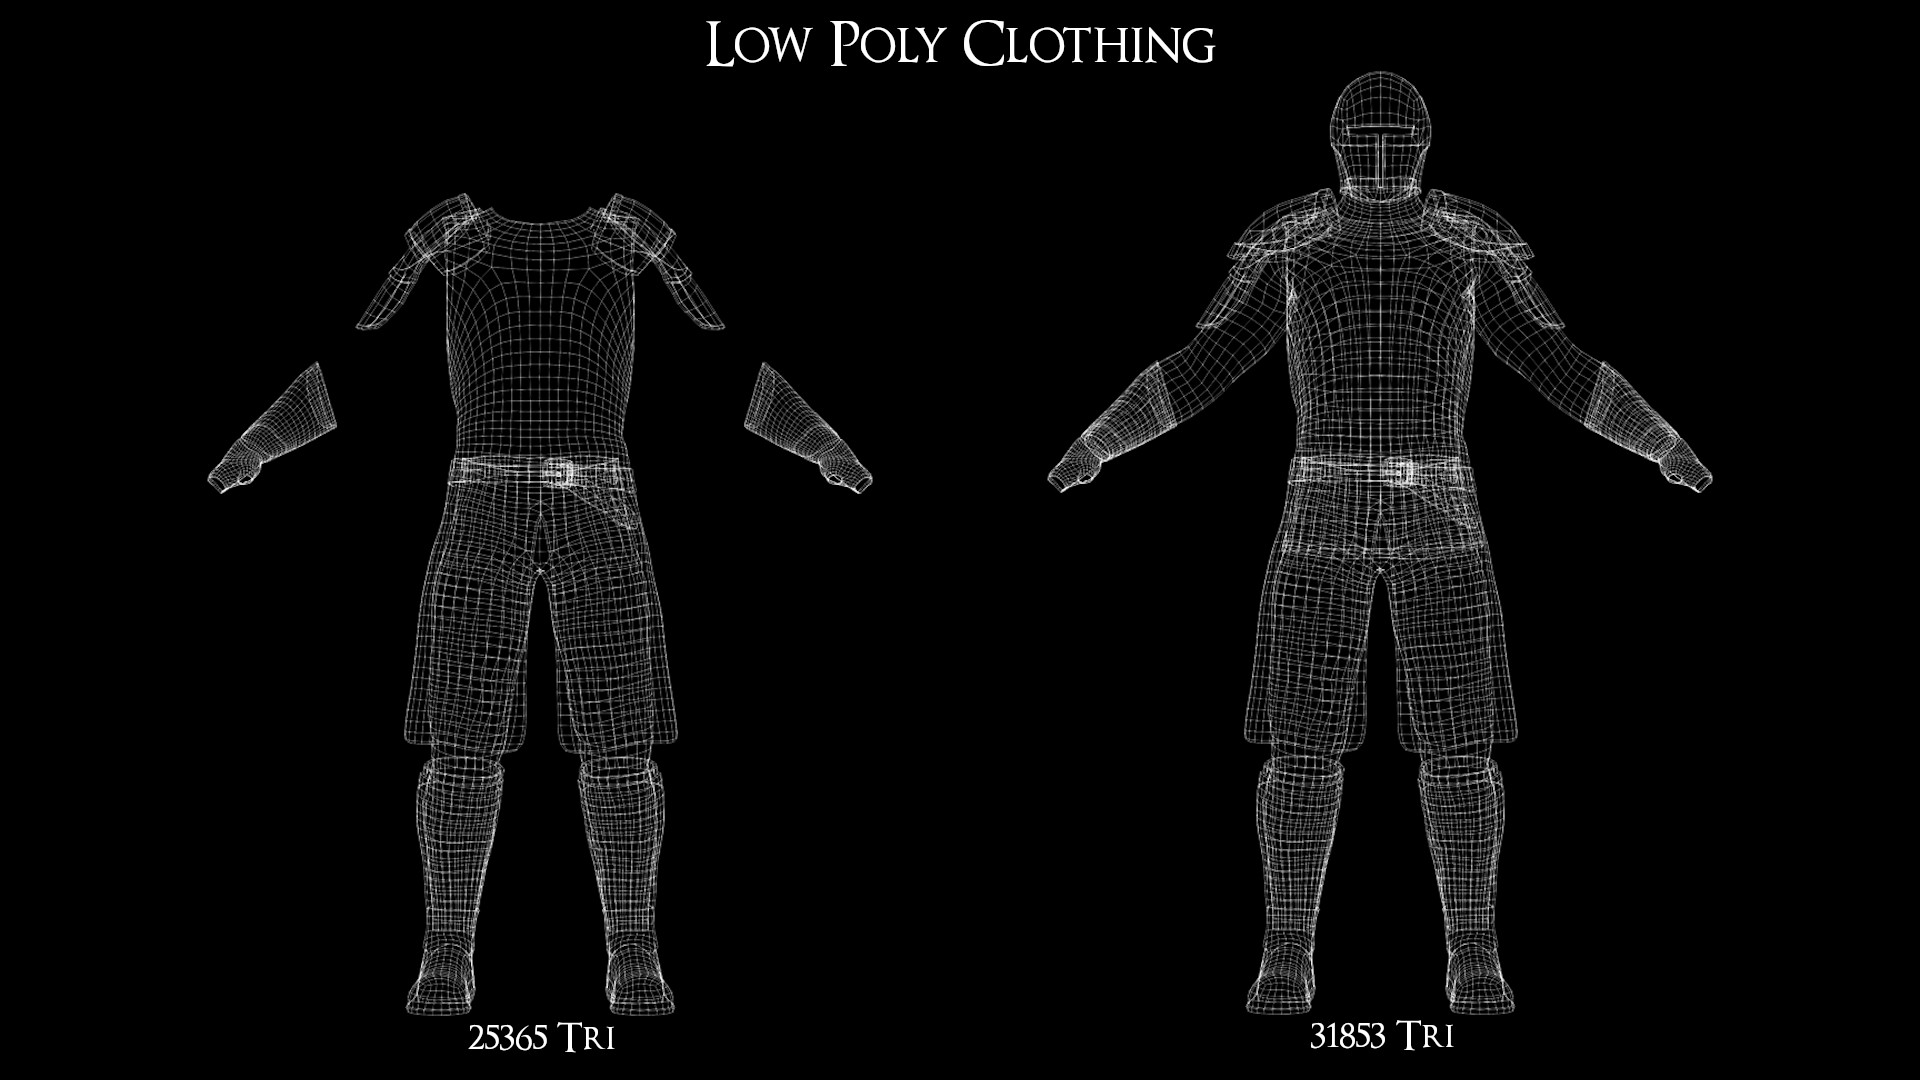
Each shoulder piece is a separate mesh to allow for more customization. You can wear one leather shoulder, or both, or none and wear a pouldron without the leather etc...
|