waleshire (12/15/2018)
Could you tell me how you edited the skin tones of the Stretchy characters? I'm not sure how to do it but would like to create a fully diverse group.
Thanks,
Wes
Hi!
Took me a bit to figure this out... I was determined to have a diversity as well.
Select the character and go to modify material tab.
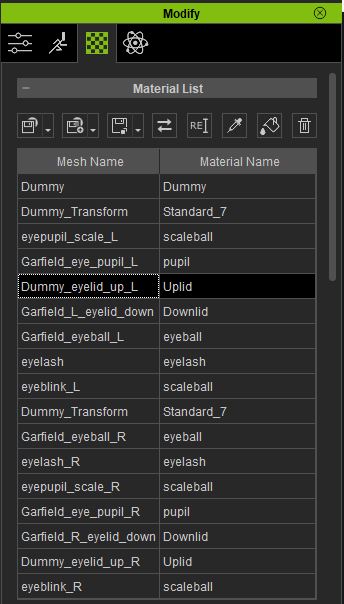
Look at the Mesh Name and Material Name list. Its huge.
The left side will list a body area, and the right will list which material to apply.
Find these pairs:
RL_Face - RL_Skin,
RL-Upper - RL Skin,
RL_Hands - RL_Skin,
RL_Lower - RL_Skin,
etc.
The eyes will be a little more tricky depending on the eye.
In Nellies case for her "set" eyes here, I had to select the:
Dummy_eyelid_up_L - Uplid
Garfield_L_eyelid_down- Downlid
Look at the "diffuse" to make sure you have a part selected that displays skin, and you have the correct tabs.

For each one, changed the "diffuse" by either replacing it with your own sample, or clicking the 5th small box over on the bottom of the Texture Settings (Y) area.
This brings up the "Adjust Color" window which allows you to change the hue, brightness, contrast and saturation. In Nel and Mel's case, I lowered the brightness to -40 to get brown skin.
(you wont see the -40 value below because all the settings were complete when I loaded this character in to create this impromptu tutorial)
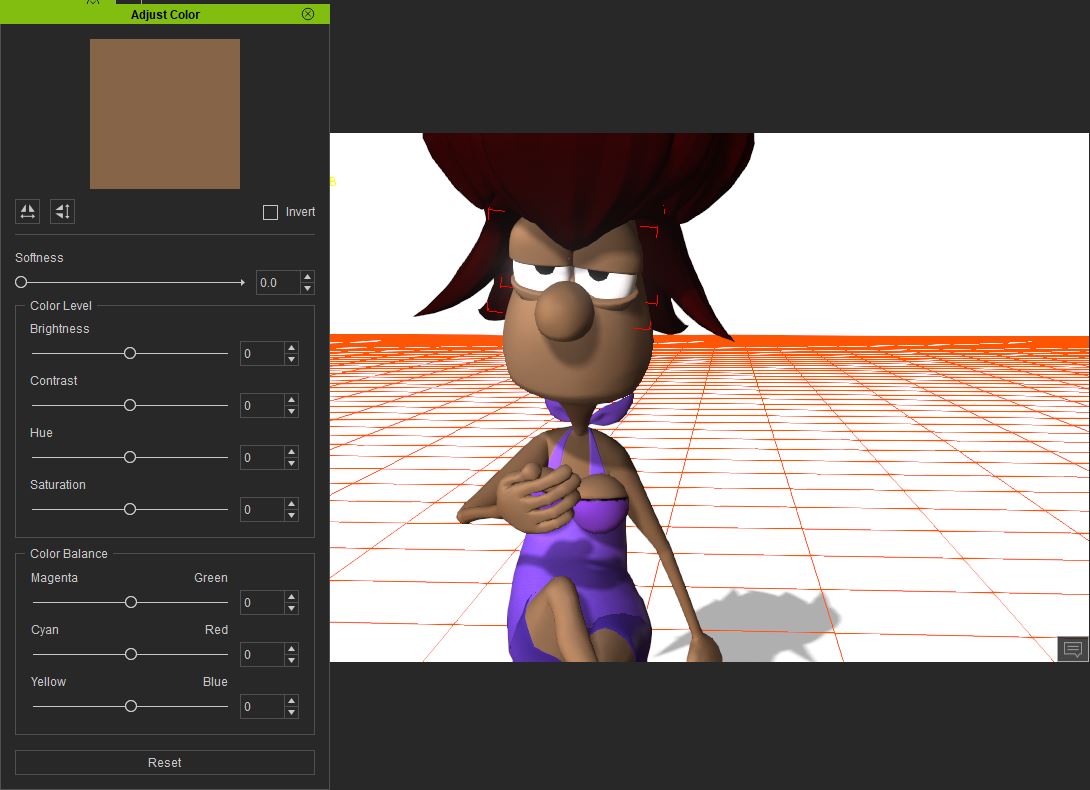
This window allows you to change diffuse for skin and clothes.
Hope this helps, and thanks for asking.