|
By mayaenvogue2016 - 7 Years Ago
|
Hi,
I want to add fur ( fur collar, fur cuffs etc) to my characters clothing but can not find anywhere any tool that creates an optical resemblance to fur. Is it possible with iClone and if not, does Reallusion offer any additional software which allows to create fur effects? Will be thankful for any helpful suggestion.
|
|
By 4u2ges - 7 Years Ago
|
There is a "fur" effect included with PopcornFX plug-in. But I never really played with it.
I used a displacement map to create a fur once https://city.reallusion.com/ContentPreview.aspx?i=JICaf35c71d3264deb01
Ideally, cuffs for instance, should have a separate material, nicely unwrapped and textured with fur pattern.
Then you may use the same fur pattern (preferably gray-scaled) in displacement channel and play with displacement and tessellation settings.
Here is quick and dirty cuff made from a torus primitive:
|
|
By mayaenvogue2016 - 7 Years Ago
|
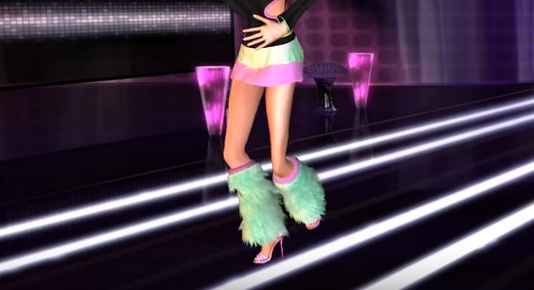
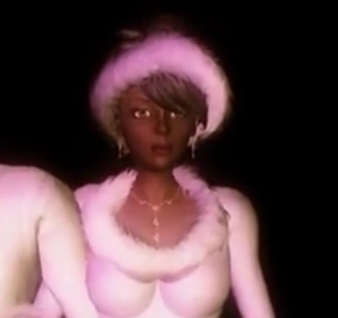
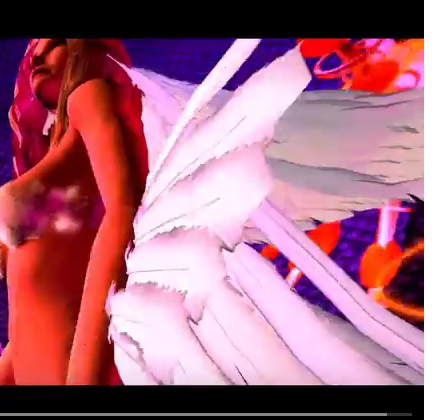
Thank you very much for your answer and your suggestion. I have put a picture (BW) of a a real fur from internet into the displacement and bump channels of a thorus, but the effect is far from the one you have shown and not satisfactory. I shall try again, surely the picture is not adequate. Below I attach 3 pictures from the Reallusion Fashion Competition (2011). Maybe you can tell me which software has been used to create such fur effects? Also PopcornFX plug-in? Or something else??? Feather effect shall be also very great.
|
|
By Kelleytoons - 7 Years Ago
|
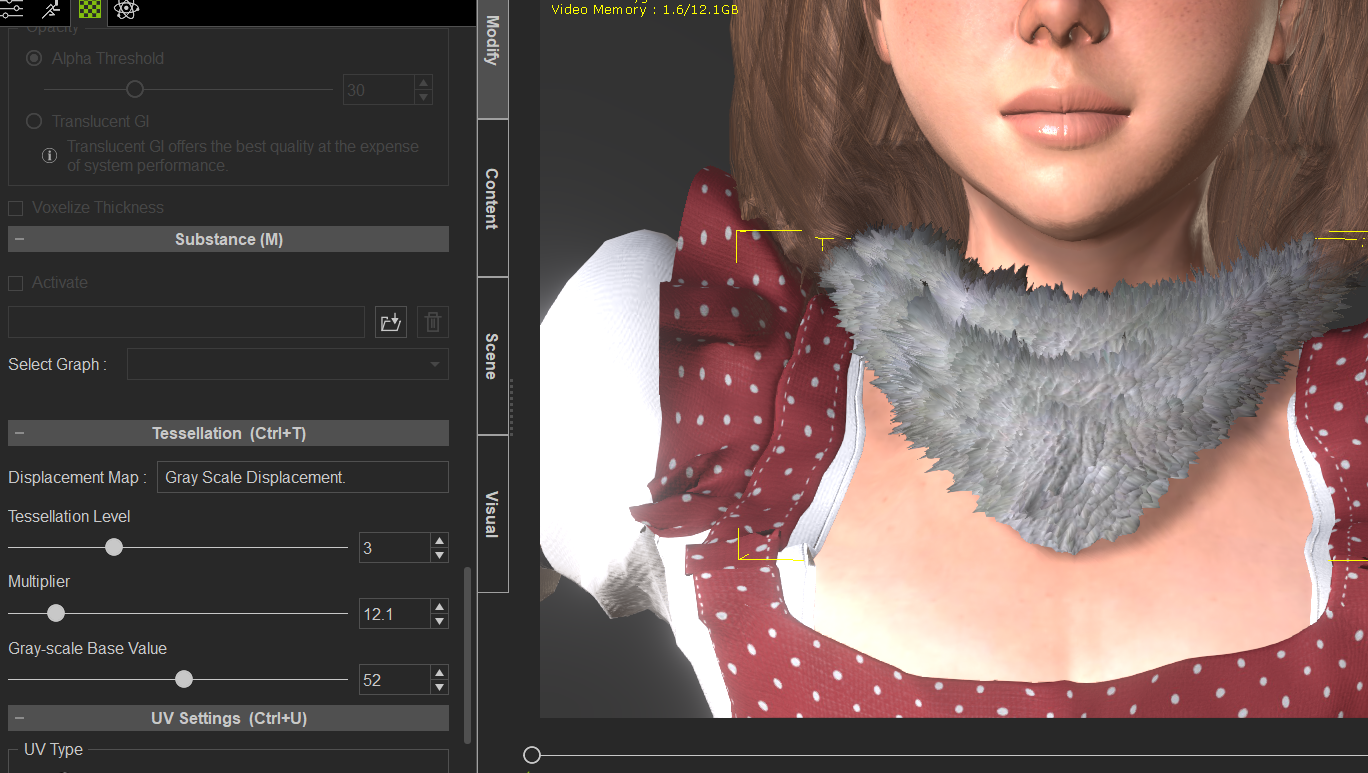
You probably didn't adjust the Tessellation properly.
Go down to that tab and turn the level up to, say 3, and then adjust the multiplier until you see the fur effect you want (here's a down and dirty example):
|
|
By 4u2ges - 7 Years Ago
|
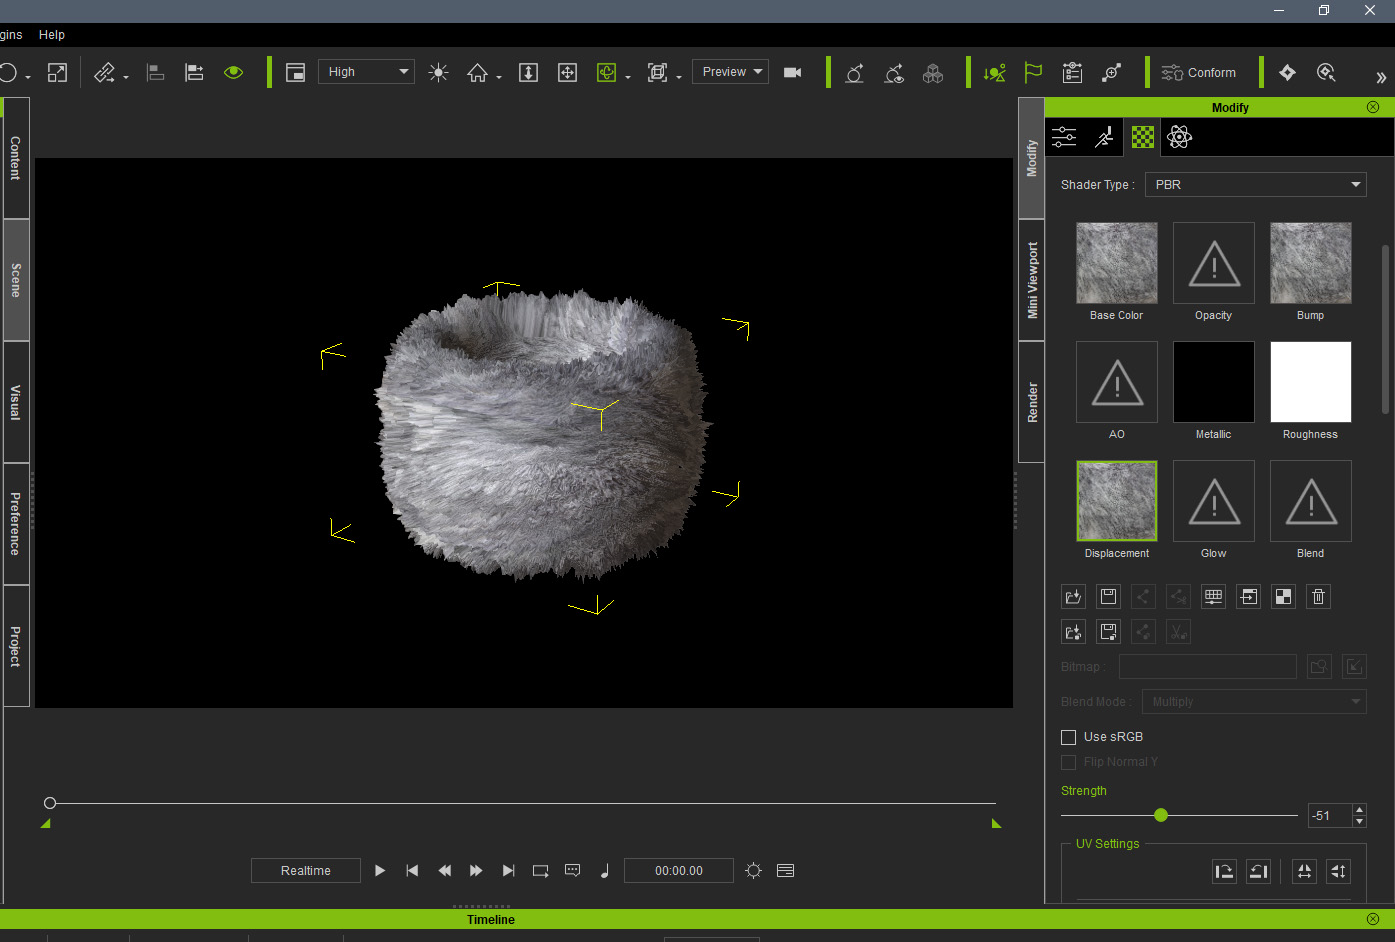
Yes, when I said quick and dirty, I meant it. Fur is essentially a hair and for more realism should probably be made as such - a hair. But it's tough and require some experience.
For acceptable quality fur with displacement you indeed need to play with tessellation setting, brightness of the displacement channel and most important properly texture the mesh across the UV map.
Another quick and dirty, but this time I paid a little more attention to the UV map texturing:
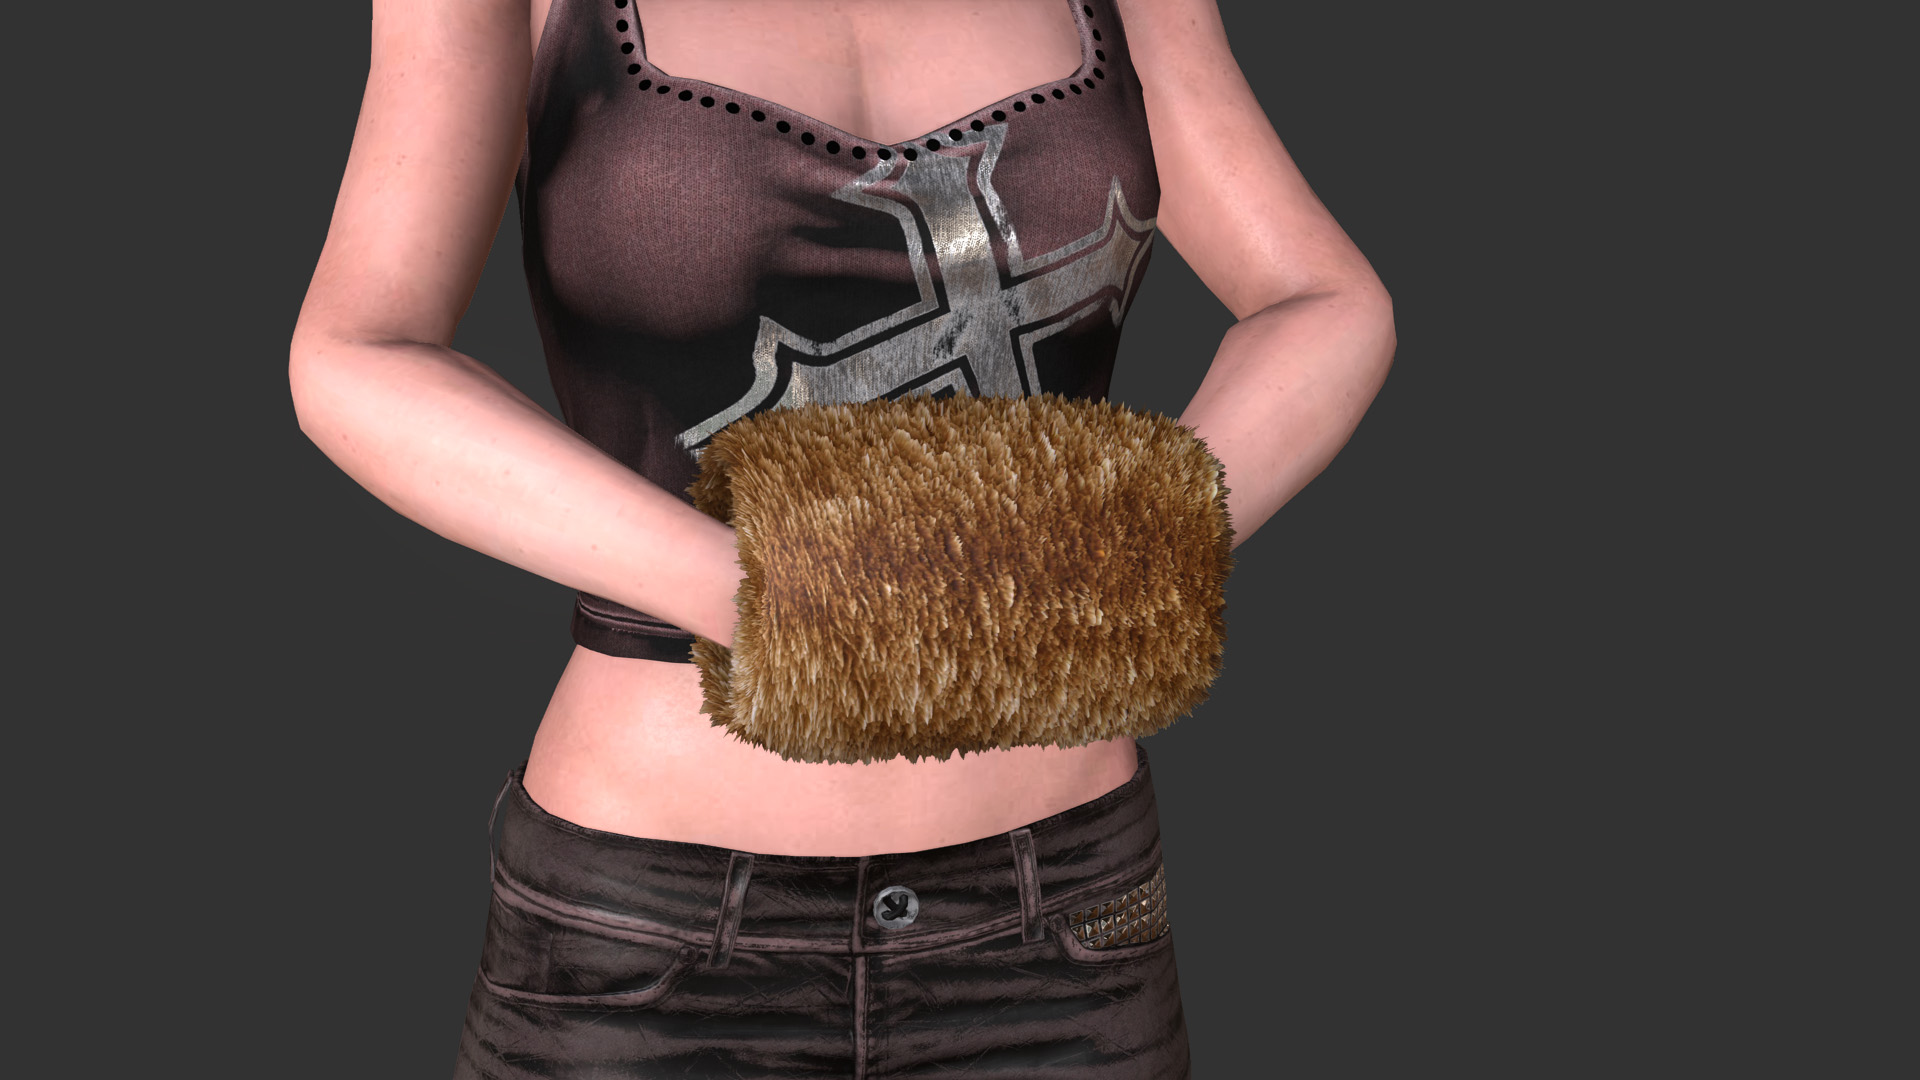
I have enclosed a downloadable project so you may play with it. It is not really perfect as you may see.
The adjacent edges need to have the same brightness level and be smoothed to prevent an abrupt stitching and displacement.
I also left part of the UV map uncovered so you may see how it is done
|
|
By mayaenvogue2016 - 7 Years Ago
|
Thank both of you you very much, I understand now what I have to learn. This pictures and the attached file is a great help.
|