|
By Ascensi - 8 Years Ago
|
Hi everyone, just wanted to share a tutorial that I'm excited about. I'm not an expert in with knowing all the best settings to make Displacement textures with 3DCoat look the best it can but it's trial and error and I'll share what I've learned so far.
My signature background below this was created with the same technique that I eventually imported and animated in iClone. I hope you like it, subscribe if you do and you'll get easier access to some of my other tutorials along the way.
I'm also planning another tutorial about how to bring the textures back into iClone and turn on displacement within but also the technique to get it working in Indigo Renderer -it's pretty tricky to do and have shared the process somewhat in my signature below.
|
|
By Kelleytoons - 8 Years Ago
|
Yeah, there's no way I'm going to sit through a 40 minute tutorial without sound -- sound is VERY important in the understanding of a process, and trying to visually follow along is almost impossible for this old man.
I'm sure kids will find it good, though.
|
|
By Ascensi - 8 Years Ago
|
|
The only reason I started off with no voice is so it can be translated. I think your computer might be able to speak the Closed caption, I know you probably don't like the semi robotic voice either but that's what's available at the moment. Anyone could consider a persons voice distracting as well not matter how clear I speak. Thanks for the feedback though.
|
|
By Me3Dtoo - 8 Years Ago
|
Good Job.
Thank You :)
|
|
By Ascensi - 8 Years Ago
|
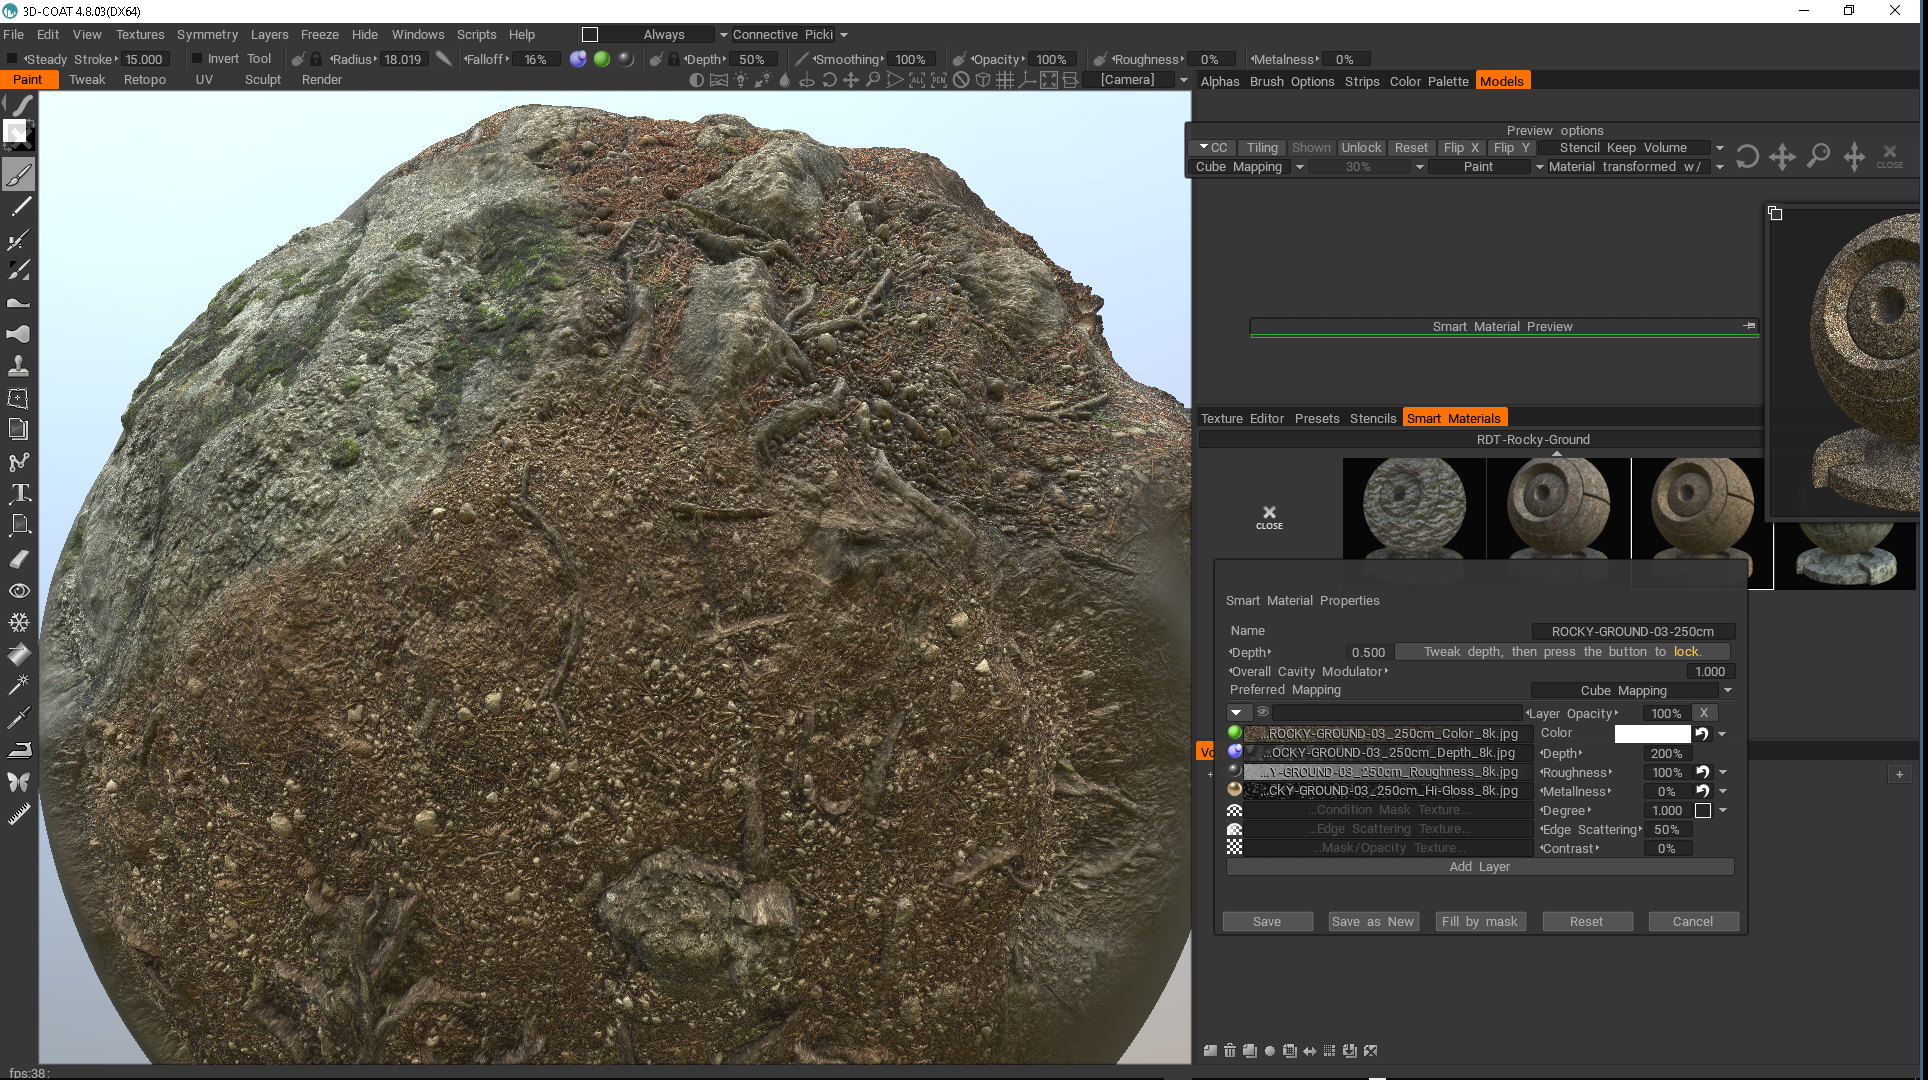
Here is another example in 3DCoat. I have the depth setting at .50 but sometimes you might want to adjust it between 1. and .5
There is an important tutorial about how to load the textures, specifically the depth.tif (it needs to be converted to a png. Also I show how to adjust ideal settings but these may need to be set/scaled to the scale of your model. I can bring you more videos if you subscribe -thank you.
|