|
Author
|
Message
|
|
EDanaII
|
EDanaII
Posted 5 Years Ago
|
|
Group: Forum Members
Last Active: 4 Years Ago
Posts: 15,
Visits: 120
|
Alright, first off, congratulations on Headshot. It is, for me, a significant addition to CC3. Unfortunately for me, I'm still a newb to all of this, including CC3 and am still trying to figure it all out. So, I'm hoping someone can work me through this to help understand exactly what to do. I've checked some of the tutorials and they help, but my first issue, I'm still not sure I understand what to do. First, some background: for my own amusement, I've created a video series poking fun at the Elite Dangerous computer game and science fiction in general. So far, the series consists of video footage from the game and CrazyTalk to animate character faces. This, of course, comes with a number of limitations, like the ability to do a face palm or turn the head while talking. Something that I'd like to use iClone for. So, my first task was to take my Avatar from Elite and get it into iClone. Naturally, Headshot makes this significantly easier, but I am running into issues that lack of experience is making it difficult for me to resolve. First issue is simply skin color. My Elite avatar looks like this: 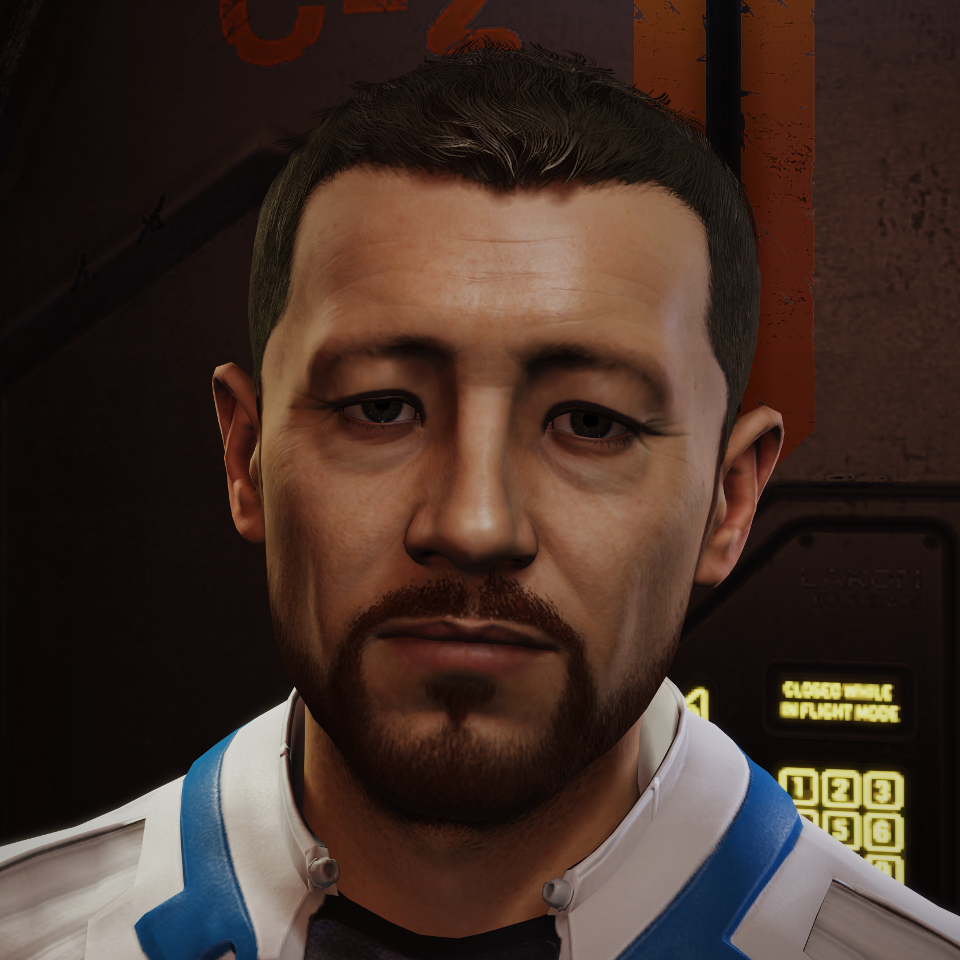 The resulting Auto Headshot model looks like this: 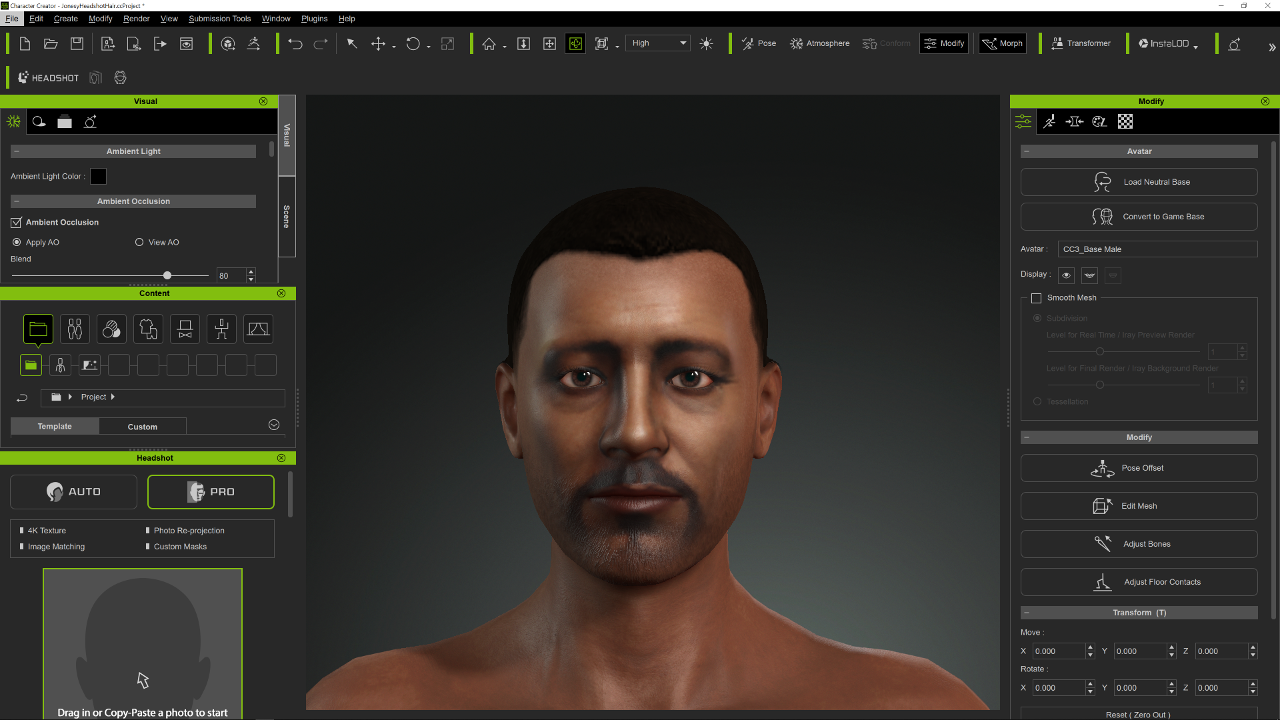 Which, while close, is a bit off. They eyes and ears needs some tweaking, the nose looks pretty good but is a little short depth-wise. But I'm not worried about these yet. First thing I'd like to correct is just the skin color which is clearly too dark. I did try a picture of the character in brighter lighting conditions but had texture issues there as well. I did try changing the skin color to something lighter, but that did not affect his face. I know that I can (and need to) edit the UV for the face and that's exactly where I'm looking for advice. What's the best way to fix this? Adjust the lighting in the initial photo or adjust it directly in the UV? As already stated, I'm a newb to all of this so am looking for some clear direction on how to solve. I have GIMP -- not willing to pay a monthly fee to "rent" Photoshop. So, any and all clues appreciated. What is my best strategy for fixing this problem?
|
|
|
|
|
Kelleytoons
|
Kelleytoons
Posted 5 Years Ago
|
|
Group: Forum Members
Last Active: 1 hour ago
Posts: 9.1K,
Visits: 21.8K
|
One of my (unlistened to) complaints about Headshop is exactly this -- the color of the face can't be changed inside of it. Do it in Photoshop, or your favorite editor. I think I even have a tutorial about this:
Alienware Aurora R12, Win 10, i9-119000KF, 3.5GHz CPU, 128GB RAM, RTX 3090 (24GB), Samsung 960 Pro 4TB M-2 SSD, TB+ Disk space
Mike "ex-genius" Kelley
|
|
|
|
|
animagic
|
animagic
Posted 5 Years Ago
|
|
Group: Forum Members
Last Active: 9 hours ago
Posts: 15.7K,
Visits: 30.5K
|
I'm fairly certain that changing the skin color will be part of the revamped appearance editor. For now though, if you use the DH shader, there is an easy setting to adjust the skin color: 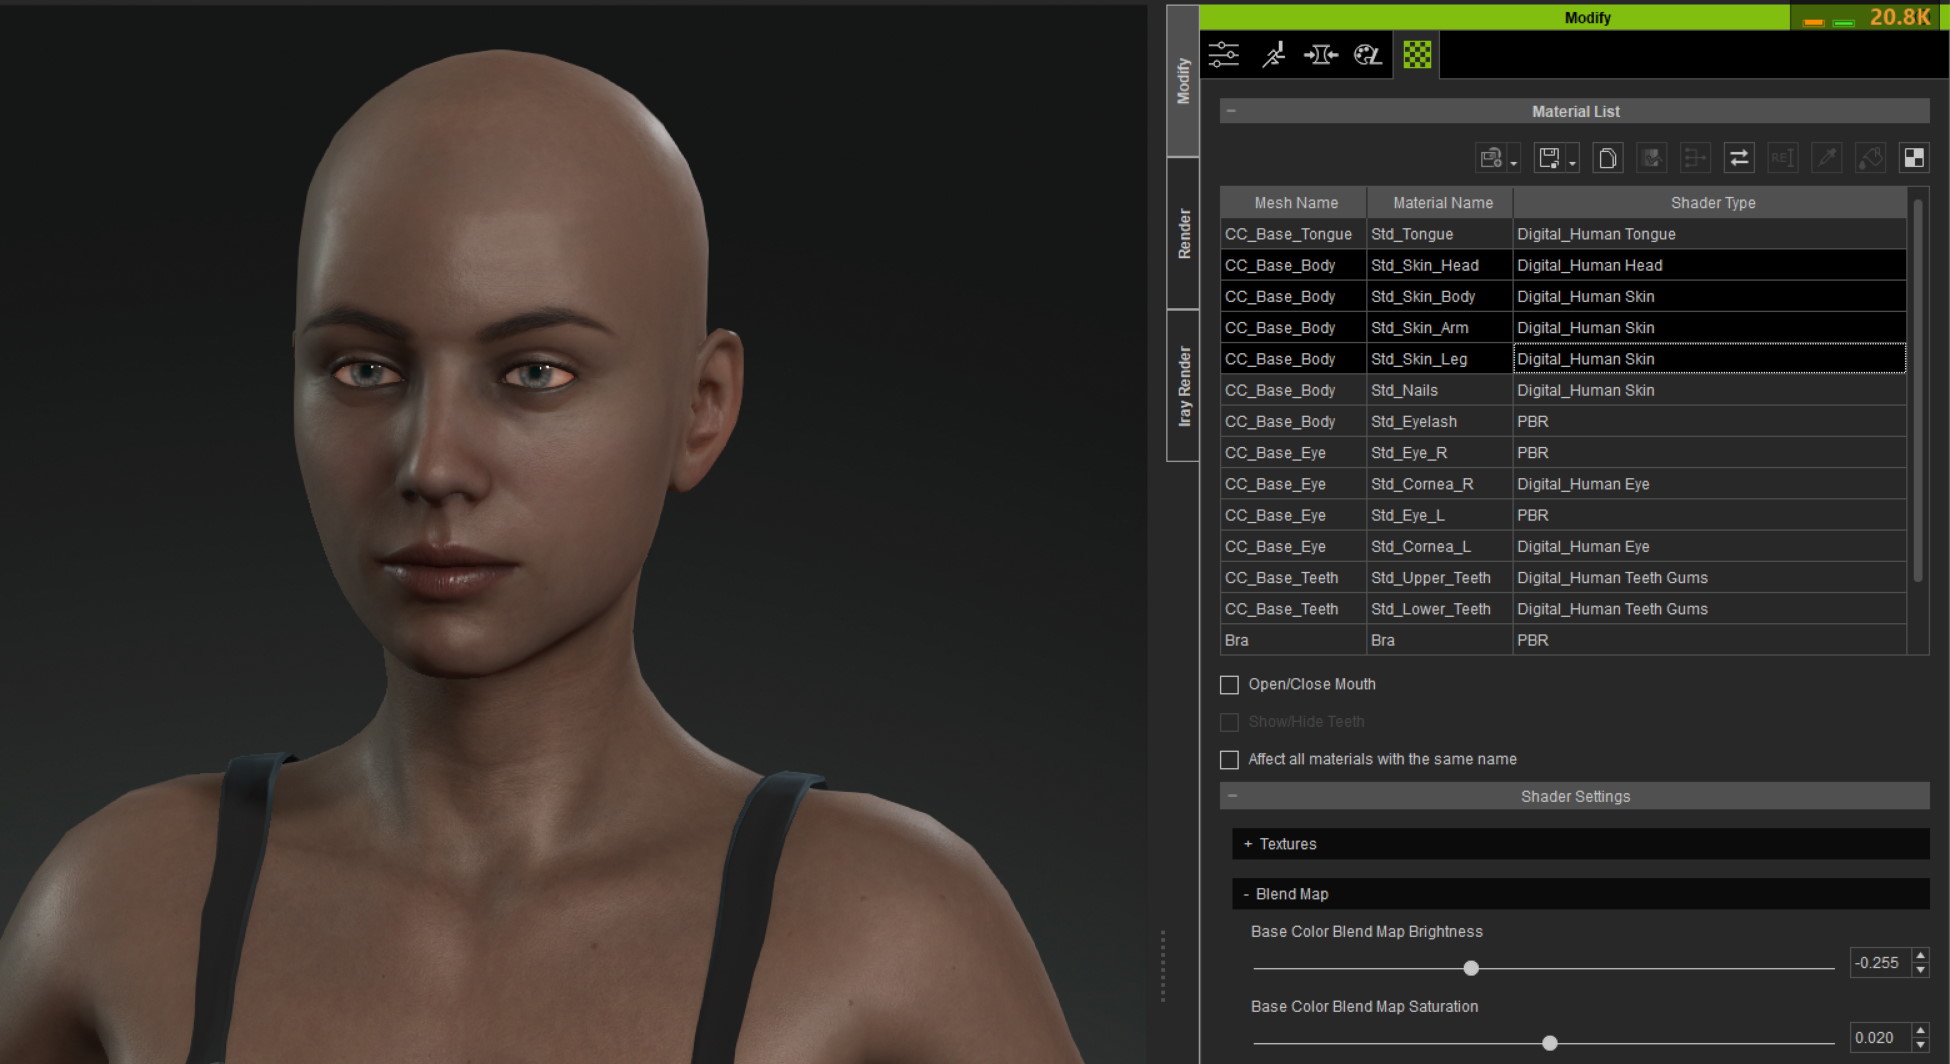 Select the shaders for Head, Body, Arm, and Leg, and adjust the settings for Base Color Blend Map Brightness and Saturation to your liking. The screen capture shows the default female character after being adjusted, so a lot is possible. This should be sufficient for your case as well.
|
|
|
|
|
EDanaII
|
EDanaII
Posted 5 Years Ago
|
|
Group: Forum Members
Last Active: 4 Years Ago
Posts: 15,
Visits: 120
|
Alright, I tried both suggested techniques. Here are the results. First, per KellyToons suggestion, I edited the initial image first, changing it's color curve to look more like this: 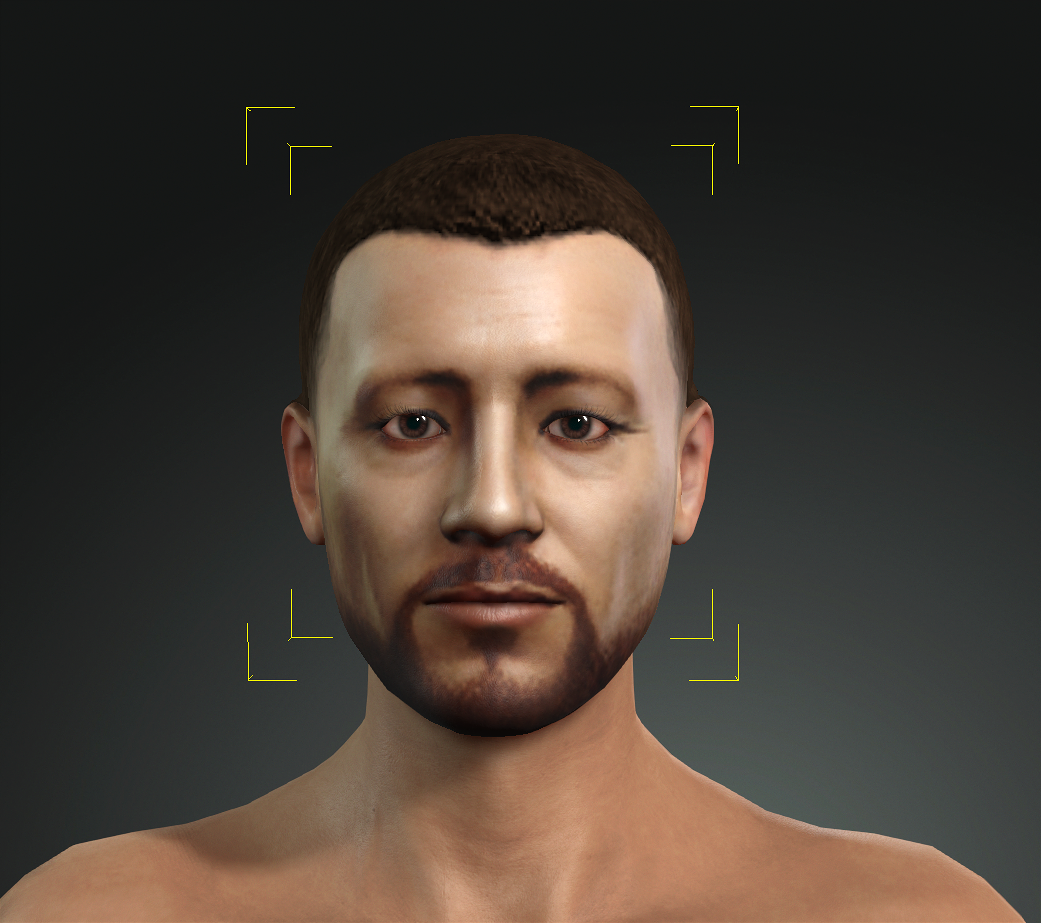 This is definitely closer to the results I was looking for. Using Animagic's suggestion, I selected the skin colors and then change the brightness and saturation, resulting in this: 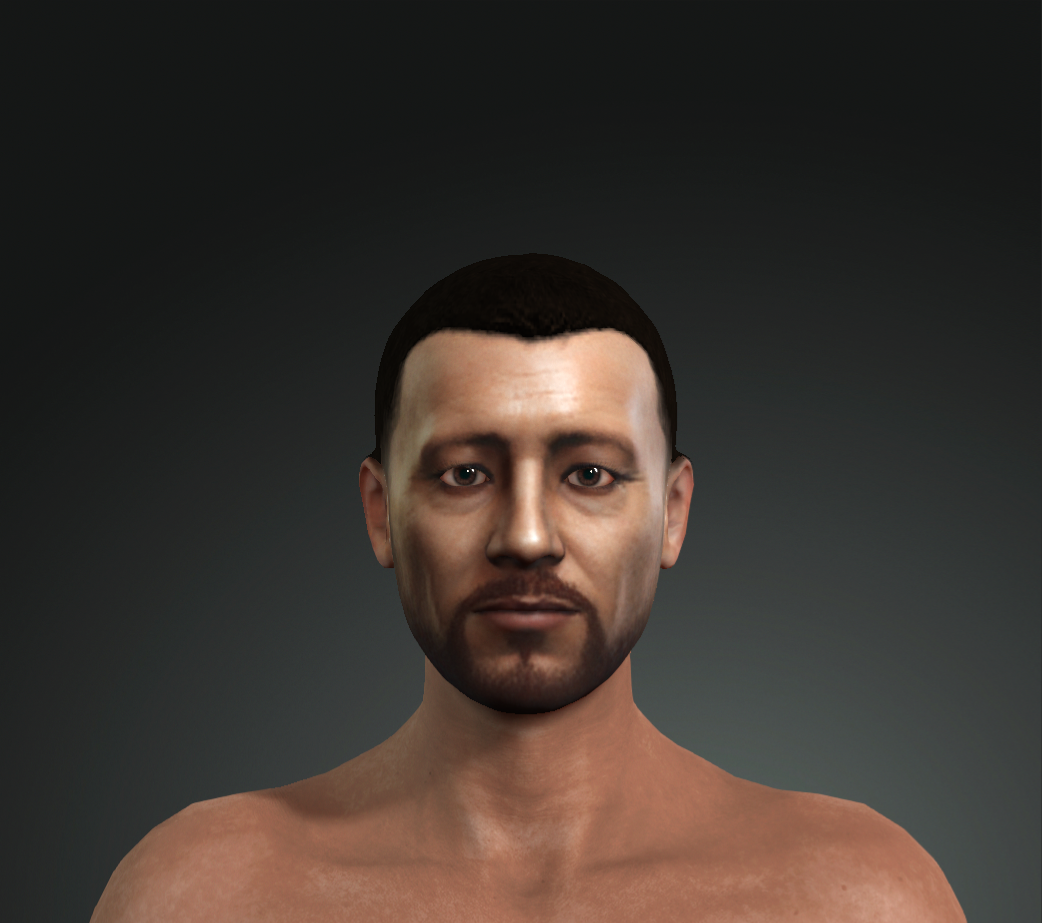 Also closer to what I'm looking for. Although, in the second image, the character's hair is still too dark. I'm assuming that's simply because I didn't select it as well when I applied the blend settings. But I think KellyToon's suggestion works better for me, in this case anyway, because, when I adjusted the image in GIMP, I used the color curve and moved the curve in favor of removing darker colors. This seemed to make a more natural appearance for me. But either solution still has the issue (with this image, anyway) lt's leaving both highlights and shadows. Not sure if I can use the mirror technique for this, as there's too much highlight on the right and too much dark on the left. Once again, all suggestions are welcome.
Edited
5 Years Ago by
EDanaII
|
|
|
|
|
Kelleytoons
|
Kelleytoons
Posted 5 Years Ago
|
|
Group: Forum Members
Last Active: 1 hour ago
Posts: 9.1K,
Visits: 21.8K
|
The problem is the image you're using has too many shadows. You need a more evenly lit image. Now Photoshop has filters which can adjust the lighting and even it out (I've never used Gimp so have no idea if it has those). In general there's not much you can do if the lighting is screwed like that. In Real Life just put your subject in open shade, as that will work fine (it will cast him/her in blue, but you can remove that). Not sure how you're going to do what you want without Photoshop.
Alienware Aurora R12, Win 10, i9-119000KF, 3.5GHz CPU, 128GB RAM, RTX 3090 (24GB), Samsung 960 Pro 4TB M-2 SSD, TB+ Disk space
Mike "ex-genius" Kelley
|
|
|
|
|
Kelleytoons
|
Kelleytoons
Posted 5 Years Ago
|
|
Group: Forum Members
Last Active: 1 hour ago
Posts: 9.1K,
Visits: 21.8K
|
This is what I got after playing for two minutes in PS (but a few more minutes could be much better) (note: I didn't do any morphs or other adjustments, so the head itself is just the default out of Pro mode): 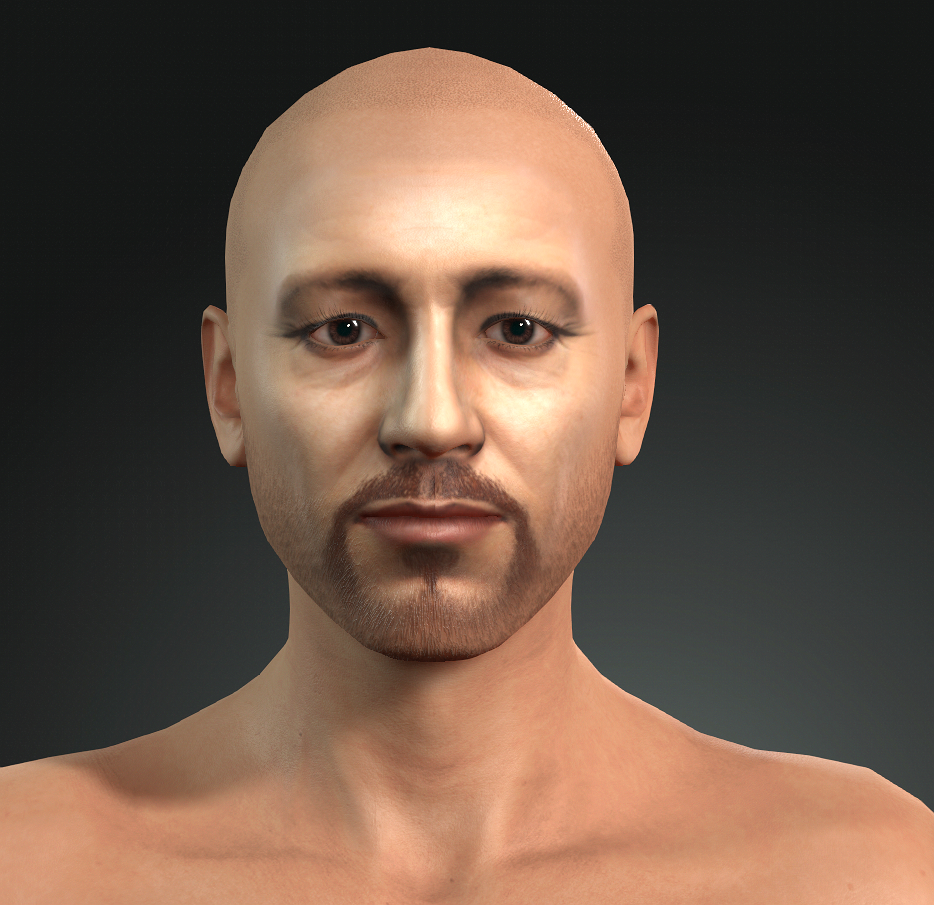
Alienware Aurora R12, Win 10, i9-119000KF, 3.5GHz CPU, 128GB RAM, RTX 3090 (24GB), Samsung 960 Pro 4TB M-2 SSD, TB+ Disk space
Mike "ex-genius" Kelley
|
|
|
|
|
Kelleytoons
|
Kelleytoons
Posted 5 Years Ago
|
|
Group: Forum Members
Last Active: 1 hour ago
Posts: 9.1K,
Visits: 21.8K
|
EDanaII (12/8/2019)
Not sure if I can use the mirror technique for this, as there's too much highlight on the right and too much dark on the left. Once again, all suggestions are welcome.You can do both -- look at my entire video about copying over the blemish from the character I was using. You can mirror but then you can still use elements from the other side, so you can blend the two together (in PS takes less than a minute). I *kind* of did that with the sample I did above, but I didn't want to spend a lot of time on it.
Alienware Aurora R12, Win 10, i9-119000KF, 3.5GHz CPU, 128GB RAM, RTX 3090 (24GB), Samsung 960 Pro 4TB M-2 SSD, TB+ Disk space
Mike "ex-genius" Kelley
|
|
|
|
|
EDanaII
|
EDanaII
Posted 5 Years Ago
|
|
Group: Forum Members
Last Active: 4 Years Ago
Posts: 15,
Visits: 120
|
Alright, following your advice, I tried to find a more even lighting source. I looked for a spot where there ambient lighting is strongest, but that didn't quite work out. Instead, I pointed the character directly at a very strong light-source. This is the result: 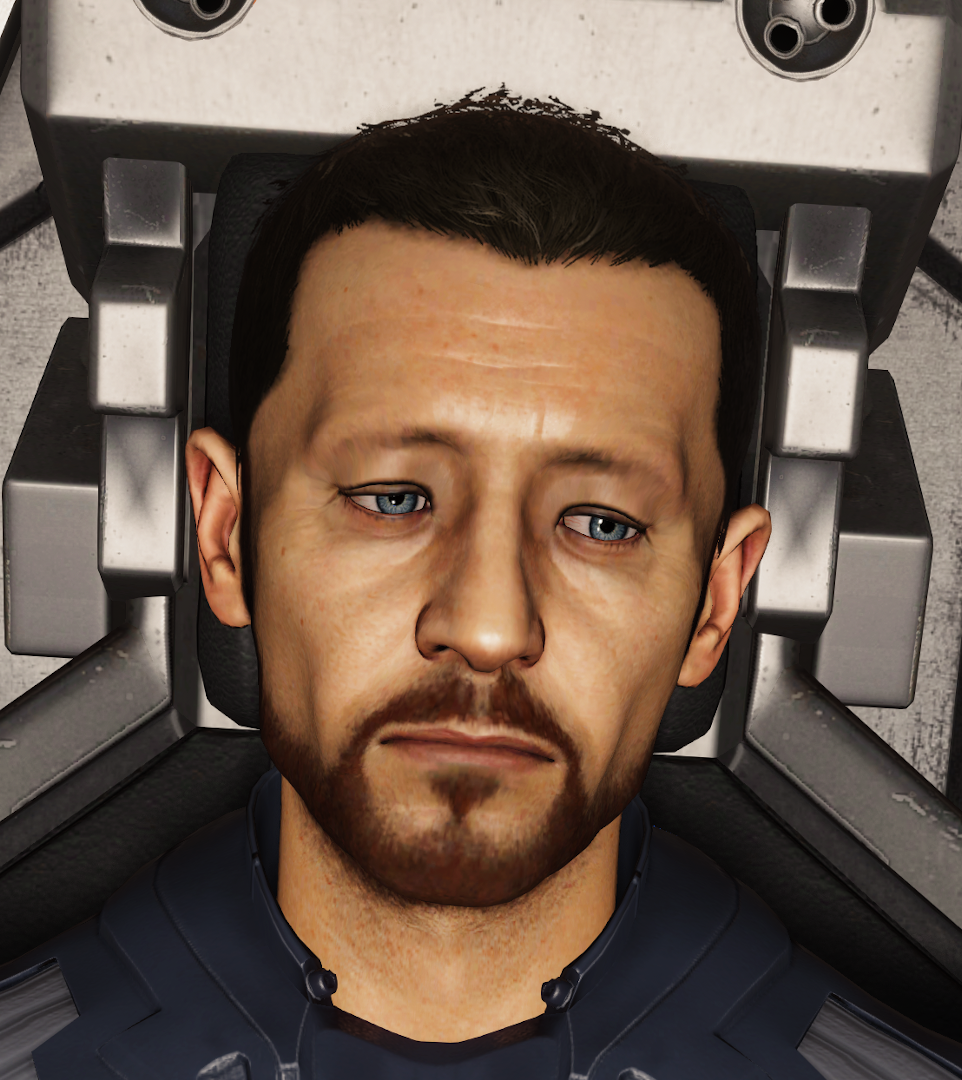 Feeding that into Headshot, I get: 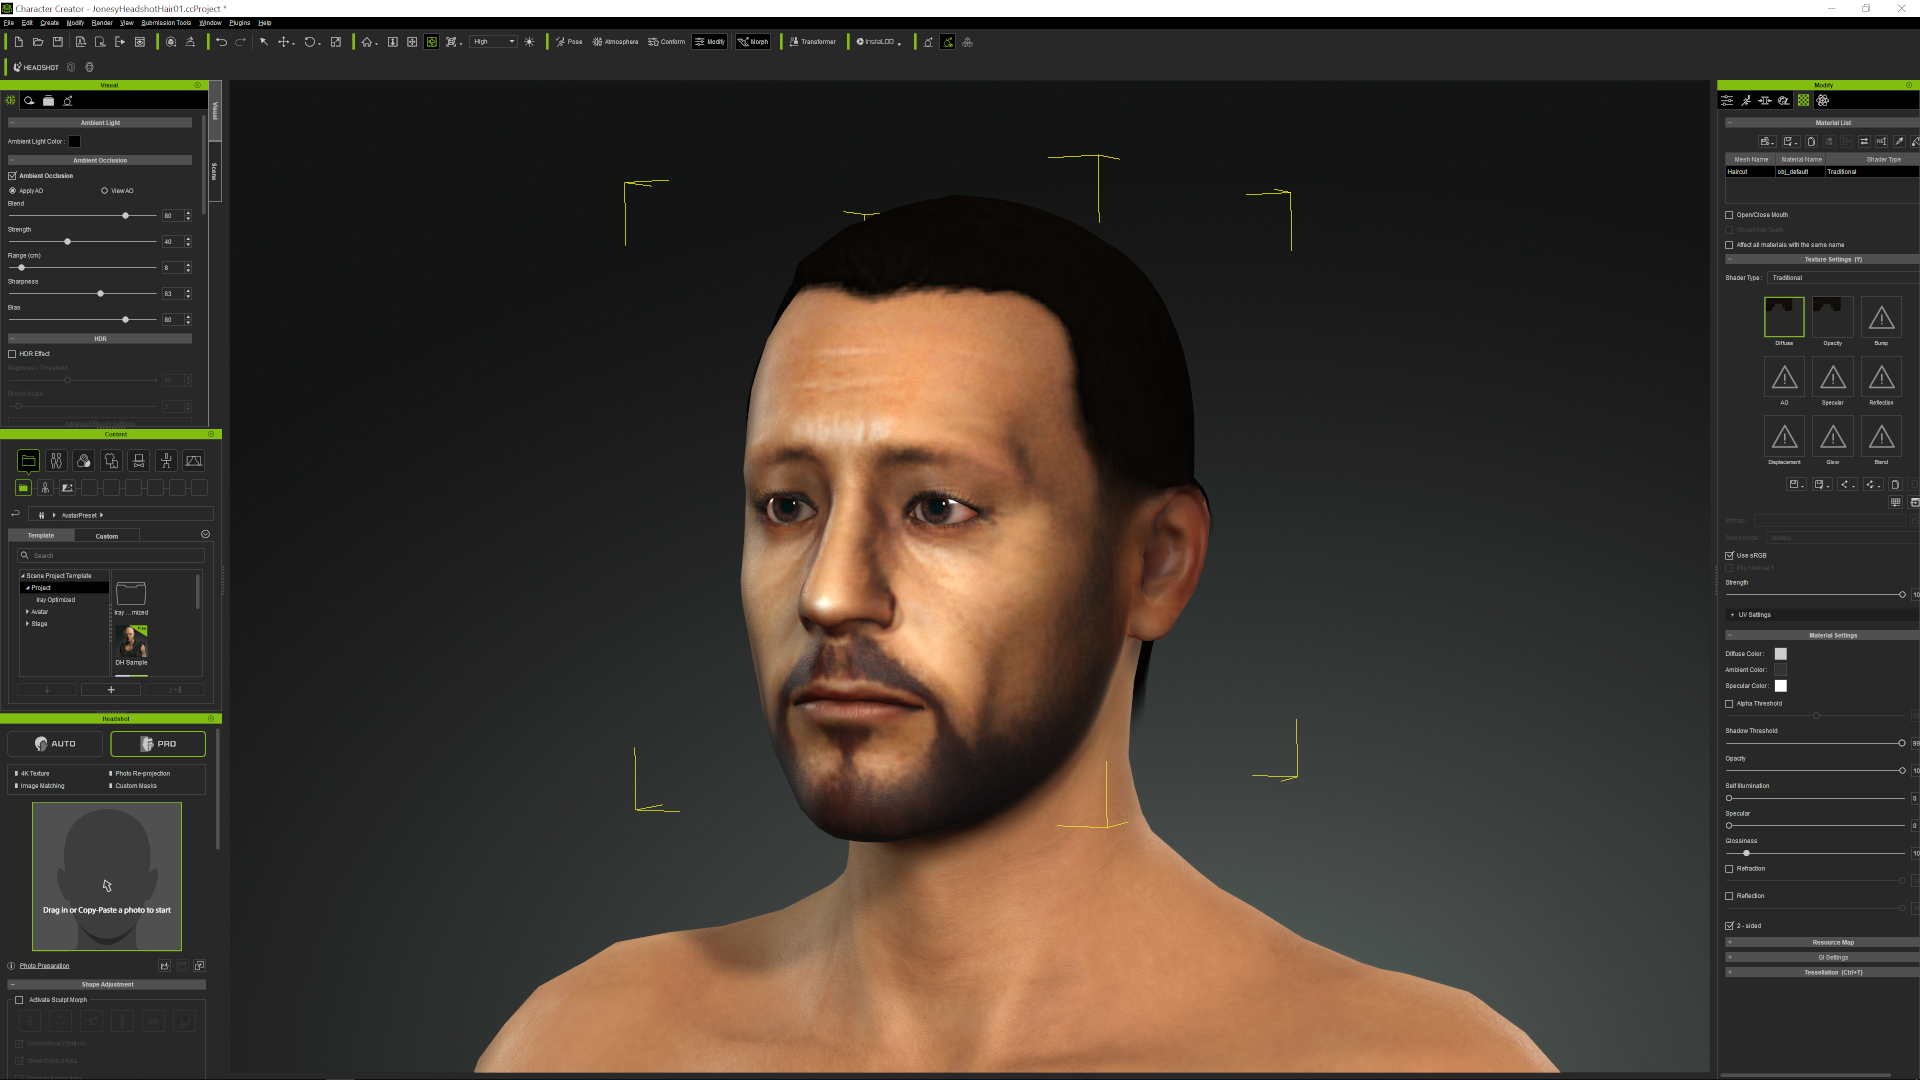 Which looks much better. At this point, I'm assuming I can use a healing brush to remove the shadows on the cheeks and nose as well as the highlights on the brow nose and lips. Ears could probably use some touch-up as well. Once again, as a newb, any and all suggestions welcome.
|
|
|
|