|
Eric (RL)
|
Eric (RL)
Posted 8 Years Ago
|
|
Group: Administrators
Last Active: 8 Years Ago
Posts: 99,
Visits: 1.0K
|
Hi Everyone!
In this tutorial, I’m going to teach you guys how to create morphs for different body parts using 3rd party modeling tool. By following the procedure I listed below, you can create different shapes for specific area of the body (ie. Such as eyes, breast, buttocks)
In this example, I’m going to create two new breast shapes using ZBrush, and turn these two breast shapes into morph sliders that you can use on any CC characters.
1.Before we start, we need the default body shape as the source of reference. To do this, open up CC v1.4, then press the reset key to turn the character into the default body morph.

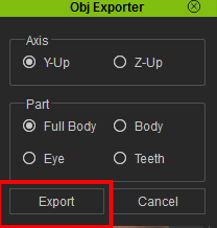
2.Next, under the “File” menu, export the default character as an OBJ file. Keep the export setting on default and press "Export". You will see two files created: an OBJ file and a .objkey file. Remember to keep the key file somewhere safe as you will need this file later when loading the modified OBJ file back into CC.

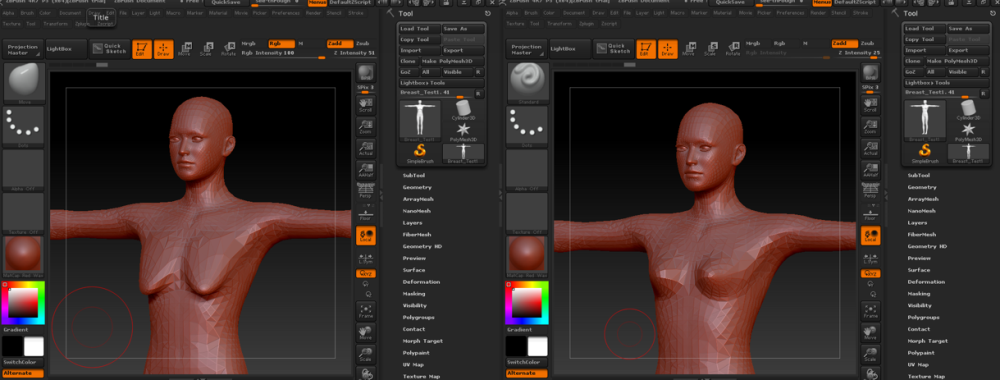
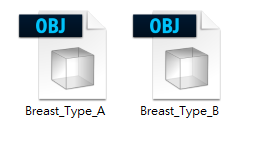
3.Load the character into 3rd party modeling tool (ZBrush in this example), and start sculpting. In this example, I created two different breast shapes and exported into two different OBJ files: Breast_Type_A and Breast_Type_B
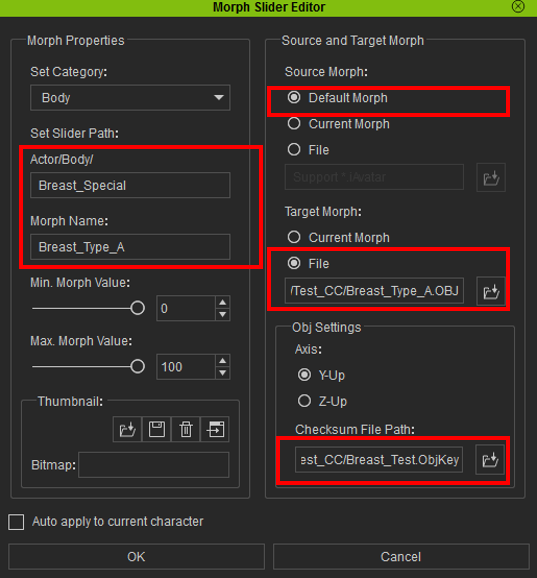
4.Fire up CC v1.4 again, this time go to Create Menu, then select Morph Slider to bring up the Morph Slider Editor Menu. Since these two morphs are breast related, I have decided to set them under the same Slider Path "Breast_Special" and given them "Breast_Type_A" & "Breast_Type_B" as names respectively.
The most important thing to note is that you MUST select "Default Morph" as the Source Morph. This is because any morph you brought in through external program will be layered on top of the Source Morph. Since we used Default Morph as the base template, we must select Default Morph as the Source Morph to ensure the morph can be correctly applied.
As for the Target Morph, simple choose File and select the obj you have exported from ZBrush. Remember to load the objkey file that you created in Step 2 and press OK.
5.Repeat the process with the second file: "Breast_Type_B". All the new morph sliders can now be found under the Breast_Special folder. Everything appears to work correctly!
6. Finally, it is better to test it on a character with another preset applied. Everything seem to work correctly! Notice that the new morph sliders will layer on top of the existing morph.

______________________________________
Eric (RL)
Forum Moderator
Reallusion, Inc.
https://forum.reallusion.com
"Simplicity is the ultimate sophistication." - Leonardo da Vinci
|